Printing Your Project
Learn how to generate a PDF for a specific paper size while maintaining the project's scale.
You can export your project to a PDF and print it.
Exporting Your Design into PDF File
- Go to your project.
- Go to the overlay you want to print, for example, Base Map.
- Select the Download to Print tool from the tools menu or press the P key.
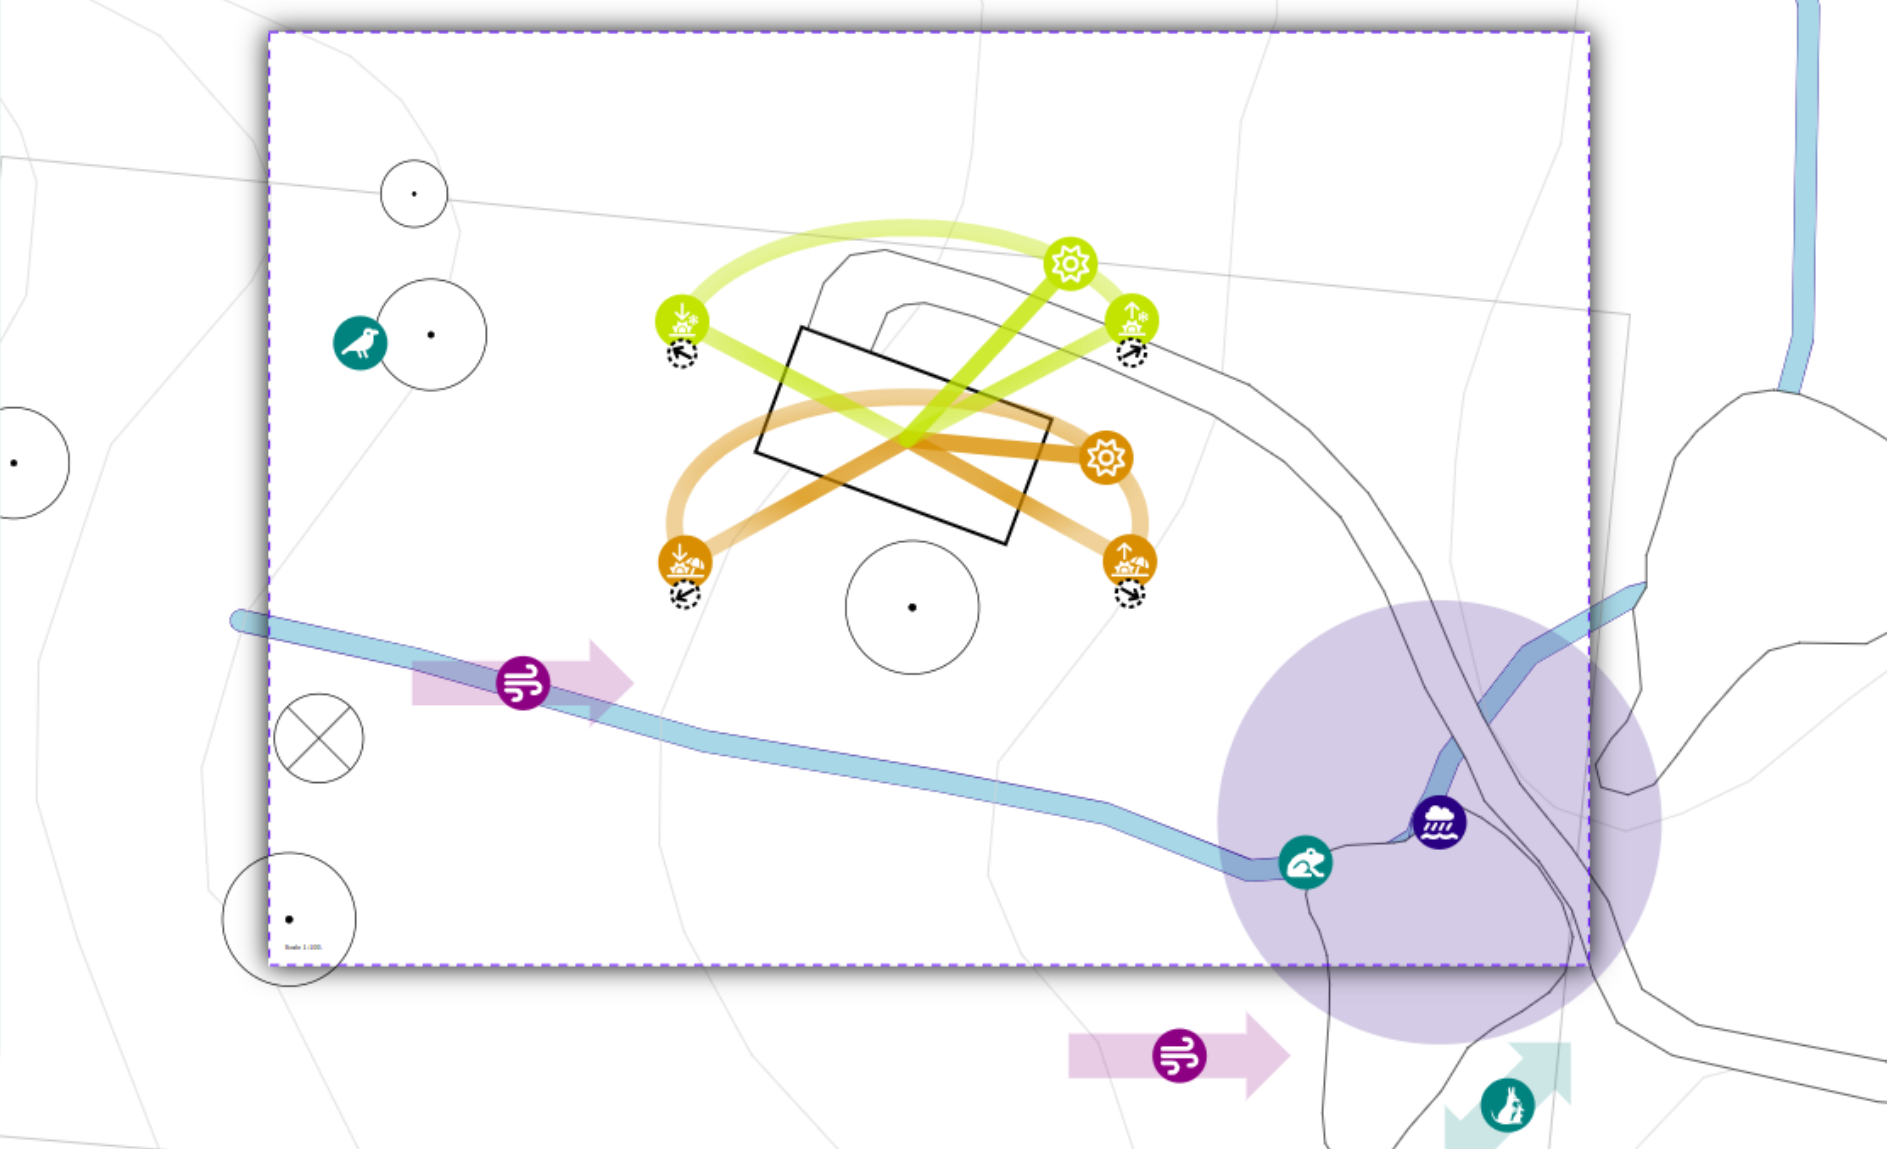
Selecting Area to Print
- Adjust the selection area by moving it around the canvas. An example of the selection area is shown in the image.
Changing Page Parameters
- Adjust the page orientation, paper size, and scale in the Sidebar.
- Press the Download as PDF to Print button in the Sidebar.
TIP
You can toggle the visibility of other overlays using the eye icon next to the given overlay - for example, show or hide aerial imagery by clicking at the eye icon next to Ref. Images
You can also adjust the size of the Display Texts using A- and A+ buttons in the top-right corner of the canvas or hide them using the crossed A button.
Exporting Design Legend
Similarly to exporting your design drawing, you can generate a PDF document of a legend to accompany it.
All visible objects in the selection area for printing with a display name and description set will be included in the legend.
Printing Your Design
- Open the PDF file.
- Use the print function in the program you used to open the PDF file.
- Make sure the selected Paper Size and Orientation (landscape/portrait) match the one you selected in Permiehub.
- Make sure the Scale is set to 100%.
- Click on the Print button.
Important
When printing the exported PDF, always set the Scale to 100%.
Do not enable features such as “Scale to Fit” or “Fill Entire Paper” as it may shrink the image and result in the scale not being accurate.