Drawing Water Tanks & Irrigation Lines
Learn how to map water tanks and irrigation lines onto your site plan in Permiehub. Customise tank shapes and dimensions, label storage contents, set directional flow arrows, and apply custom filters to create clear, printable water infrastructure plans.
Why Place Tanks on Your Design?
Severe drought, wasted rainwater, and costly installation errors happen when water storage is treated as an afterthought. Because water dictates the location of every plant, building, and pathway downhill, miscalculating your storage placement creates compounding problems across your property.
Do you need the step-by-step guide right now? Jump straight to placing your first water tank.
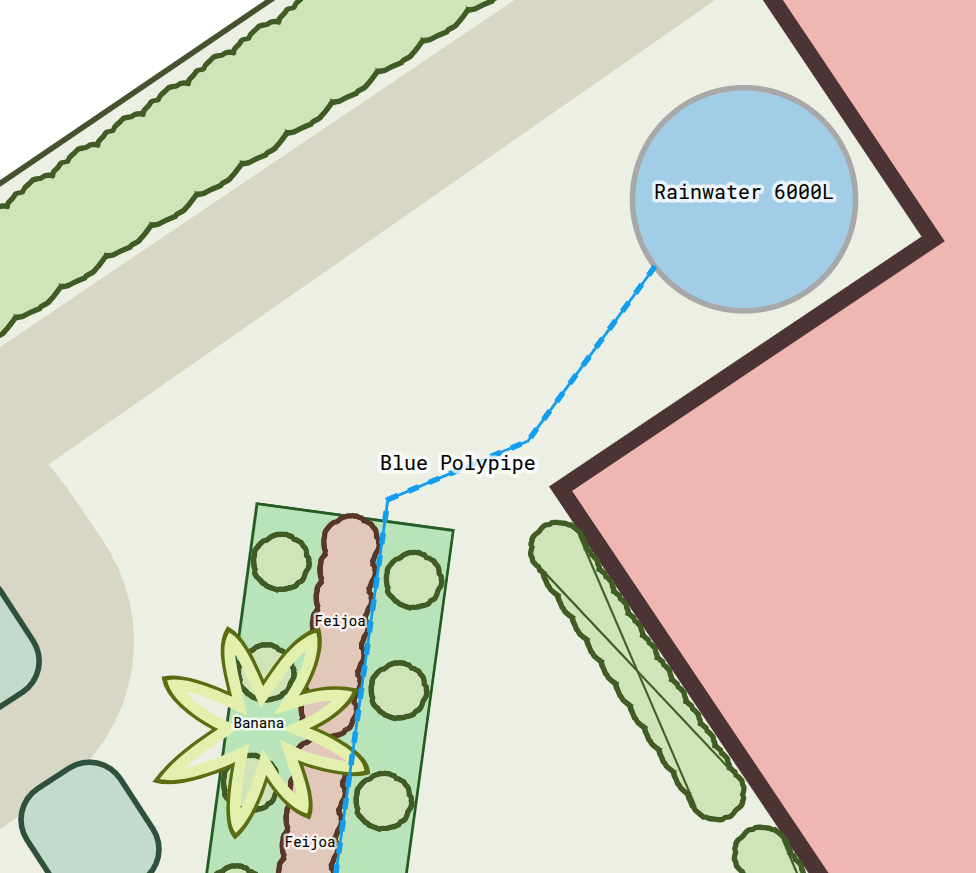
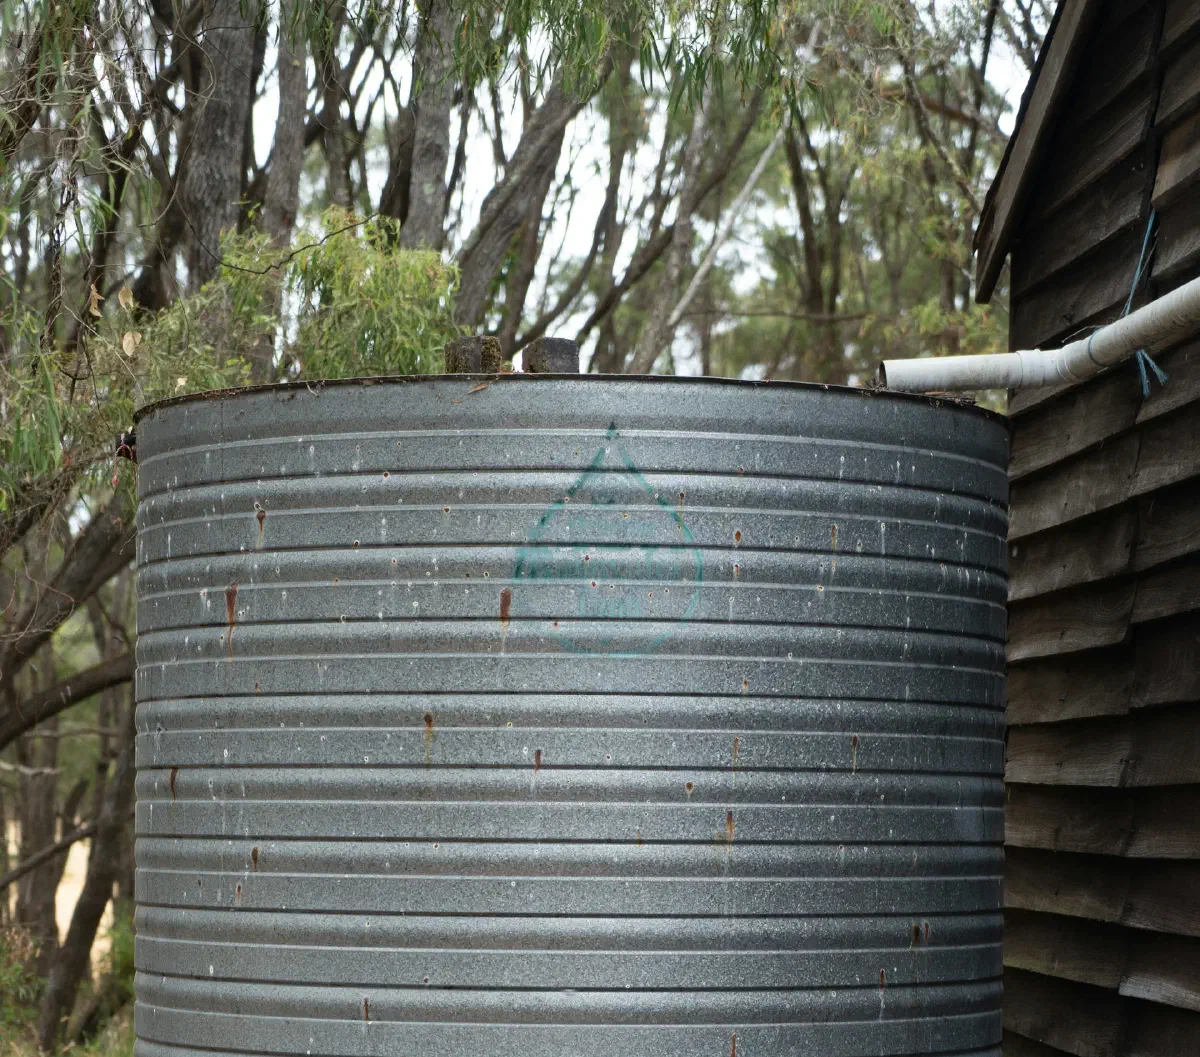
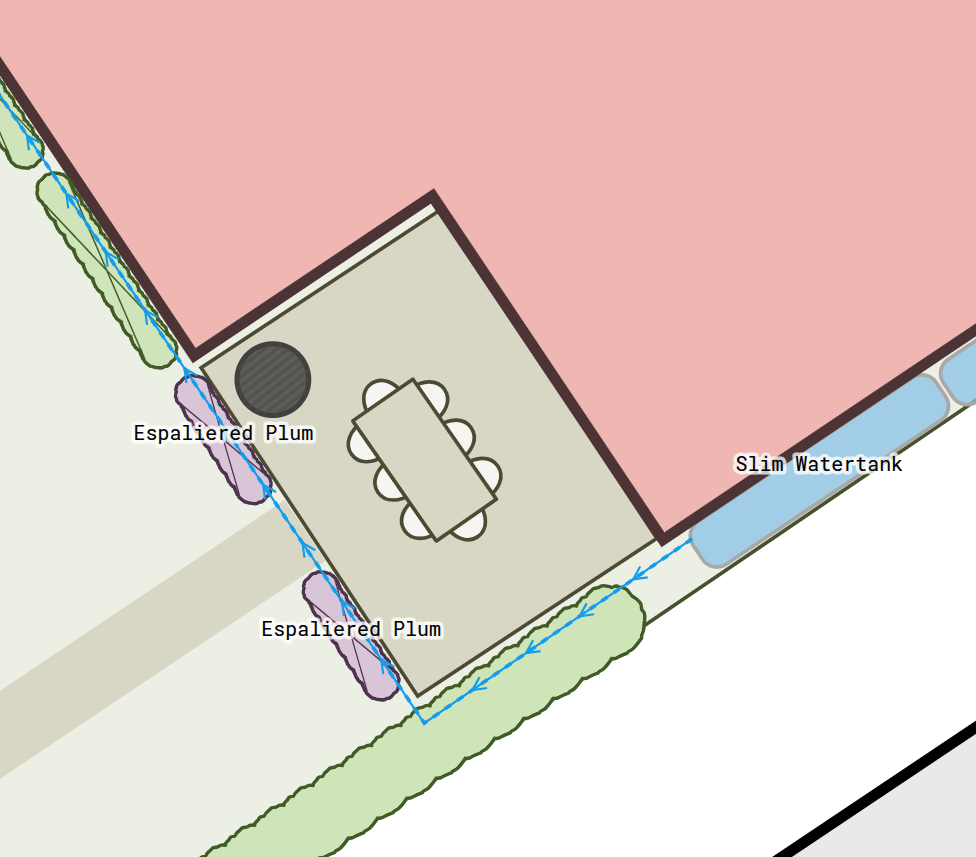
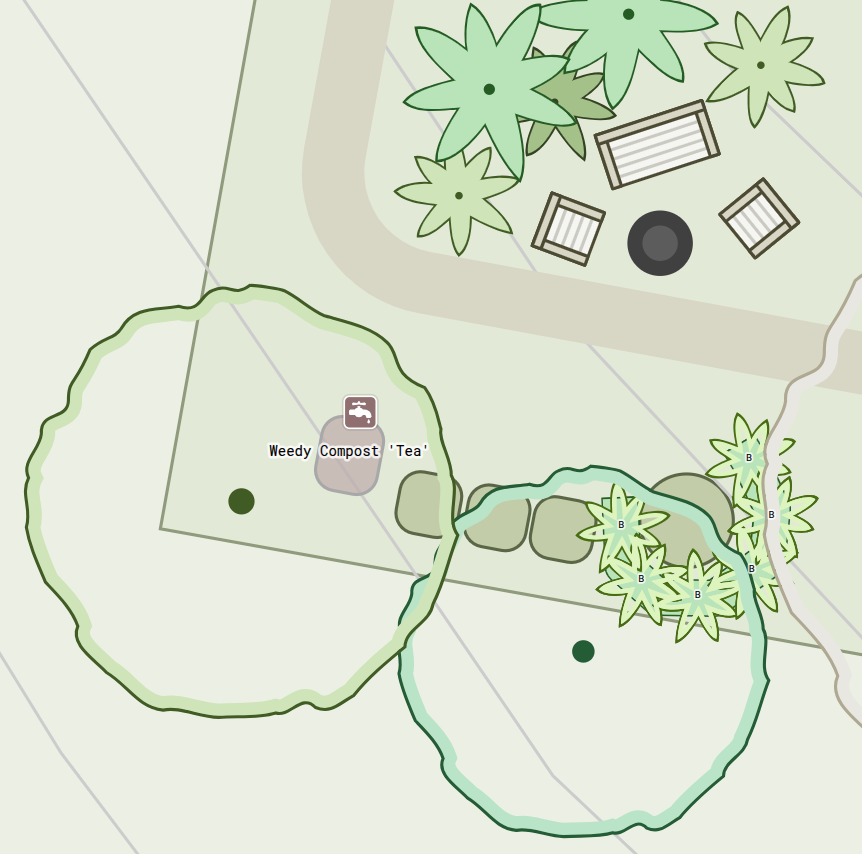
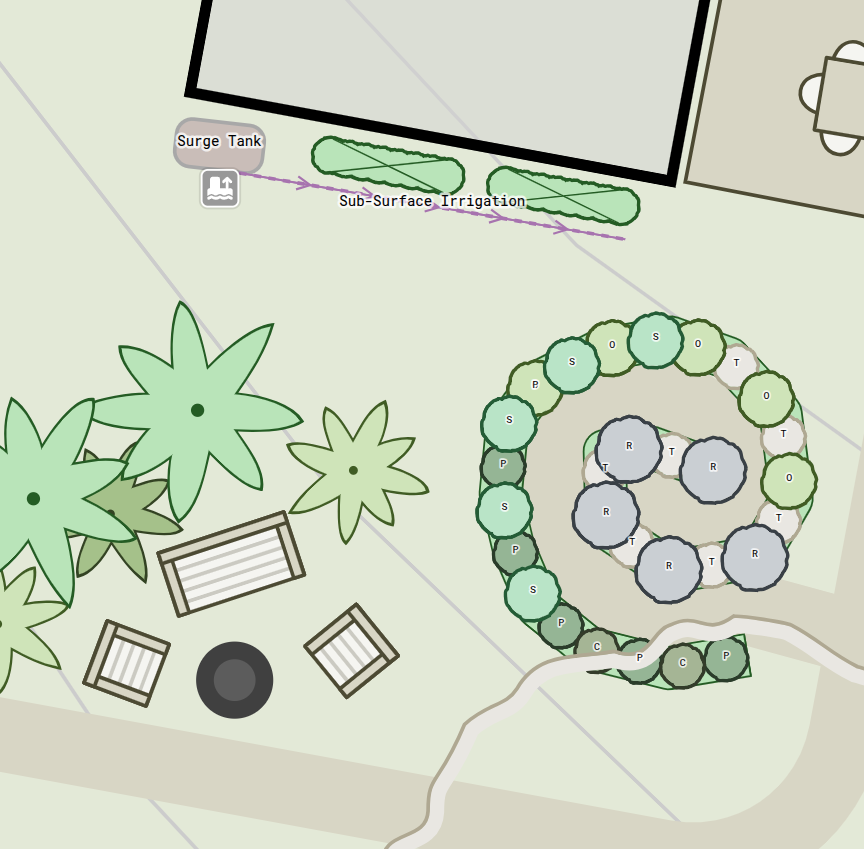
Our Goal
Following the steps in this guide allows you to accurately plan and customise your site water infrastructure. Specifically, we cover how to:
- Record and label storage contents to clearly separate rainwater from greywater, aerated compost teas or liquid fertilisers.
- Record exact storage capacity to monitor total site water security.
- Customise length and width measurements so physical tanks fit within strict boundary setbacks.
- Adapt round tanks into rectangular formats to clear tight access paths along house walls.
- Convert general draft lines into active water pipes across your property layout.
- Colour code pipe runs to distinguish clean garden irrigation from subsurface greywater lines.
- Set flow direction arrows to indicate gravity-fed water movement across contour slopes.
Alternative Tools
The Permiehub toolbox includes additional storage container options such as aquaculture tanks, fuel storage, and chemical vats. These tools operate using the same workflow, where changing the Tank Contents attribute automatically adjusts the visual styling of the container on your canvas. You can edit their capacity, dimensions, and labels using the exact same property panel steps.
Starting Point
To successfully map water storage and irrigation across your site, ensure your editable project canvas is open. The water tank and utility line tools offer customisable properties, but having a clear idea of your roof catchment locations, contour lines, and key garden zones will help you place infrastructure accurately.
Step 1: Place Water Tanks
Select either the Round Water Tank or the Rectangular Water Tank tool from the Tools menu on the left side of your canvas screen.
Click directly onto your canvas to stamp the tank into position on your drawing.
TIP
To quickly find water-related tools in your project, type water as a search keyword into the toolbox search bar. To make selection of tools simple, each overlay of the canvas will show only options related to the work being done in that stage of the design. Mapping of infrastructure falls into the Base Map and Detailed Design overlays.
Step 2: Modify Water Tank Properties
Adjust specifications in the attributes sections of tanks to set their geometry, volume, and contents.
Change Water Tank Shape
- Select the tank on your canvas.
- Click the edit icon next to the Tank Shape attribute.
- Select Round or Rectangular from the options.
- Confirm the change by clicking the Save button.
Example of Changing Water Tank Shape in Permiehub
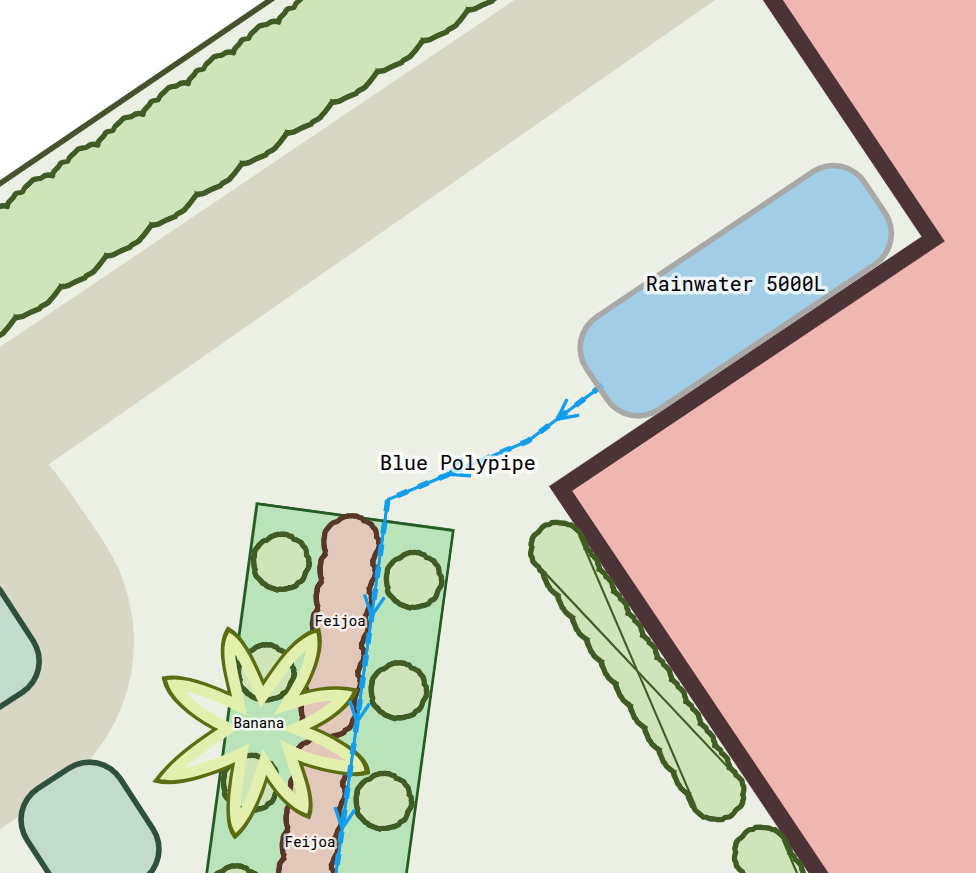
In this example, we wish to fit a tank into a side passage alongside a house wall and leave enough clearance on the pathway. We selected the originally placed round tank, clicked the edit icon next to the Tank Shape attribute, selected Rectangular from the options, and clicked Save. The result is a rectangular tank footprint that fits neatly against the wall while preserving a wider pathway.
Edit Tank Contents
- Select the tank on your canvas.
- Click the edit icon next to the Tank Contents attribute.
- Select your material from the available options.
- Click Save to apply your selection.
Example of Editing Tank Contents in Permiehub
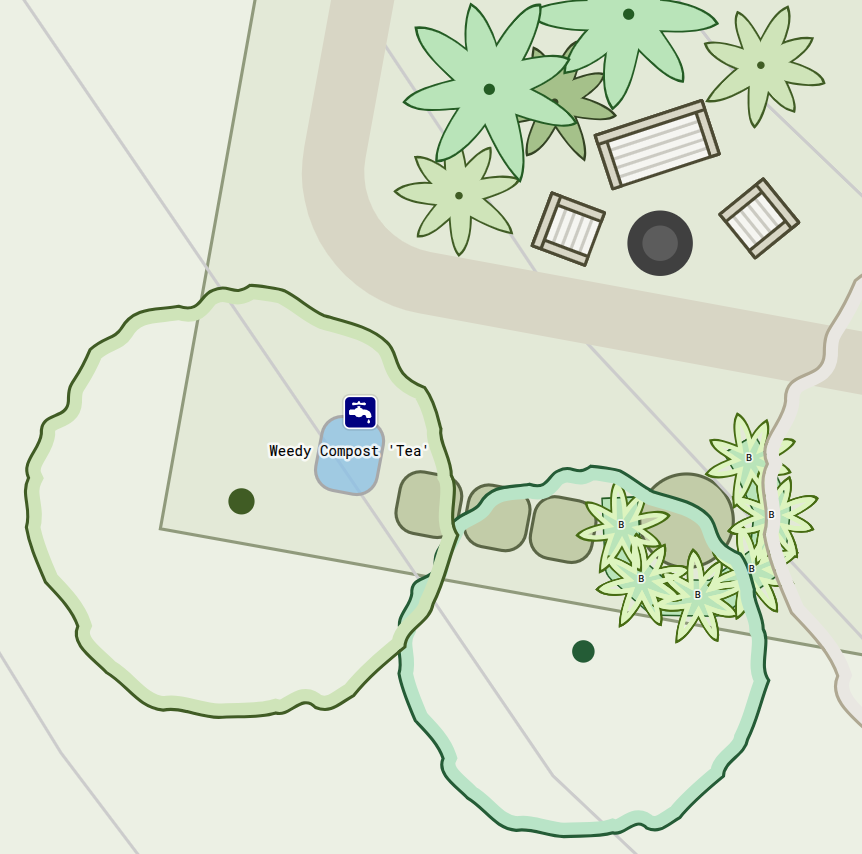
In this example, we wish to distinguish a tank and tap used for brewing compost tea from a regular rainwater tank. We selected the tank, clicked the edit icon next to the Tank Contents attribute, selected Fertilizer from the dropdown menu, and clicked Save. The resulting tank reflects the contents with a unique colour so that we can clearly recognise it on our plan and prevent mixing up drinking water and liquid plant nutrients.
Set Tank Capacity
- Select the tank on your canvas.
- Click the edit icon next to the Tank Capacity attribute.
- Enter the volume, or use the plus and minus buttons to adjust the amount.
- Click Save to store your updated capacity.
TIP
To show the tank’s capacity directly on your drawing, you can set a label on your water tank with any notes you need to display. For longer pieces of information, consider filling out the description of your tank and then including it in the drawing legend.
Adjust Tank Dimensions
- Select the tank on your canvas.
- Click the edit icon next to Tank Diameter or, in case of a rectangular tank, the Tank Length and Tank Width measurements.
- Enter new measurements to reflect your actual tank specifications.
- Click Save to store the new dimensions.
Example of Adjusting Tank Dimensions in Permiehub
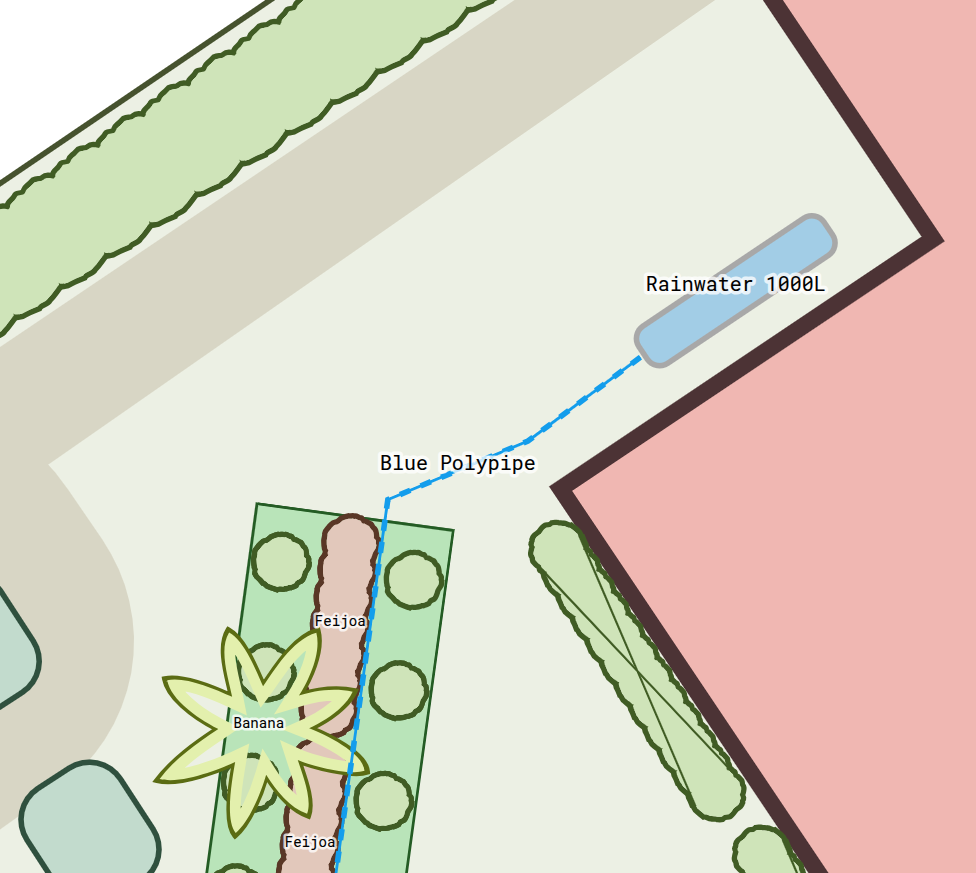
In this example, we wish to ensure a rainwater tank fits within property setbacks and leaves enough space for access. We selected the rectangular tank, clicked the edit icon next to the Tank Length and Tank Width attributes, adjusted the measurements to match a slimline model, and clicked Save. The result is an updated scale representation on the site plan showing exact clearances around driveways and boundaries.
Step 3: Draw Water Lines
Select the Water or Stormwater tool under Utility Lines from the Tools menu on the left side of your canvas screen.
Click and drag directly onto your canvas to draw the line into position on your layout.
Step 4: Modify Water Line Properties
Customise line attributes in the attributes sections to define pipe function, water classification, and directional flow.
Change Utilities Line Types
To change other utility lines into water lines, take the following steps.
- Select the line on your canvas.
- Click the edit icon next to the Type attribute.
- Select Water from the list to convert any line into a dedicated water pipe.
- Click Save to apply your selection.
Specify Water Type
Once your utility line is marked as a water line, you can also choose to set the specific type the pipe carries.
- Select the line on your canvas.
- Click the edit icon next to the Water Type attribute.
- Select your water category from the available options, such as potable water, greywater, or irrigation supply.
- Click Save to apply your selection.
Example of Specifying Water Type in Permiehub
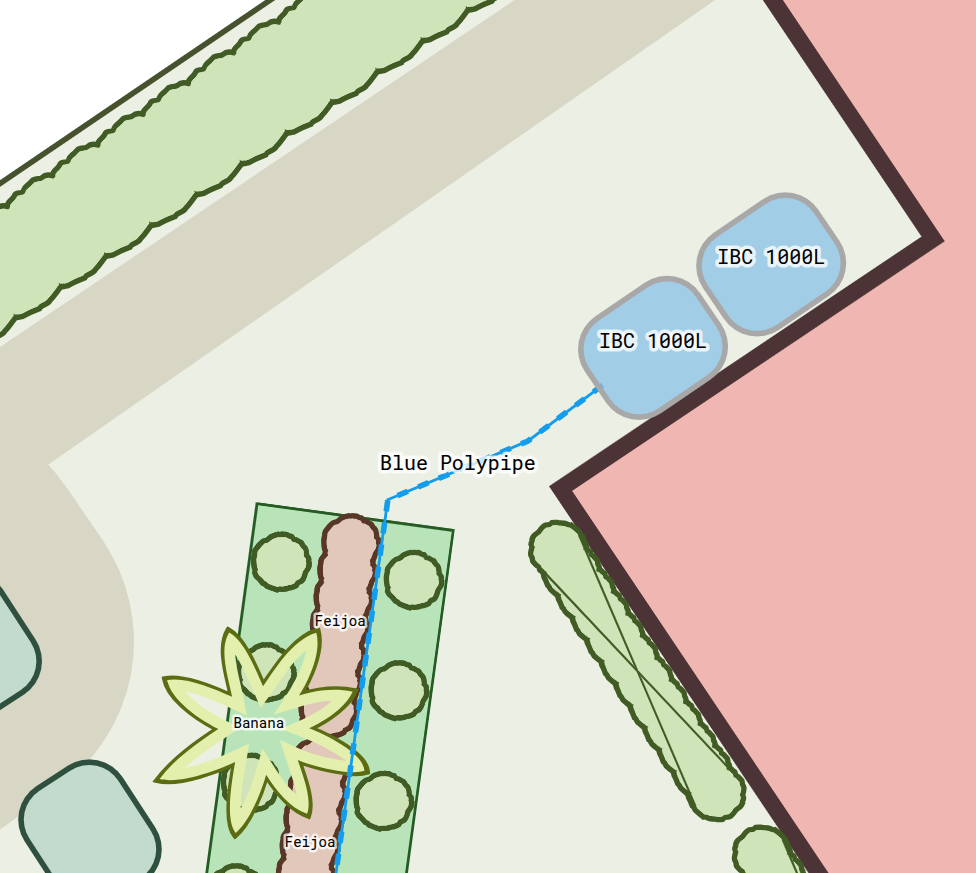
In this example, we wish to systematically colour code irrigation lines to distinguish rainwater supply from greywater reuse. We selected the garden supply line, clicked the edit icon next to the Water Type attribute, selected greywater from the available list, and clicked Save. The resulting colours differentiate the water quality across our design.
Set Flow Direction
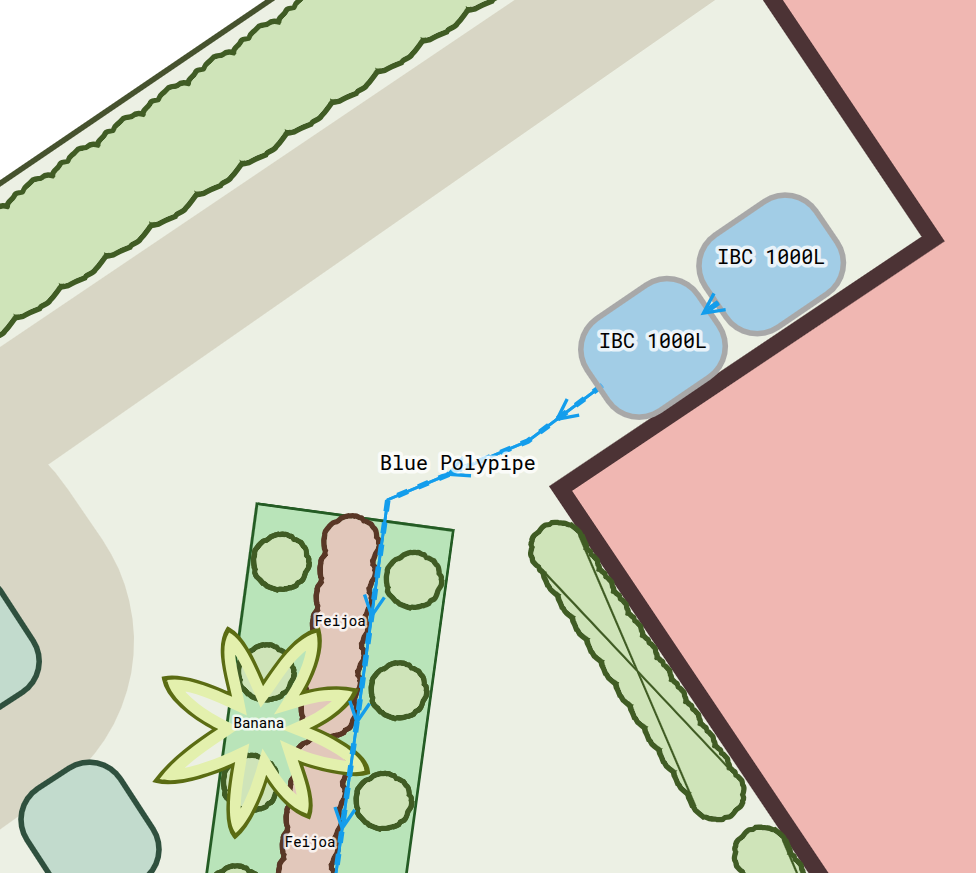
By default, your utility line does not have a direction visualised on the canvas. You can change it by setting the Flow Direction attribute, which relates to the way you drew the line onto your canvas.
- Select the line on your canvas.
- Click the edit icon next to the Flow Direction attribute.
- Select Forward or Backward from the dropdown menu to define liquid movement.
- Click Save to confirm the flow direction across your layout.
Example of Configuring Flow Direction in Permiehub
In this example, we wish to indicate downward flow from a tank on higher ground into a downhill food forest planting row. We selected the supply pipe, clicked the edit icon next to the Flow Direction attribute, chose Forward from the dropdown options, and clicked Save. The result is a clear directional indicator on the line showing exact fluid movement across the design drawing.
Set Labels for Water Tanks and Lines
For complex designs, or when you want to highlight elevation and storage details across your water network, adding labels can be helpful.
Select the water tank or line on your canvas to open its properties panel.
Click the edit icon next to the Label attribute.
Enter your custom text into the input field.
Confirm your label by clicking Save.
Important
To view labels on your drawing, they must be enabled and large enough to see. Make sure the label toggle in the top-right corner of your canvas is turned on.
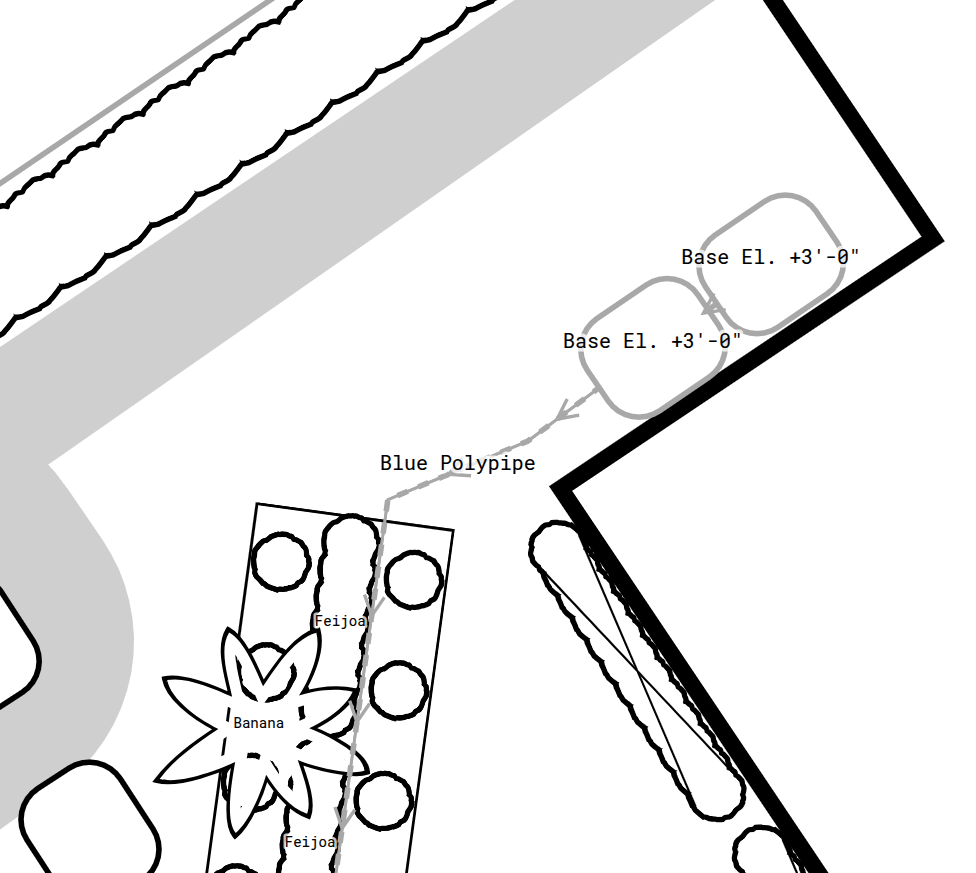
Example of Adding Labels to Water Tanks in Permiehub
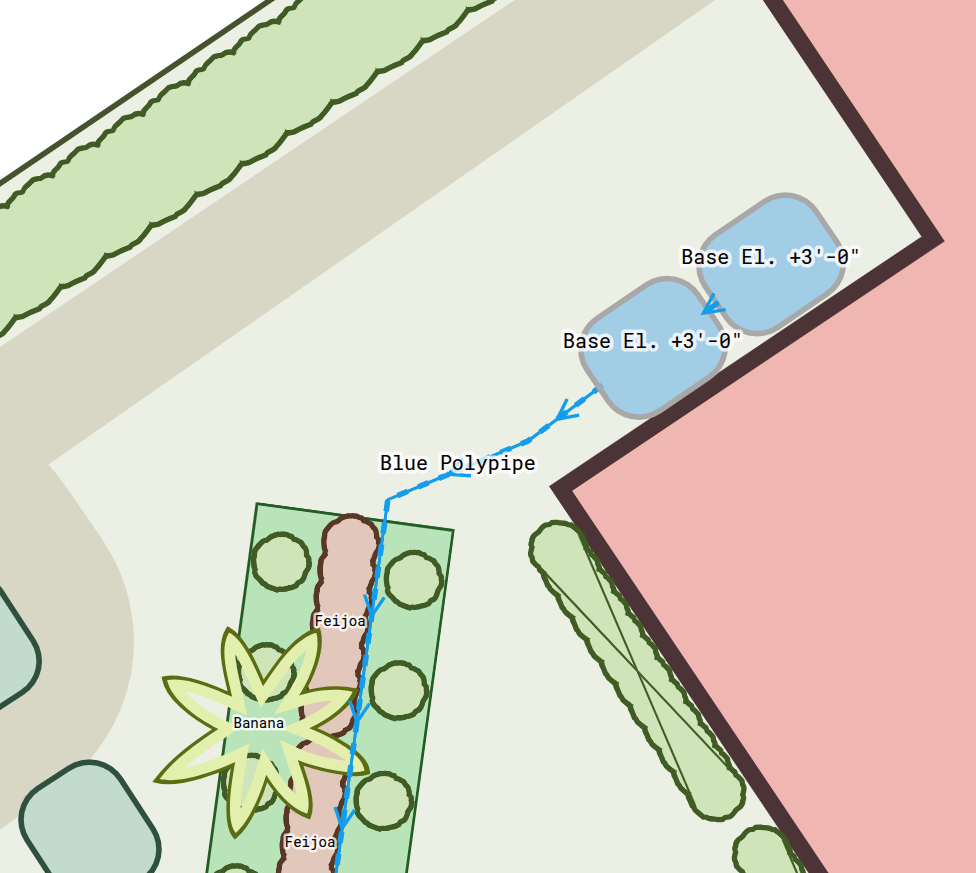
In this example, we wish to add labels to our tanks placed on an elevated footing to indicate their relative site elevation and storage capacity. We selected both tanks to edit them in bulk, clicked the edit icon next to the Label attribute, entered a new label, and clicked Save. The result is a clear label displaying tank elevation.
Step 5: Reuse Water Tank & Line Settings
Once you have configured a water tank or pipe run with specific attributes, you can copy and paste the object to duplicate your settings quickly across the layout.
Duplicate Water Tanks and Lines
To duplicate a water tank or utility line, select it and click the Duplicate icon. Alternatively, press Ctrl+C and Ctrl+V on your keyboard, or Cmd+C and Cmd+V on Apple systems.
Set Attributes of Water Tanks in Bulk
To change multiple objects, you can set their attributes in bulk.
On your keyboard, hold Shift while selecting multiple objects.
In their attributes sections, apply new values to all of them.
Important
When changing attributes in bulk, attributes that are different will apply only to the objects which normally carry them.
Step 6: Export Water Tank & Irrigation Drawing
Once you have created your design, you might want to export it as a PDF to share or print. You can do so with the Download to Print tool. Before printing, you can consider some options to display your drawing more clearly.
Enable Labels
To view labels, the label toggle in the top-right corner of your canvas must be enabled. You can click Enlarge Labels or Shrink Labels to adjust their size.
Toggle Drawing to Greyscale
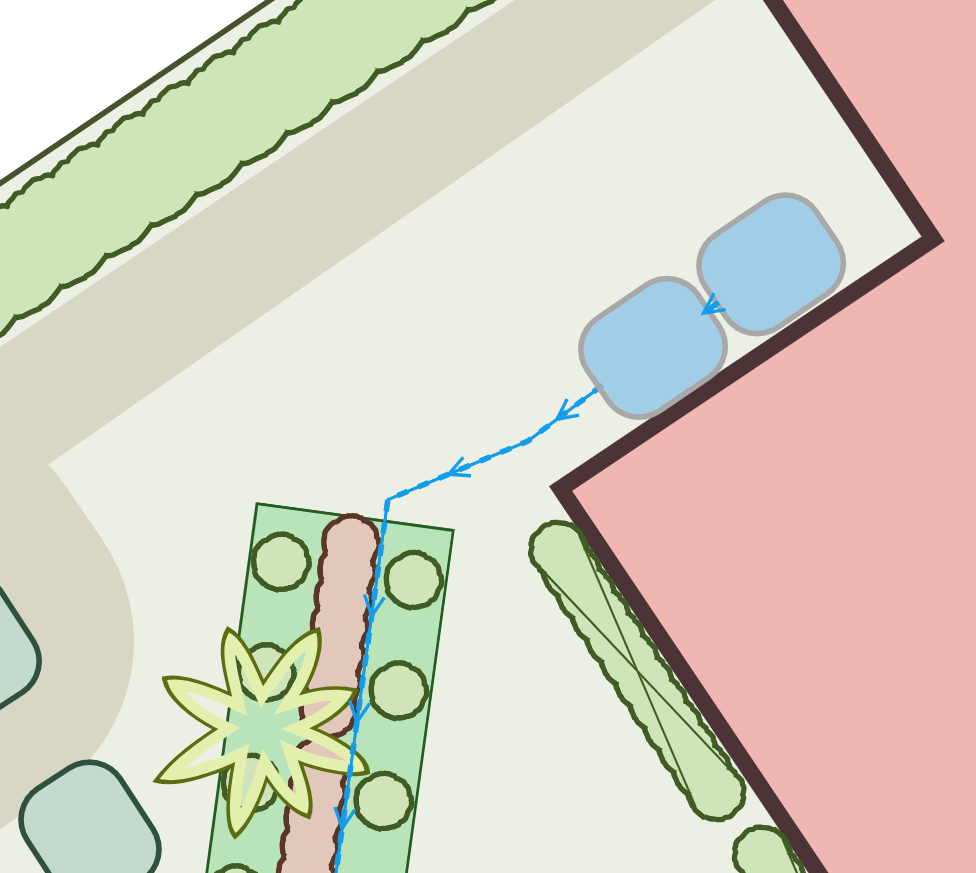
For printing, greyscale might be more convenient. You can use the toggle in the top-right corner of your canvas to remove colour from your drawing.
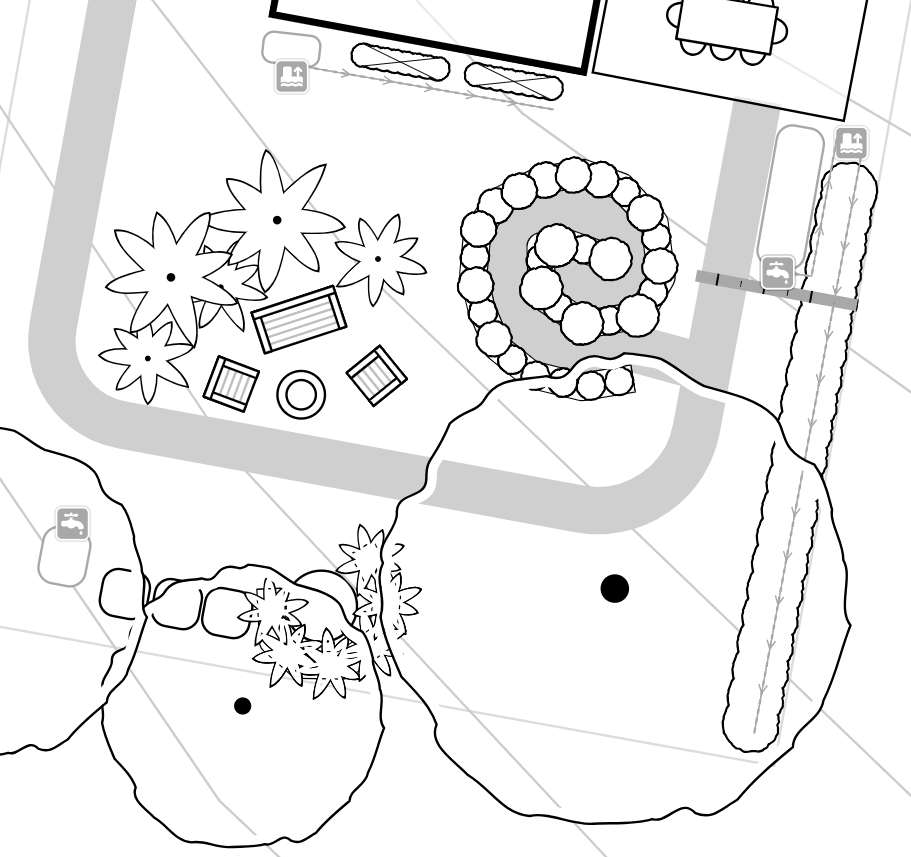
Use Measuring Tape Tool
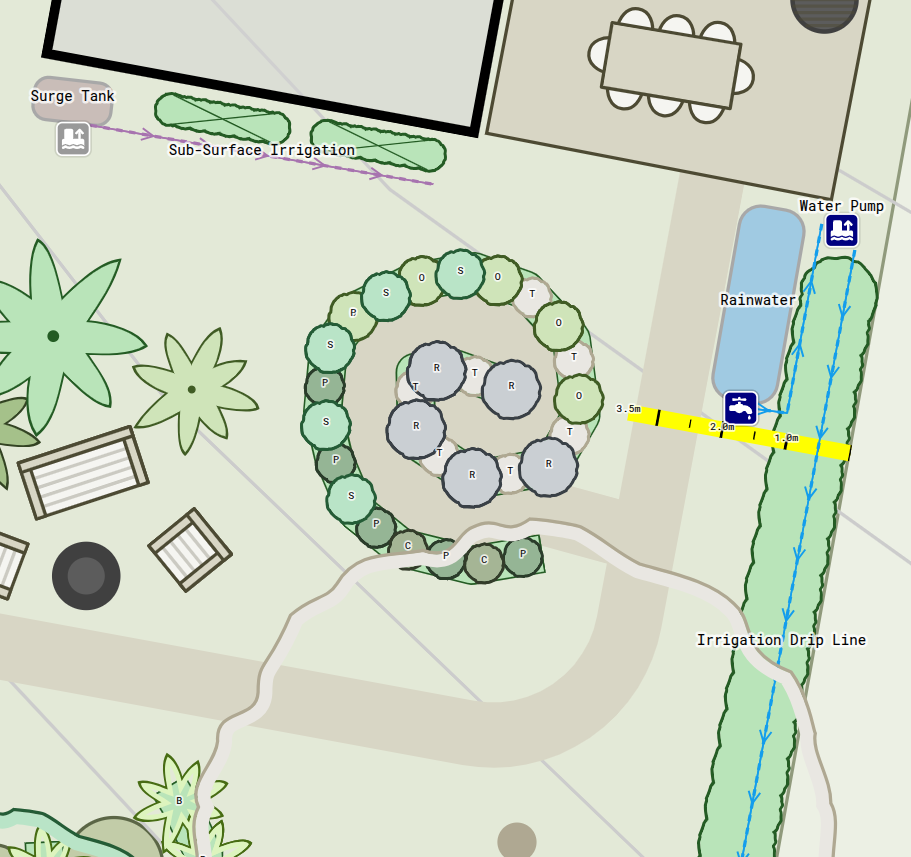
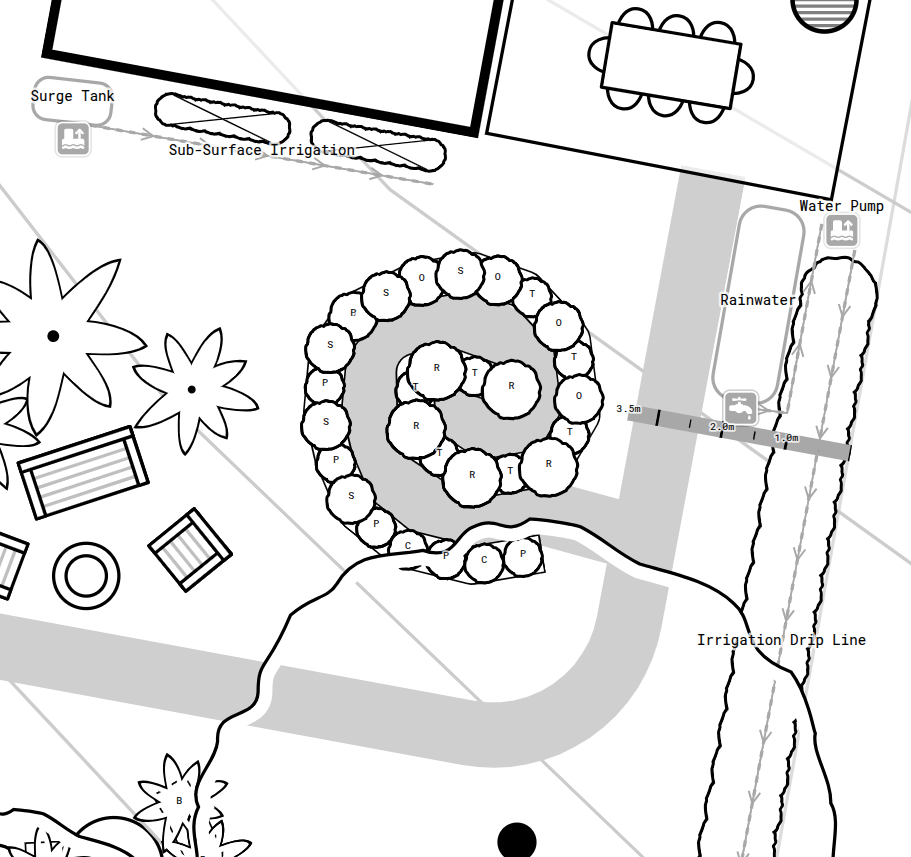
You can use the Measuring Tape tool to draw a reference scale for your water infrastructure, making physical distances and tank dimensions easy to read.
Select the Measuring Tape tool from the toolbox.
Tap the canvas to place the first point of the tape.
Tap a second time to secure the tape measure on your canvas.
Use Custom Filters to Set Greyscale
Custom view filters allow you to isolate and highlight water tanks and irrigation lines on your site plan. Highlighting elements creates clear, high-contrast utility maps. To isolate water tanks and irrigation lines on your site plan by changing the other elements to greyscale, click the top-right custom filtering toggle button. Then find in the list matching types of objects to change by clicking the palette icon next to them.
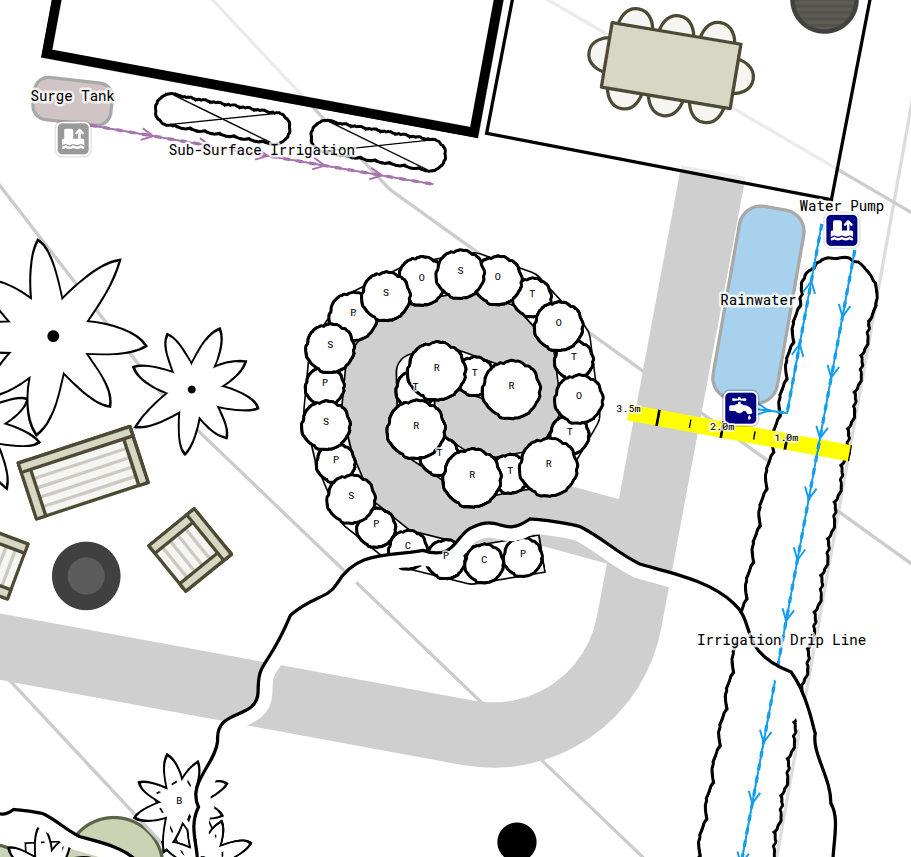
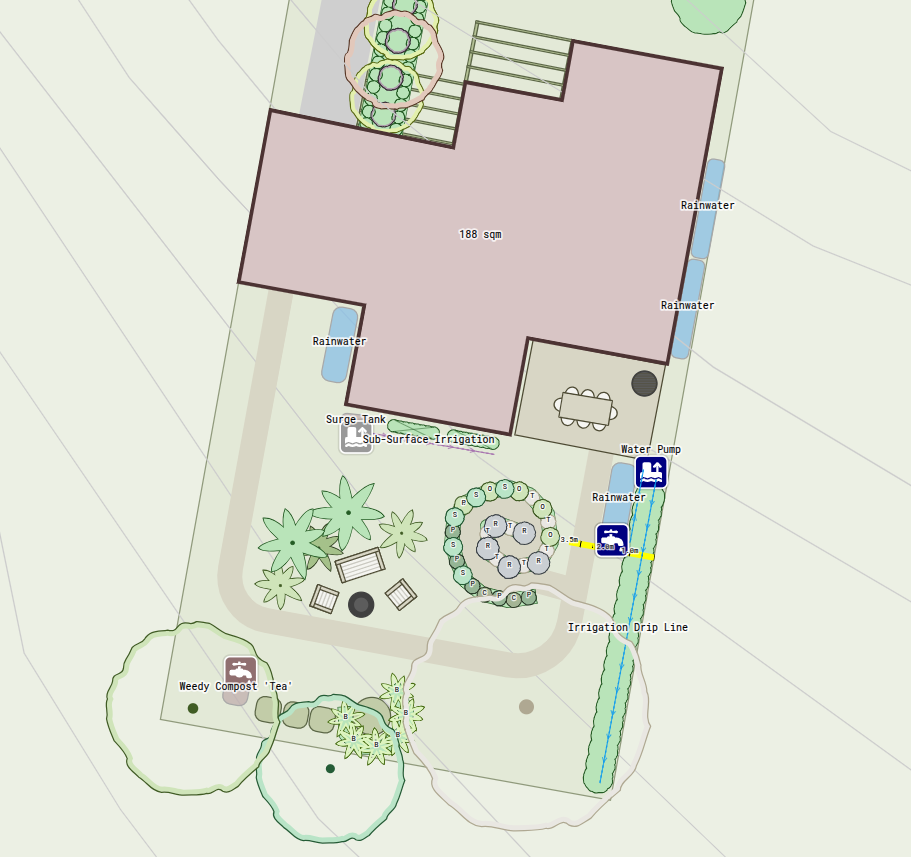
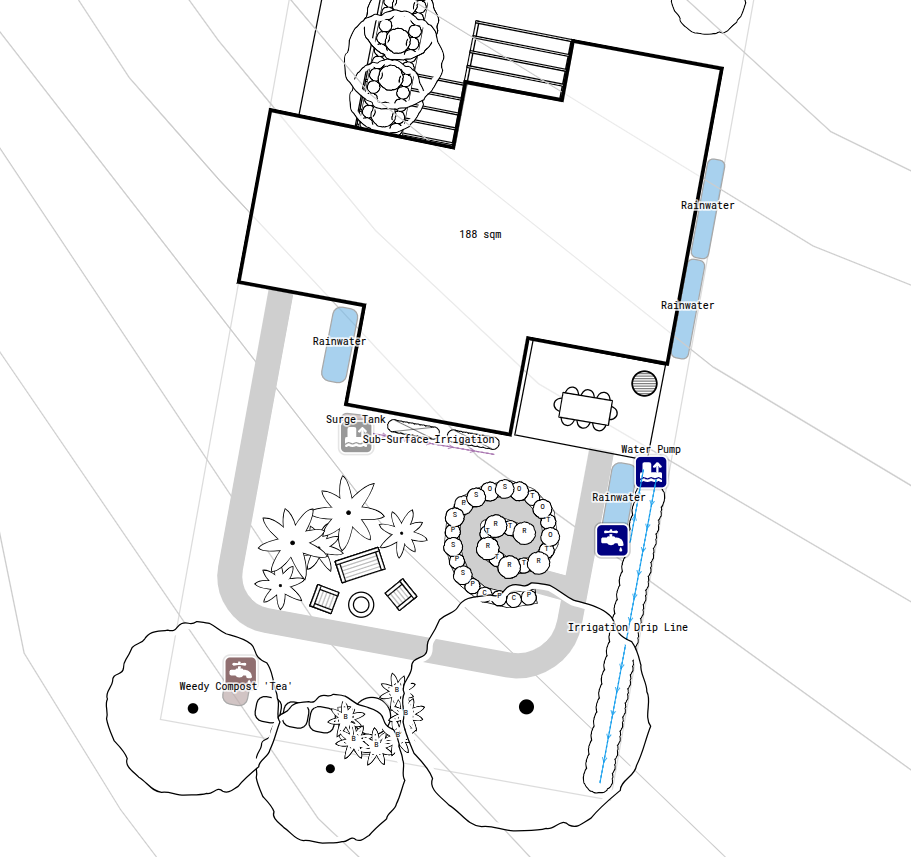
Example of Highlighting Irrigation in Permiehub
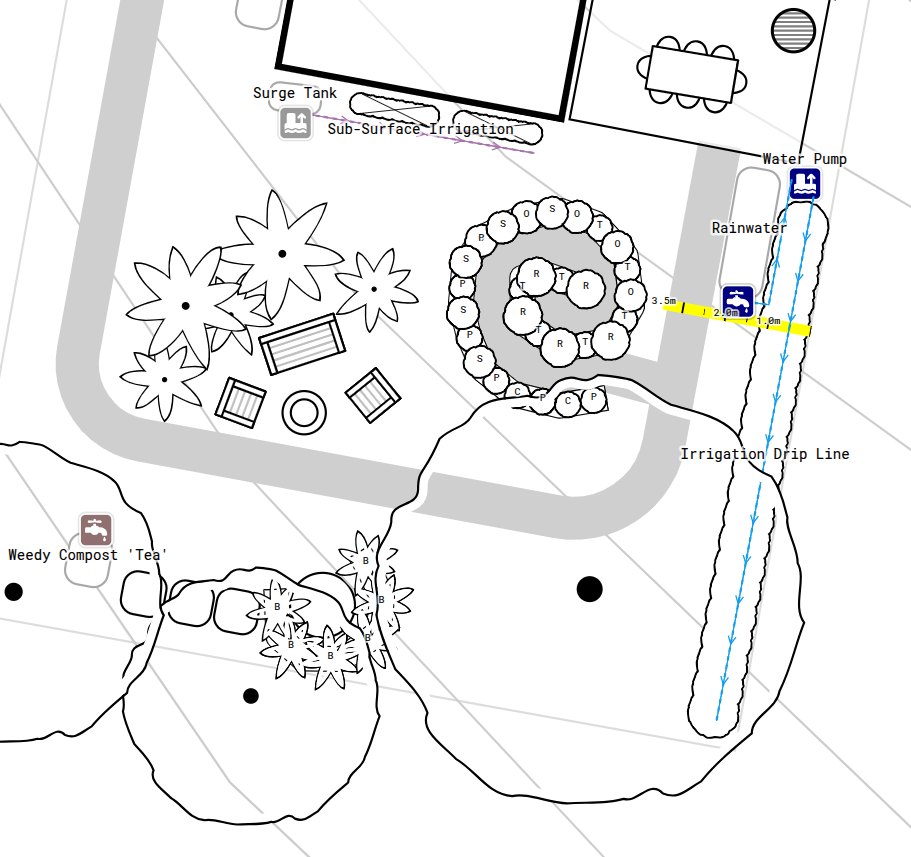
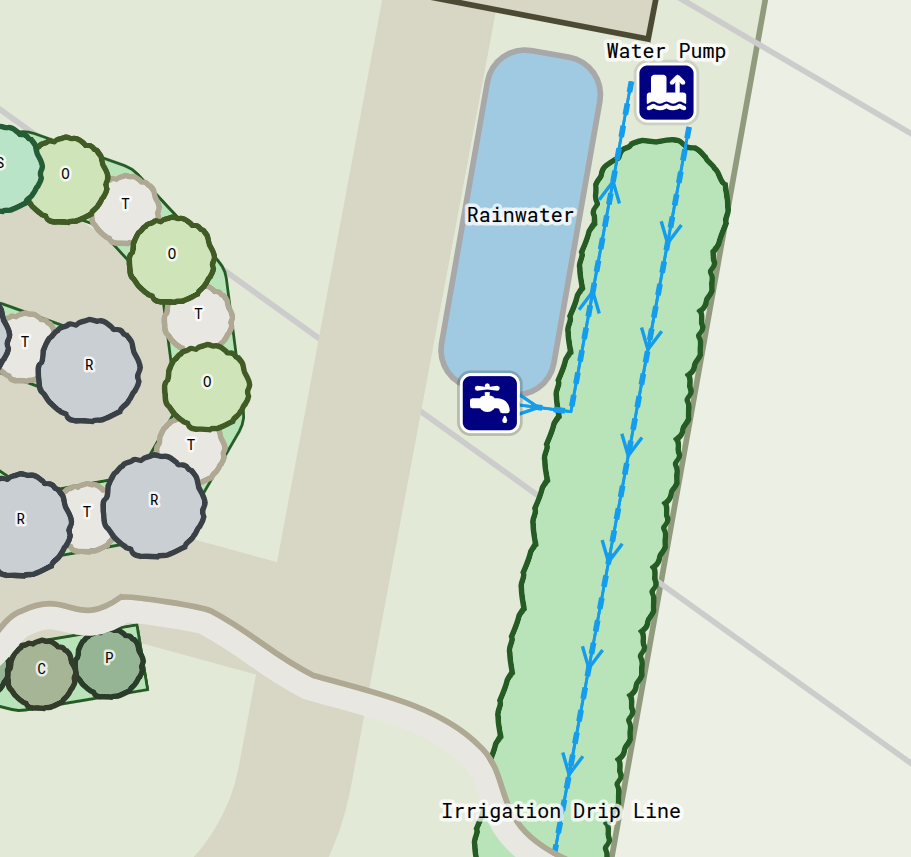
In this example, we wished to showcase the planned water tank position in relation to the boundary. We started by using relevant tools from the toolbox. We placed the rectangular tank, element markers for a tap and a pump, drew irrigation lines, and set their flow direction. Lastly, we attached a ruler to show the boundary setback.
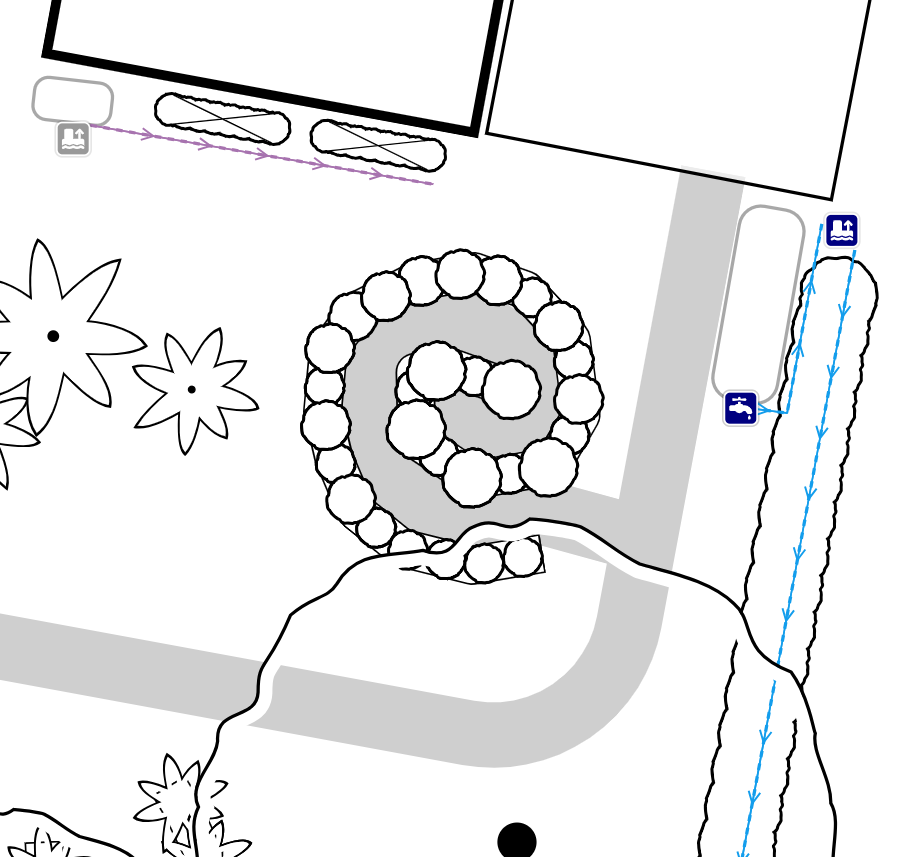
To highlight the planned changes, we clicked the custom filter toggle in the top-right corner. We clicked the palette icon to turn overlays to greyscale. Once every object changed, we then toggled the palette icon for Tanks, Element Markers, Ruler, and Utility in the overlay we drew them in, which was Detailed Design. We kept the original colours of those utility objects while rendering chosen elements in greyscale to produce a clear water infrastructure drawing.
Use Custom Filters to Hide Objects
Custom view filters allow you to not just highlight objects, but also hide them. To isolate water tanks and irrigation lines on your site plan by removing other elements, click the top-right custom filtering toggle button. Then select in the list matching types of objects to hide or show.
Example of Hiding Objects in Permiehub
In this example, we wanted to highlight the irrigation lines on our drawing. We changed the custom filter settings to hide the seating areas and contours by toggling them off in the list of objects in relevant overlays.
Don't Leave Your Water Security to Chance
- Avoid wasted rainwater and costly installation errors by planning your layout visually. Map storage tanks, pipe runs, and gravity flow on Permiehub to secure your site water supply.
- Start Trial Today