Drawing Planting Rows
Explore how to visualise a food forest, planting guilds, orchards, syntropic agroforestry rows, and planting nests in Permiehub.
Food Forest Design Step by Step: Using the Permiehub Planting Row Feature
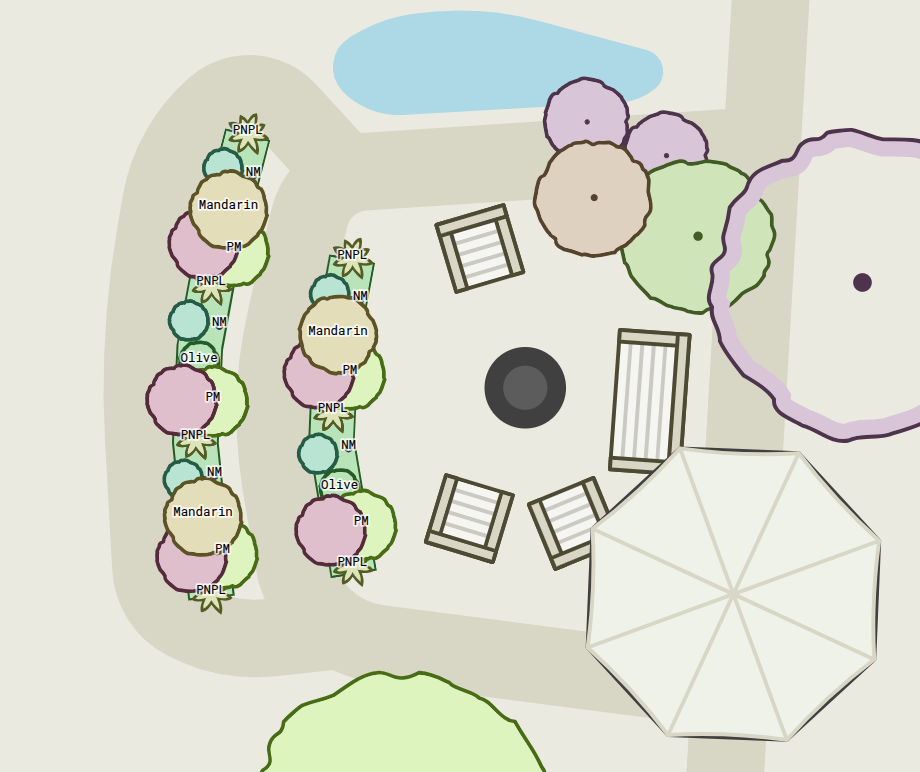

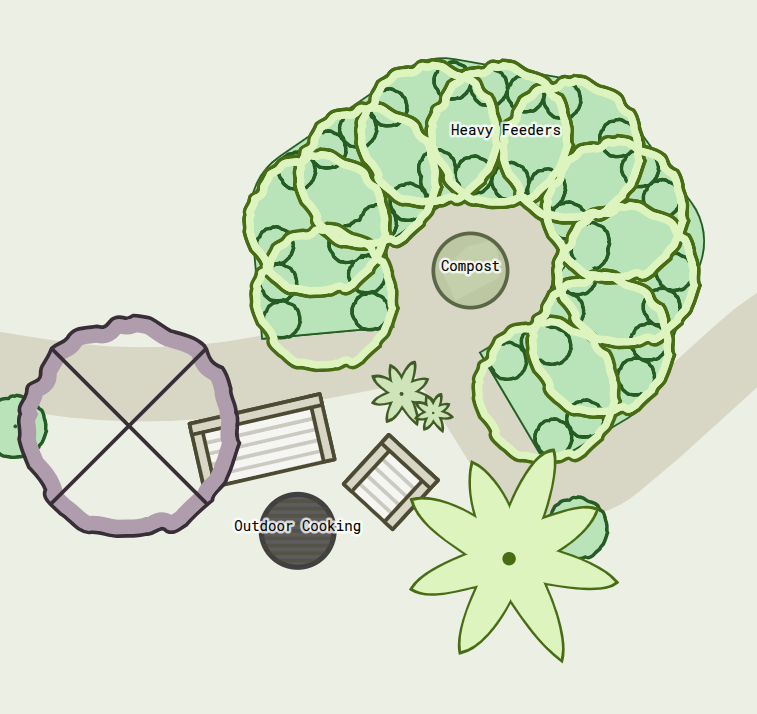
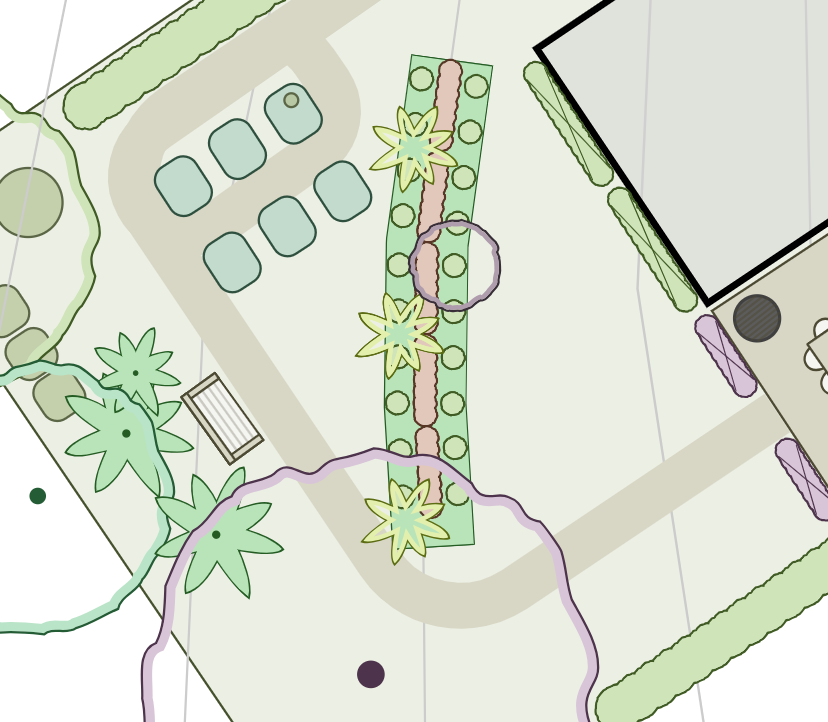
Explore the examples below to see how you can digitally visualise food forests, orchards, shelterbelts, privacy screens, and more using the Planting Row tool in Permiehub, built specifically for permaculture.
Already know what you want to create and need the step-by-step guide right now? Jump straight to drawing a new planting row.

Visualise Your Food Forest in 3 Easy Steps
1. Draw Your Row
Select the Planting Row tool and draw your line along a contour, straight path, or custom shape.2. Apply Preset
Choose a template - like Layered Food Forest or Syntropic Agroforestry rows - to instantly place trees along the line.3. Customise & Visualise
Tweak plant spacing, adjust colours, and visualise growth stages over time to see how your system matures from planting day to full size.Why Use Planting Rows?
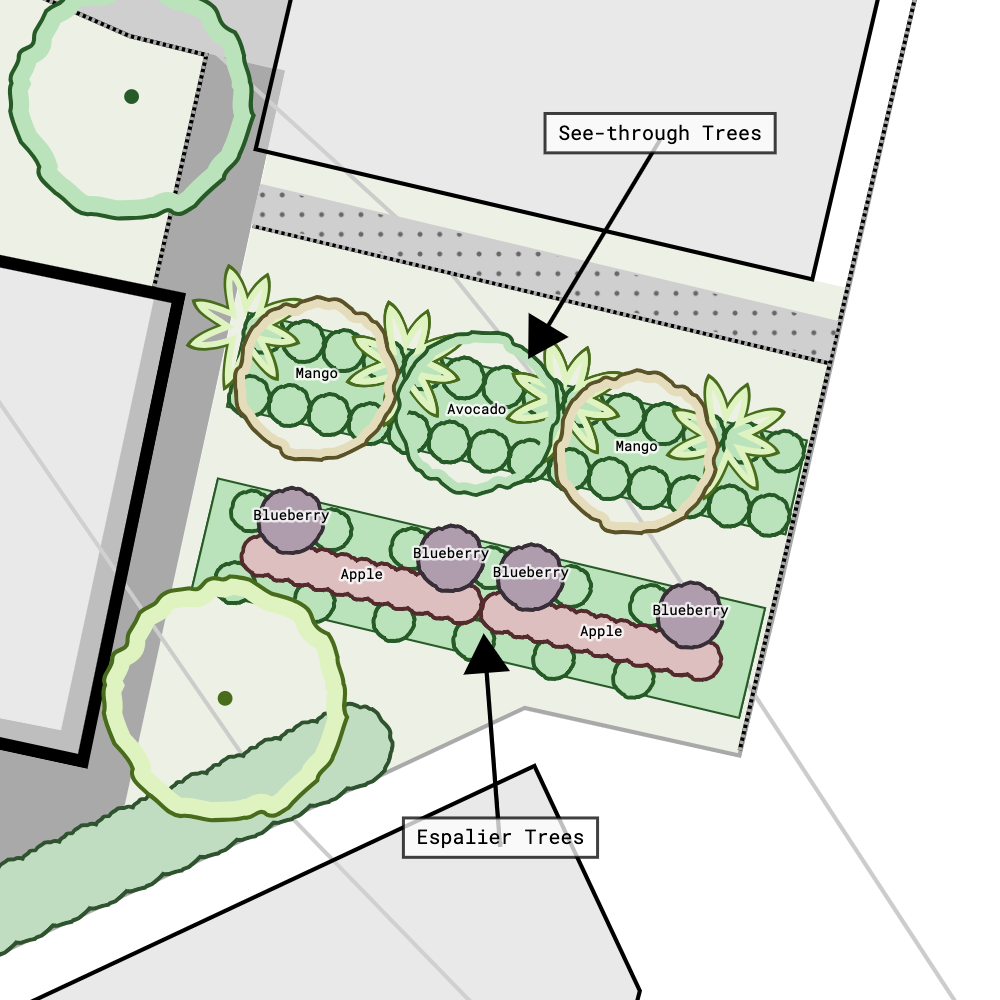
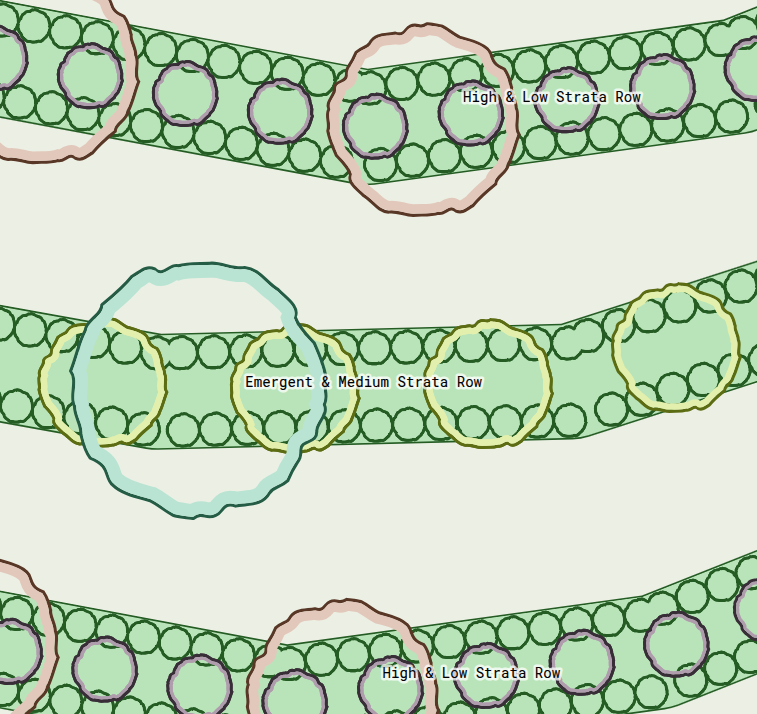
The Planting Row tool helps you to visualise your plant system, which might be a guild, orchard, food forest, or crop row. You can use it to create a multi-line planting row, essentially simulating multiple parts of complex systems like syntropic agroforestry’s perennial and vegetable cropping combination. Despite the supported complexity, you can create simple repeating systems and visualise them over time. The following article presents an example of a simplified espaliered orchard with accompanying support species used for continuous mulching of the productive system.
Benefits of Designing Guilds, Orchards, and Food Forests with Permiehub’s Planting Row
Permiehub’s Planting Row tool simplifies visualising layouts of repetitive plantings in the detailed design stage. It suits plantings where you want to:
- quickly visualise larger numbers of plants along a segmented or straight line,
- know how many plants to propagate or purchase for the planting,
- visualise the size of plants over time,
- measure the distance needed to plant out,
- and easily resize, move, or change the visual style of multiple plants at once.
Alternative Tools
The Planting Row tool is suitable for more complex systems. For individual evergreen, deciduous, or palm-shaped plants, you can search for corresponding tools. Similarly, there are drawing tools for evergreen or deciduous hedges and espaliered trees.
Starting Point
To successfully visualise a planting row in your design, you should have your editable project open. The Planting Row tool itself provides customisable templates, but knowing the placement, orientation, and rough size of the planting row area is also helpful.
Step 1: Draw Planting Row
To start drawing your planting row in Permiehub, select the Planting Row tool from the tools menu in your project. The first click on your drawing will mark the start of your planting row. You can either continue clicking on the canvas to define parts of your planting row or finish a straight line with a second click where the planting ends.
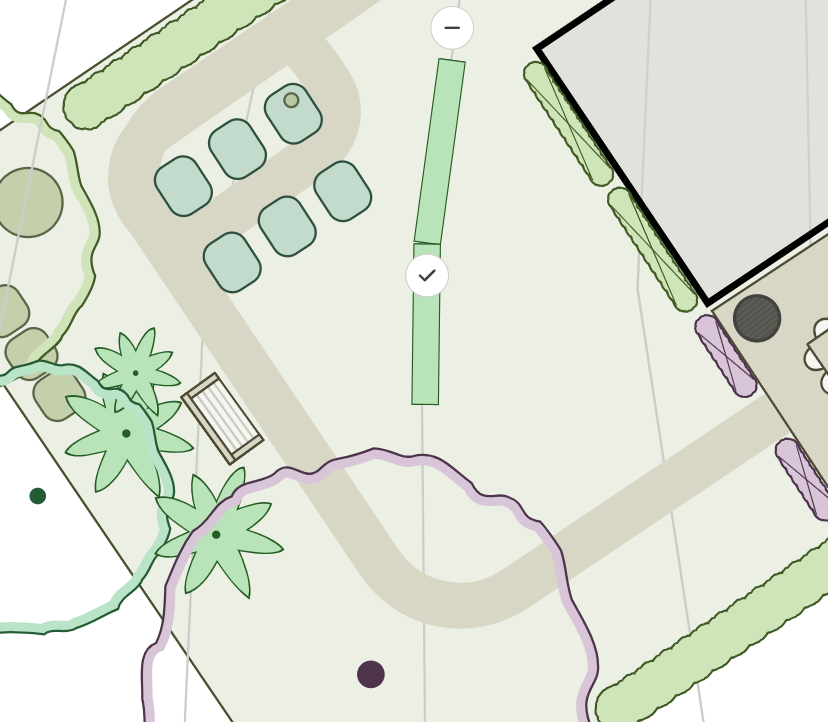
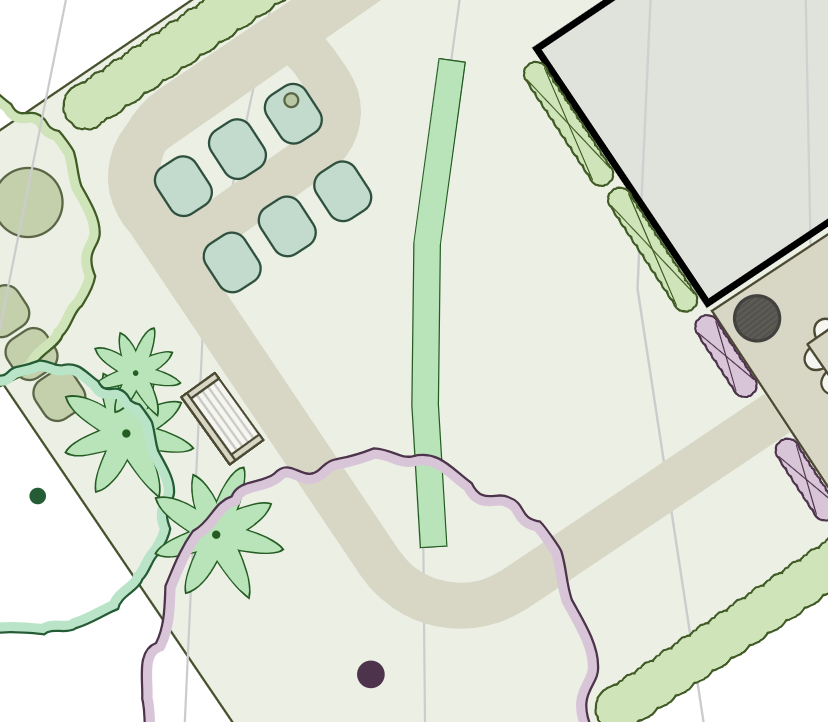
Example of Changing the Order of Overlapping Trees and Rows in Permiehub
Sometimes we might be drawing our planting row near the canopies of existing trees, especially if they do not affect the sun requirements of the planting row. Since we might have already mapped existing trees in the Base Map, our planting row might appear on top of them in our drawing.
To place the planting row correctly under the canopy of larger existing trees, we can adjust the order of objects in our drawing using the top menu buttons. The quartet of icons with rectangles and arrows allows us to Raise to Top, Raise or Lower by one step, and Lower to Bottom. In our case, we can select the large purple tree and click the Raise to Top button.
Do you find yourself wondering how we made the large tree see-through? If the canopy of the large tree were opaque, we could change it to transparent by setting its Transparent Centre attribute to a positive value.
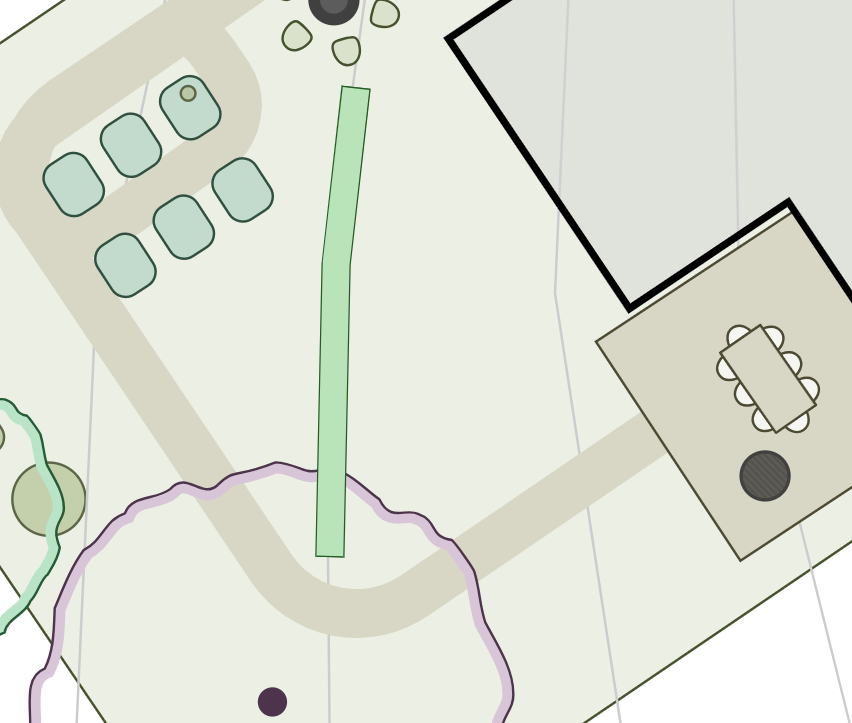
Edit Planting Row Shape
Optionally, you can treat the planting row like any other editable object and use the Edit Shape tool to modify it. Changing the shape of your planting row might be useful when you wish to:
- align your planting with the contour lines of the land,
- create a spiral, circular, or nest-like planting,
- or change the length of your planting row.
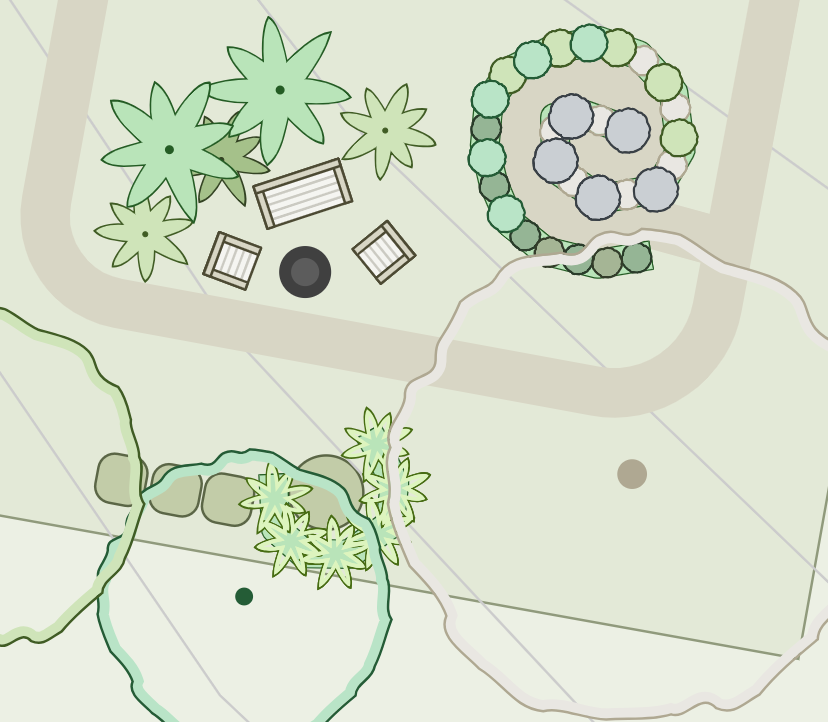
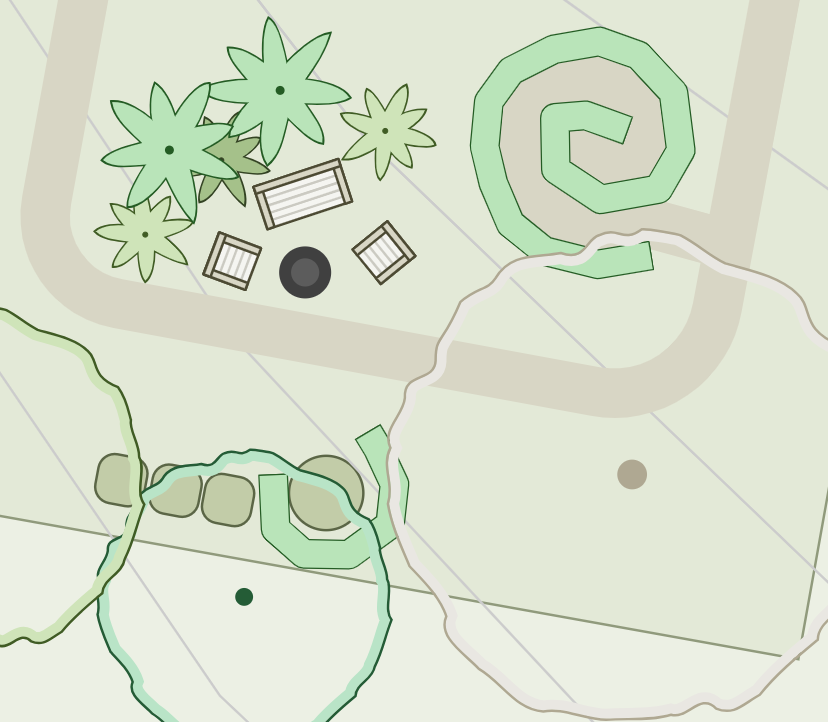
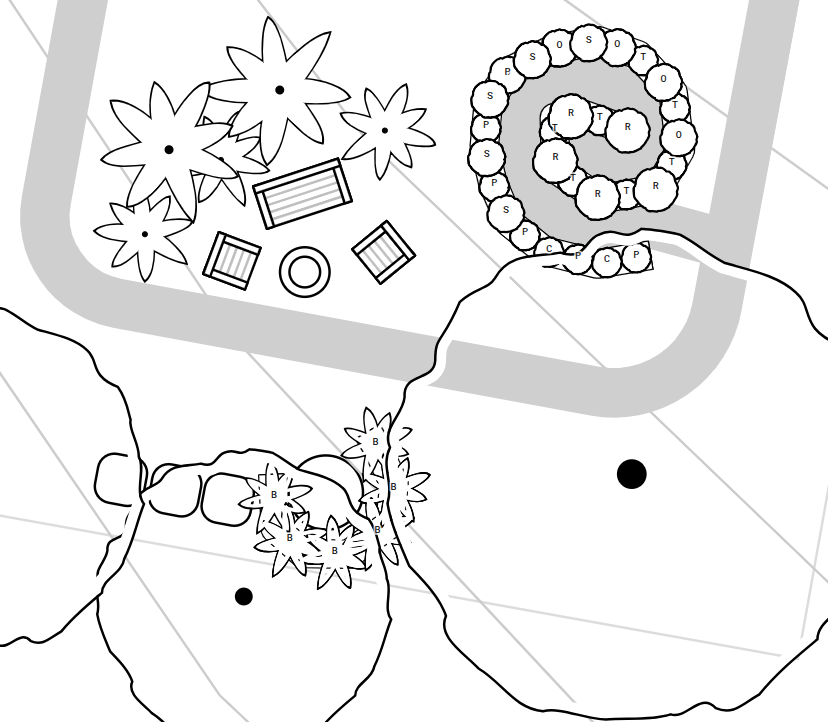
Example of Creating Circular and Spiral Planting in Permiehub
In this example, we want to create a simplified herb spiral and a circular-shaped “nest” around an in-ground compost bay. After selecting the Planting Row tool from the toolbox, we click on the canvas to mark the starting point. To simplify the drawing, we click somewhere roughly at the end of our planting row. Then we change to the Edit Path tool and begin clicking on the line to create new points and move them into position. We can also adjust any existing points as needed.
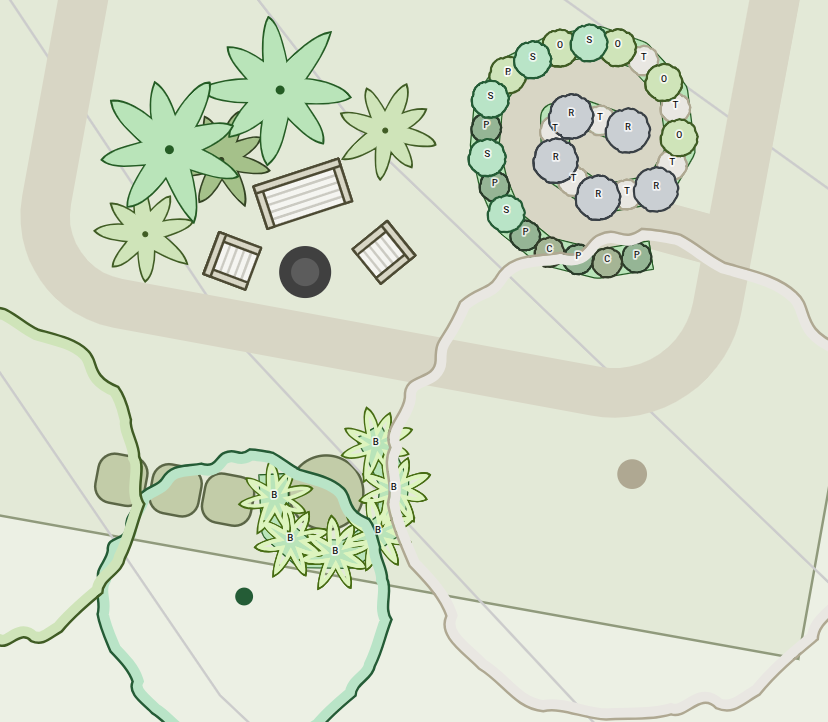
Step 2: Apply Preset
Once you have drawn the shape of your planting row, you can start filling it with plants.
To make the process easier, the Planting Row tool offers customisable templates to modify as a starting point. These are the types of presets you might choose for your planting row:
- layered food forest,
- traditional or espaliered orchard,
- complete or partial syntropic agroforestry system,
- and biomass or privacy planting.
You can choose to skip this step and add your plants manually.
Modify Planting Row Presets
When applying a preset to your planting row, you can modify its parameters. The size of the repeating section, called the planting Module, and the addition or omission of lines of support species on either side of the central target row are especially important.
Example of Changing Module Size of Planting Row Preset in Permiehub
In this example, we want to change the size of the repeating module of our espaliered orchard planting row. While selecting the preset, we modify the size from three to two metres. As a result, the number of espaliered trees increases compared to the default setting.
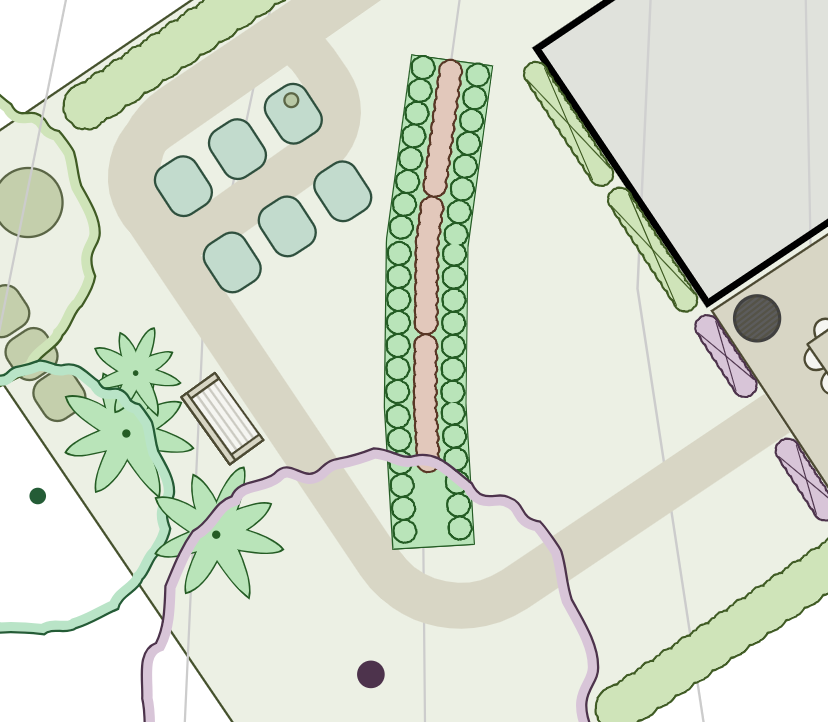
Planting Row with Default Length of Espalier Module
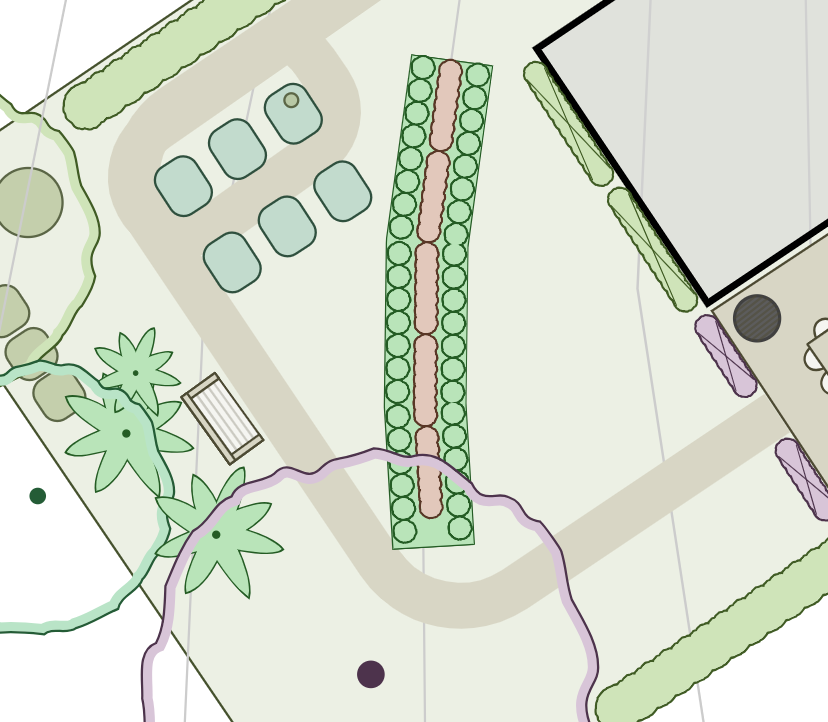
Planting Row with Shortened Length of Espalier Module
Step 3: Customise Planting Row
With the planting row area marked out, and optionally with a planting preset applied, you can choose to take the following actions to start:
- adding, changing, or removing plants,
- assigning the plant layer, or stratum, and lifespan,
- changing the placement and number of plants,
- adding labels to mark the species in your design,
- changing the default sizes and colours of plants,
- setting the size of plants at different stages in time,
- and changing the names of plants in your planting row.
In this step-by-step tutorial, we will start by adding new plants to the planting row.
Add Repeating Plant to Planting Row
To add a new plant to your planting row, navigate to Overview of the selected Planting Row, then enter the desired name of your plant in the Add Plant input field. Note that the plant might not be visible on your row yet because you have not set its placement.
To display your new plant on your planting row, locate it in the Overview table and click + add placement in the Placement column or click the edit icon.
If your planting row consists of multiple lines of plants, under Lines, tick the ones to which you want to apply the placement.
Adjust the Spacing input field to set the distance between the repeating plants being added.
Optionally, you can click Show more options and define the start and end offsets of your planting row.
Confirm the placement of your repeating plant by clicking the Add Placement button.
Your plant might now appear as a small dot on your planting row, signifying the general size of a seedling. To display your new plant in a different size, locate its Visual column or click the edit button for your plant.
From the types of visuals available for your plant, such as Dot, Tree, Palm, Espalier, or Hidden, select the style you want to use.
Optionally, adjust the colour, saturation, and lightness for your plant.
Confirm the visual style of your repeating plant by clicking the Done button.
Example of Changing Placement Offset of Bananas as Support Species in Permiehub
In this example, we wish to add a support plant we will use to create biomass for our productive target line of espaliered fruit trees. We select bananas to provide extra shelter from the summer sun and collect atmospheric moisture from the air to bring down to the root zone.
We follow the steps to add bananas to our planting row, setting the spacing to double the module length of our fruit trees and placing the first banana at the northern end of our row. We change the visual to a larger size and the Palm shape. Now we see the planting row shows two bananas, but we wish to add more towards the end.
Because we often do not want to place trees towards the very start or very end of a planting row, the Planting Row tool applies an offset at each end by default. To override the default reserve of space, we select the banana plant in the Placement column of the Planting Row, then click the Show more options toggle button. There we change the Minimum distance from the end to zero.
Now we can see the last banana taking its place at the very end of our orchard planting row. What if we wanted to restrict the number of plants instead? We change the Maximum number of trees parameter in Placement for the banana plant.
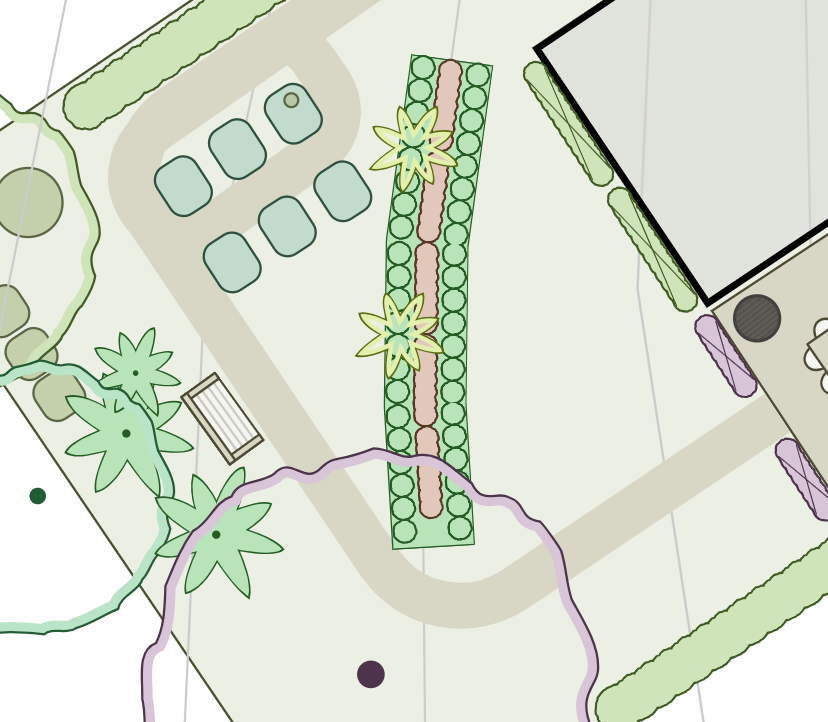
Example of Placement with Offset at the End
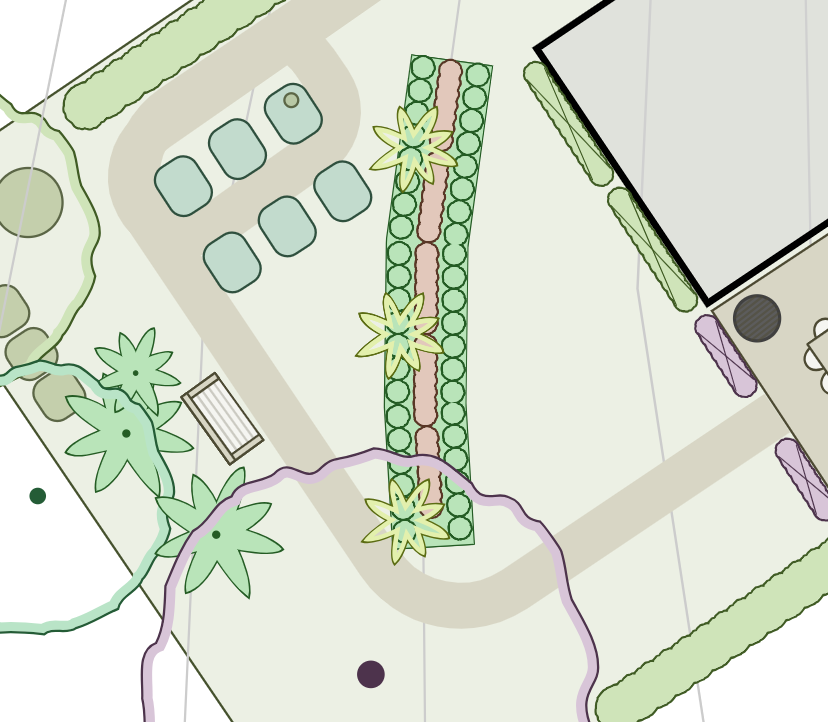
Example of Placement with End Offset set to Zero
Add Single Plant to Planting Row
To add an individual rather than a repeating plant to your planting row, navigate to Overview of the selected Planting Row. Enter the name of your plant in the Add Plant input field, or use a generic title to change later. The plant might not be visible in your planting row before you set up its placement.
To display your new plant on your planting row, locate its Placement column in the selected Planting Row. Then click the edit button for your plant and define its placement.
Toggle the selection to Single Plant instead of Repeated.
If your planting row consists of multiple lines of plants, under Lines, tick the ones where you want to apply the placement.
Because your planting is now being treated as a Single Plant, there is only one attribute to fill out. Adjust the Place at input field to set the distance from the start of your planting row.
Confirm the placement of your single plant by clicking the Add Placement button.
Your plant might now appear as a small dot on your planting row. To display your new plant in a different size, locate its Visual column or click the edit button for your plant.
From the available visual types, such as Dot, Tree, Palm, Espalier, or Hidden, select the style you want to use.
Optionally, adjust the colour, saturation, and lightness for your plant.
Confirm the visual style of your single plant by clicking the Done button.
Example of Changing Position of Single Plant in Planting Row in Permiehub
In this example, we wish to add an individual ornamental grevillea to our planting to attract small insect- and nectar-eating birds and provide prunings for our fruiting espaliered orchard. We follow the steps above to add the tree. We select the colour, shape, and size of the tree. We place the tree at a distance of one metre from the start.
To position our single grevillea tree differently, we modify the Place at attribute in Placement for the tree. After the change, we can see that the plant moves further from the start of the planting row.
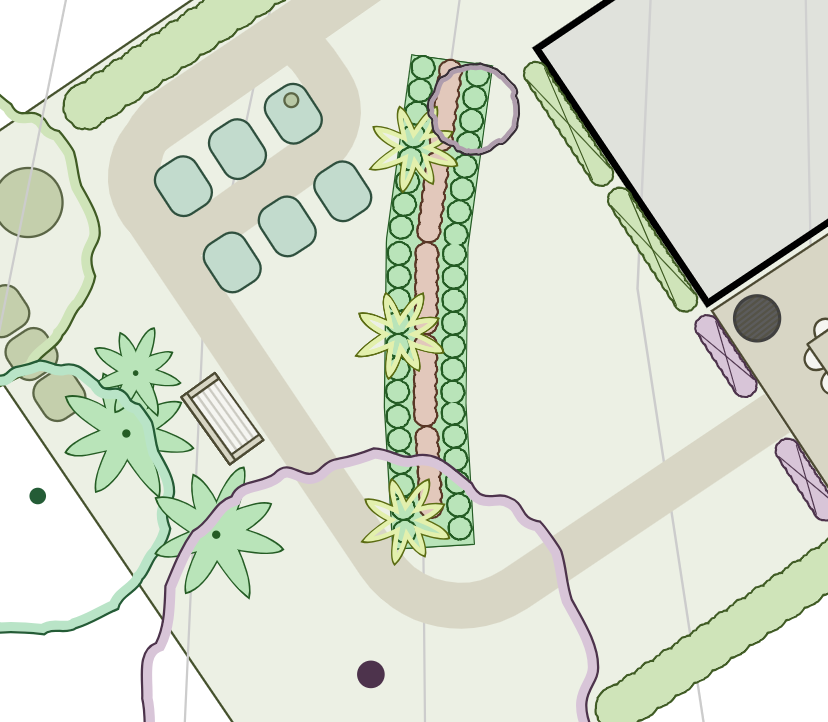
Purple Grevillea Closer to the Line Start
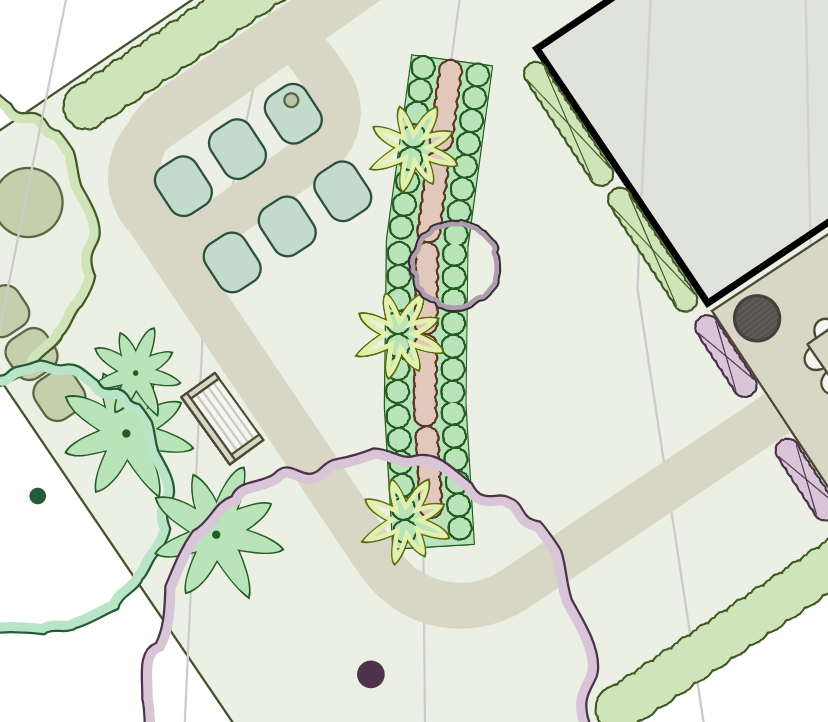
Purple Grevillea Further from the Line Start
Change Plant between Single and Repeated in Planting Row
To change a plant in a planting row from a repeated plant to an individual one or vice versa, find the plant in the selected Planting Row. Click the edit button for your plant or its value in the Placement column.
Toggle the selection to either Single Plant or Repeated.
Confirm changes by clicking Update Placement.
Change Spacing of Plant in Planting Row
To modify the spacing of a repeated plant, locate the plant in the Overview table and click its entry under the Placement column. Alternatively, click the edit icon for your plant.
Set the Spacing attribute to the new value.
Confirm changes by clicking Update Placement.
Example of Changing Spacing of Repeating Plant in Planting Row in Permiehub
In this example, we modify the spacing of the support plant rows we designed alongside the target fruit trees espaliered along the middle line. We locate the support species in the Overview table, click its Placement setting, and change the Spacing value to double its original distance.
After confirmation, we can see that the spacing of support species is wider, the number of plants is lower, and the distance between them is greater.
Support Crop at Denser Spacing
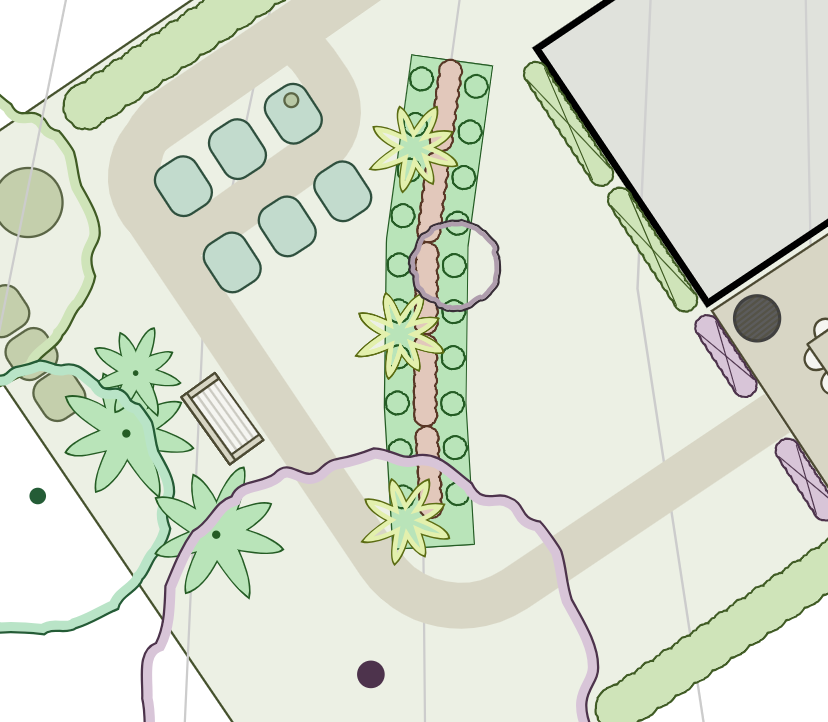
Support Crop at Sparser Spacing
Change Visual of Plant in Planting Row
To modify the visual style of a plant, locate the plant in the Overview table and click the edit icon on the right side of the row. Alternatively, click the value of the plant in the Visual column.
Set the Colour attribute to the new value.
Confirm changes by clicking Done.
Example of Changing Colour of Repeating Plant in Planting Row in Permiehub
In this example, we want to update the support plant lines alongside the main fruit trees. We locate the support species in the Overview table, click the edit icon on the right side of the row, and pick a new value under Colour.
After confirmation, the colour of all instances of the selected plant changes.
Change Name of Plant in Planting Row
To modify the name that appears in the plant list when your planting row is selected, locate the plant in the Overview table or click the Manage Plants button.
Change the name of the plant in the input field.
Confirm changes by clicking Done.
The name does not appear on the canvas. To show text directly over the plants in your planting row, add labels.
Remove Plant from Planting Row Completely
The following steps will remove the plant completely. If you wish to phase it out from the planting row only at certain stages in time, navigate to the section about removing plants from the planting row at a specific stage in time. If you wish to make your design less busy, especially when it comes to support species, seeds, or groundcovers, you can also choose to hide plants in the planting row.
To remove a plant from your planting row completely, navigate to Overview of the selected Planting Row, then click the Manage Plants button.
Click the delete icon to remove the plant.
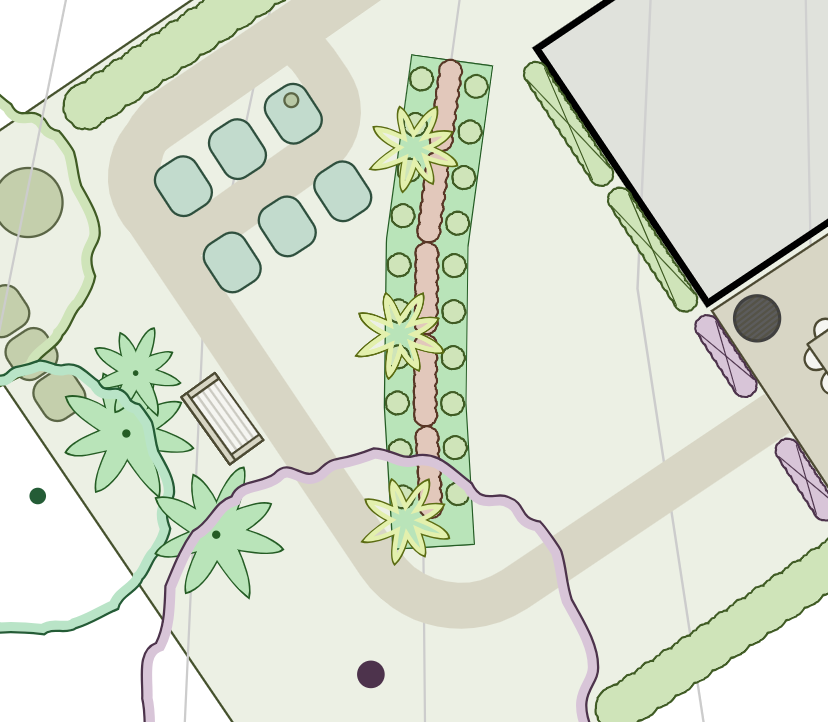
Example of Removing Purple Ornamental Grevillea from Planting Row in Permiehub
In this example, we want to remove the purple ornamental grevillea plant from our planting row. We locate the plant in the Overview table and delete it from the list of plants after clicking Manage Plants.
After the changes, the grevillea has disappeared from the planting row.
Remove Plant from Planting Row at Specific Stage in Time
To remove a plant from your planting row at a specific stage in time, locate the plant in the Overview table and click the edit icon.
Click the edit button for your plant.
Depending on when you wish to remove your plant from the system, set the size to 0 for 0 to 2 years, 2 to 20 years, or 20+ years.
Confirm the visual style by clicking Done.
To see these changes over time, refer to the section about viewing the planting at a specific stage in time.
View Planting Row at Specific Stage in Time
Visualising the planting row on planting day, a few years in, and a decade later helps provide a complete picture of a complex planting design.
- Select Default, 0 to 2 years, 2 to 20 years, or 20+ years using the view toggles at the top of the planting row panel.
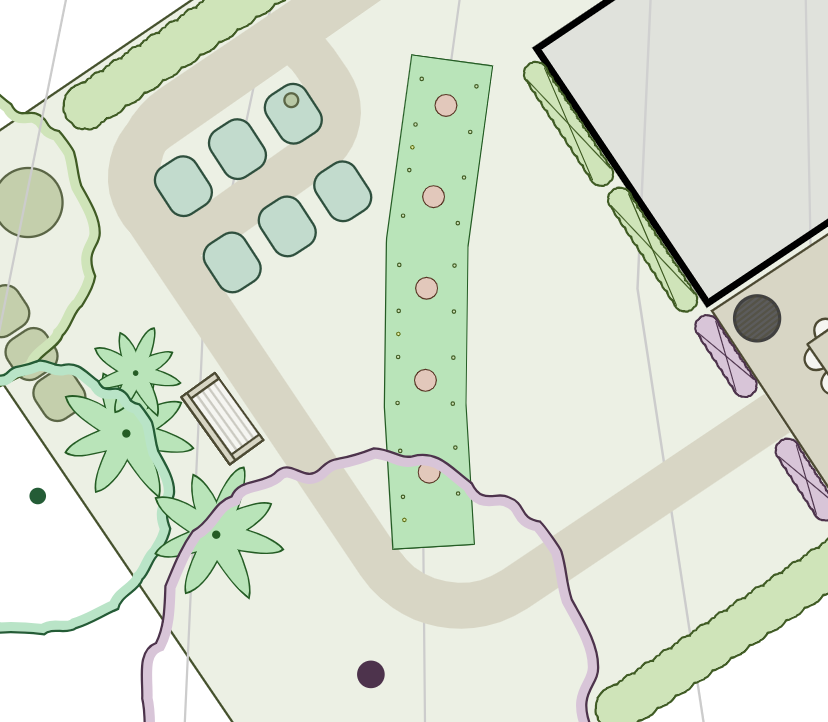
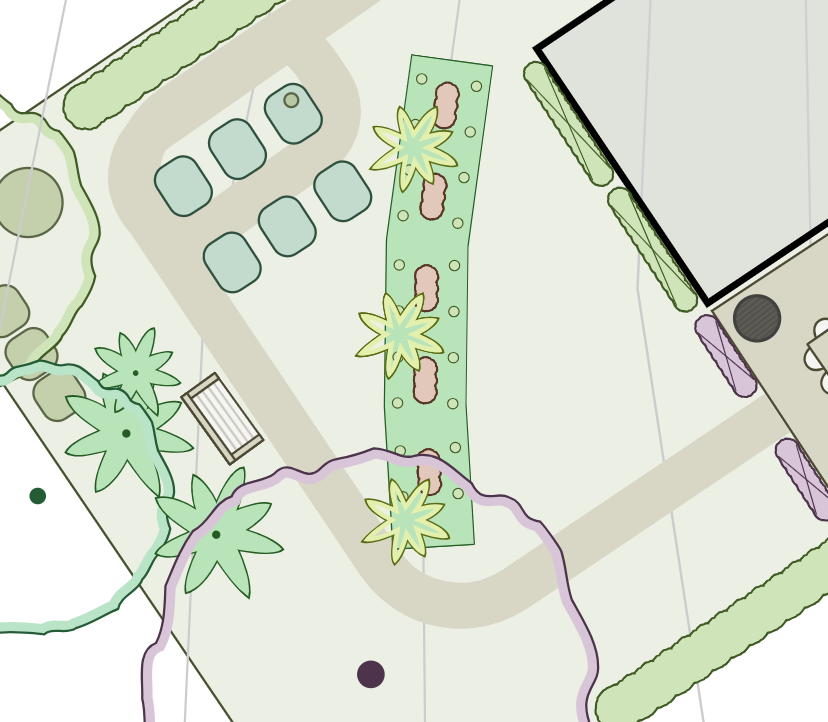
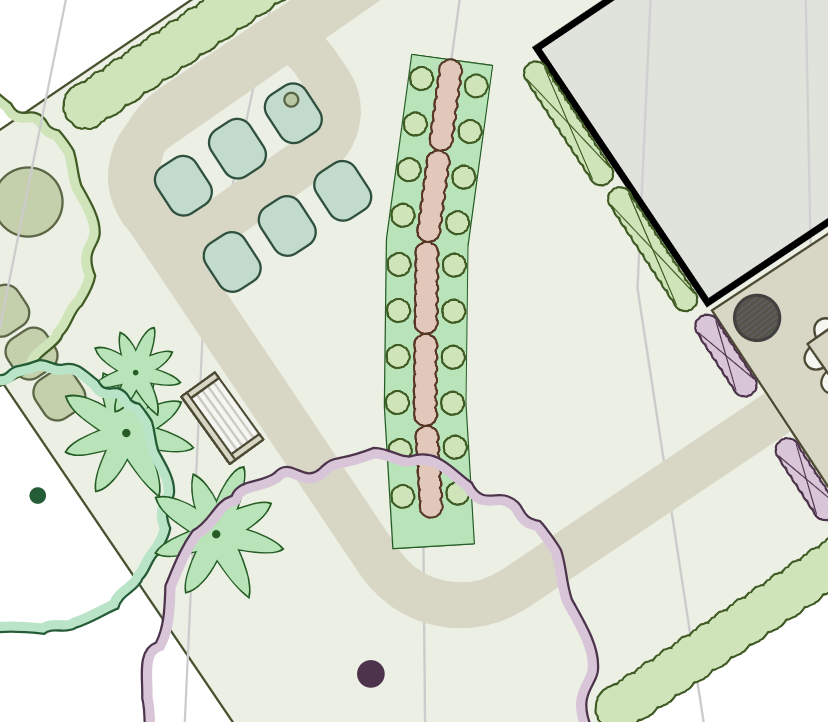
Example of Viewing Plants in Planting Row at Different Stages in Time in Permiehub
In this example, we want to visualise our planting row at different stages in time. After setting Size, Size in 0-2 Years, Size in 2-20 Years, and Size in 20+ Years for the plants, we use the toggle between the views of the selected Planting Row.
In the images below, we can see the default view using the Size attributes for the plants, followed by the different stages reflecting the sizing we set.
Add Labels to Plants in Planting Row
For complex designs, or when you want to show plant species in your planting row, adding labels can be helpful.
To add labels to plants in your planting row, locate the plant in the Overview table and click the edit icon.
Enter your text in the Label input field.
Confirm the visual style by clicking Done.
Important
To view labels on your drawing, they must be enabled and large enough to see. Make sure the label toggle in the top-right corner of your canvas is turned on.
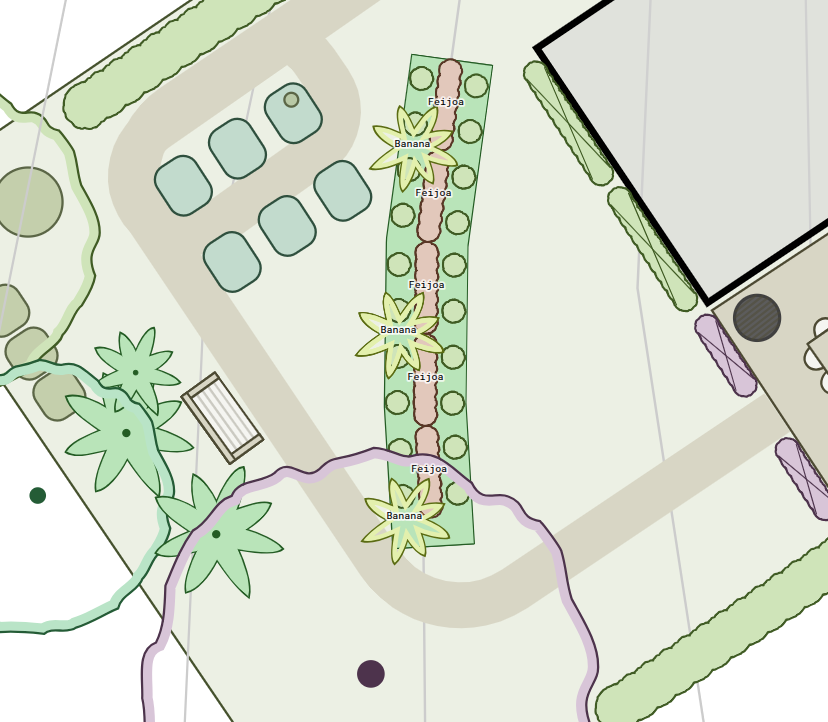
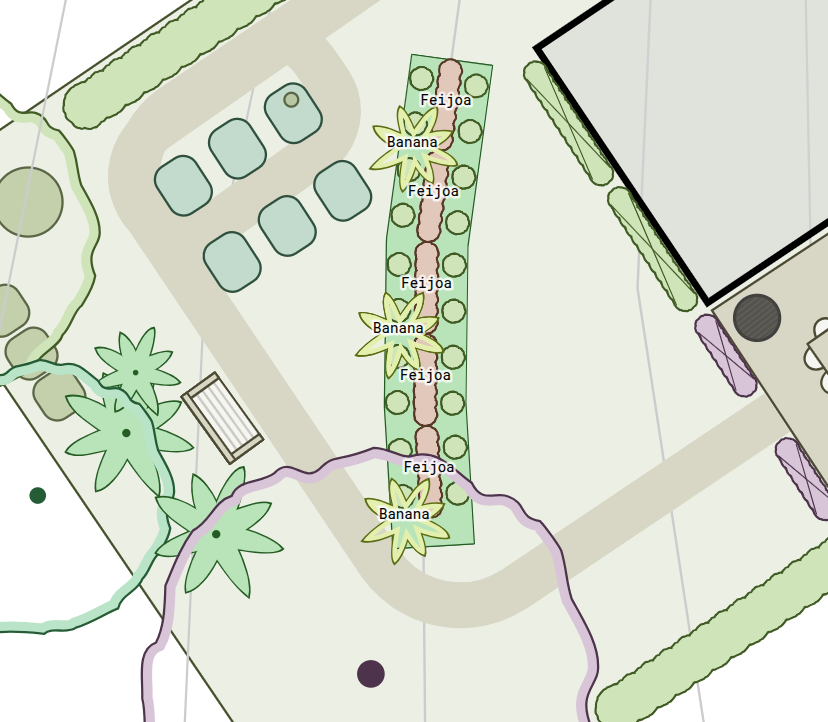
Example of Adding Labels to Plants in Planting Row in Permiehub
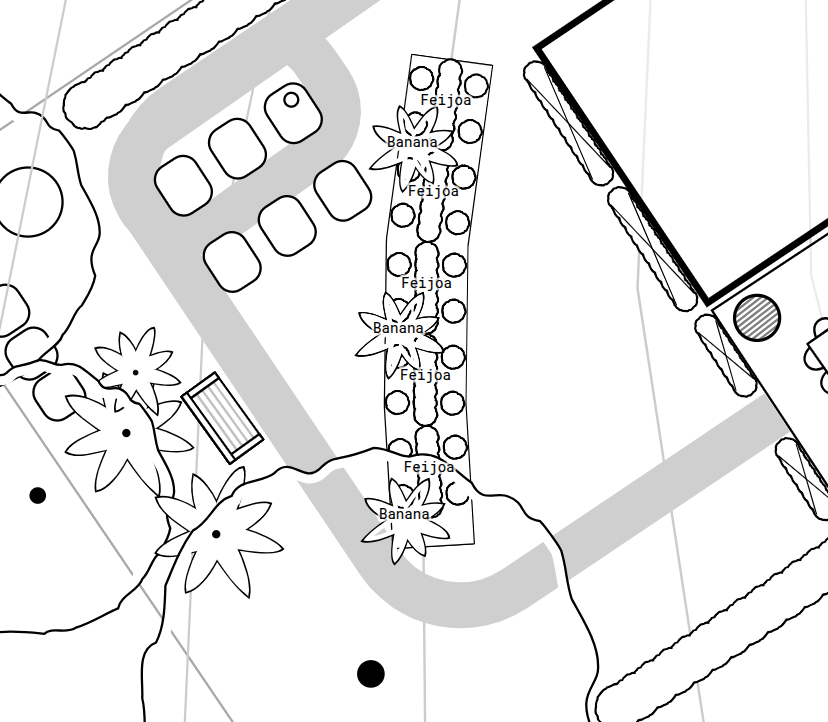
In this example, we want to add labels to our banana support plants and espaliered feijoa trees. We wish to include these details so we can print and share our design for the planting day working bee and garden party.
We follow the steps above to open the plant settings for each plant from the Overview table, then enter ‘Feijoa’ and ‘Banana’ into the Label field. Now the names appear directly above each plant species on the canvas.
Hide Plant in Planting Row
You might not want to mark all plants in the planting row, but still keep a record of their placement to easily view the number of plants needed. Especially with large numbers of small seedlings, support plants, or groundcovers, you might want to hide these on the drawing.
To hide plants in your planting row, locate the plant in the Overview table and click the edit icon on the right side of the row. Alternatively, click its value under the Visual column.
Set the visual style to Hidden from the available options, such as Dot, Tree, Palm, or Espalier.
Confirm the visual style by clicking Done.
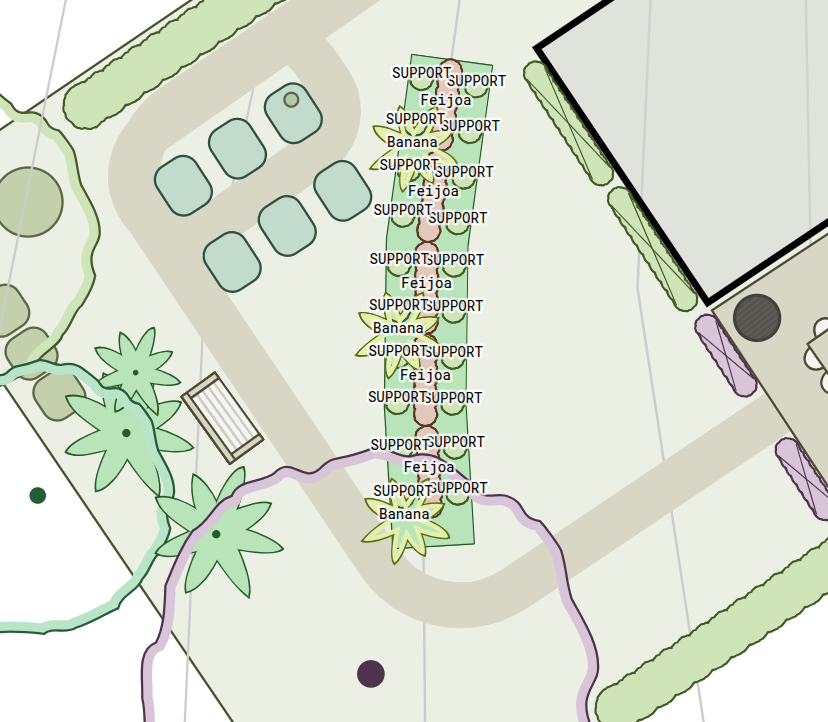
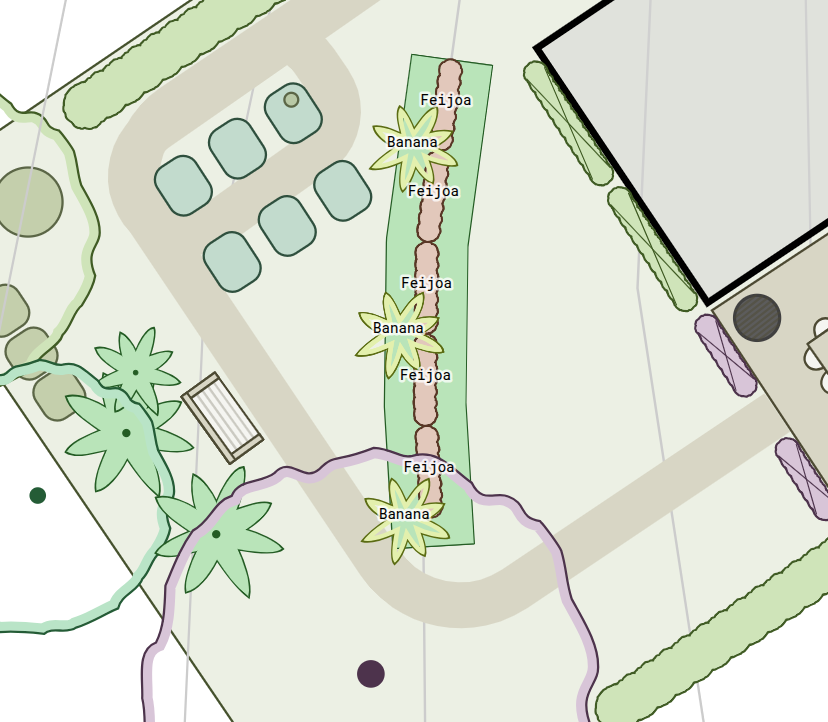
Example of Hiding Plants in Planting Row in Permiehub
In this example, we have previously added labels to the support species. Even with labels removed, we decided to hide the support lines from the planting row design altogether.
We follow the steps above to hide the plant used on the side lines. In the Overview table, we locate the plant, click the edit icon, and change its look to Hidden. Now we can still have support species in the plant list of our planting row without showing them on the drawing.
Step 4: Reuse Planting Row Settings
Once you have created your planting row, you may choose to copy and paste it as a whole to create duplicates.
Duplicate Planting Row
To duplicate a Planting Row, select it and click the Duplicate icon. Alternatively, depending on your computer’s operating system, press Ctrl+C and Ctrl+V, or Cmd+C and Cmd+V on your keyboard.
Extend Existing Placement to New Lines in Planting Row
If you wish to add identical plants to a row aligned with your existing row, you might choose to modify the Placement of the plants instead to add the same planting to different lines.
To add a new line to your planting row, navigate to Overview of the selected Planting Row and click Manage Lines.
Click Add Line for each line you plan to add to your existing planting row.
Optionally, name the lines.
Confirm changes by clicking Done.
Locate your plants in the Overview table and click their entry under Placement. Alternatively, click the edit button.
In your selected plants, tick the new lines to apply placements identical to your original ones.
Confirm changes by clicking Update Placement.
Step 5: Export Planting Row Drawing
Once you have created your design, you might want to export it as a PDF to share or print. You can do so with the Download to Print tool. Before printing, you can consider some options to display your drawing more clearly.
Enable Labels
To view labels, the label toggle in the top-right corner of your canvas must be enabled. You can click Enlarge Labels or Shrink Labels to adjust their size.
Toggle Drawing to Greyscale
For printing, greyscale might be more convenient. You can use the toggle in the top-right corner of your canvas to remove colour from your drawing.
Use Measuring Tape Tool
You can use the Measuring Tape tool to draw a reference for your planting row to make the scale of the planting readable.
Select the Measuring Tape tool from the toolbox.
Tap the canvas to place the first point of the tape.
Tap a second time to secure the tape measure on your canvas.
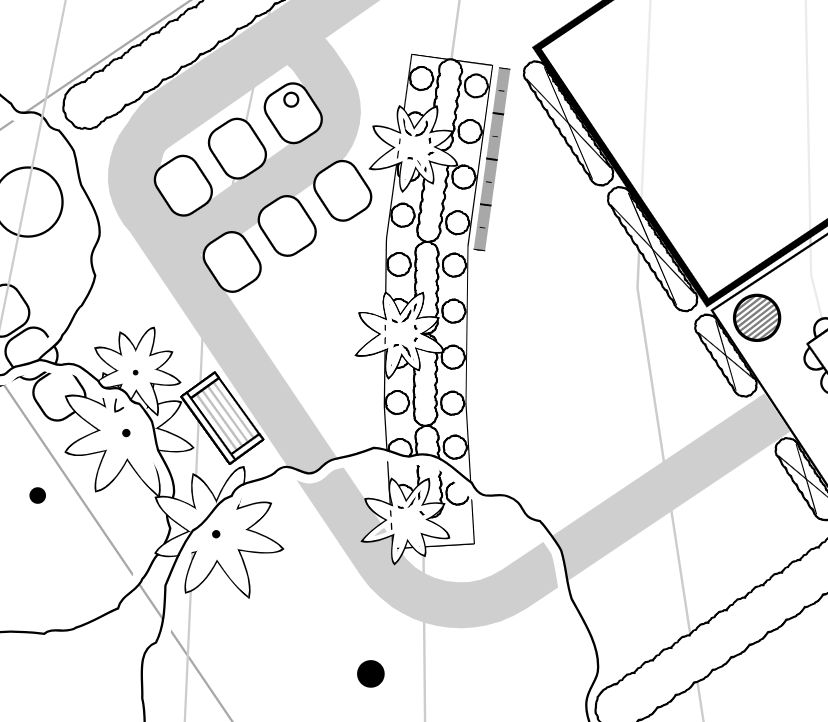
Planting Row with Measuring Tape in Greyscale
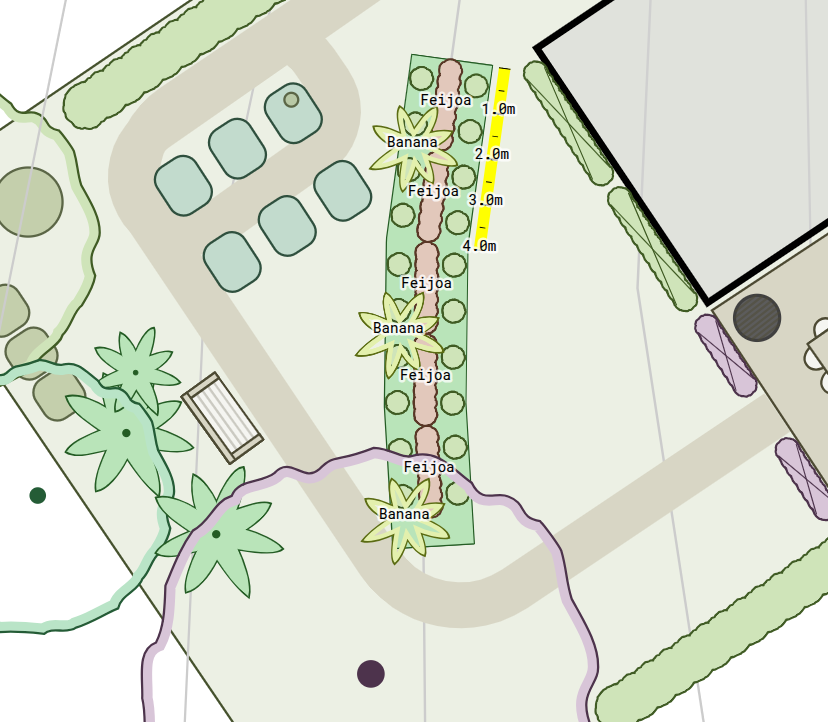
Planting Row with Measuring Tape and Labels