Drawing Paths
Get a simple, step-by-step guide on how to draw curved paths in Permiehub, such as walkways and roads.
Drawing Curved Paths: Walkways and Roads
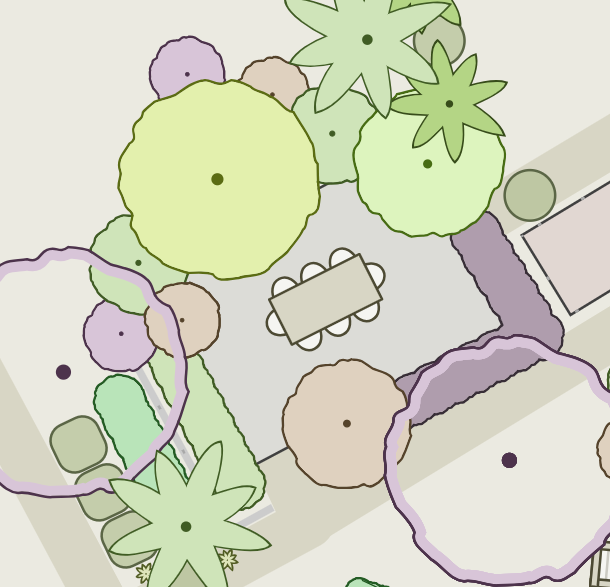
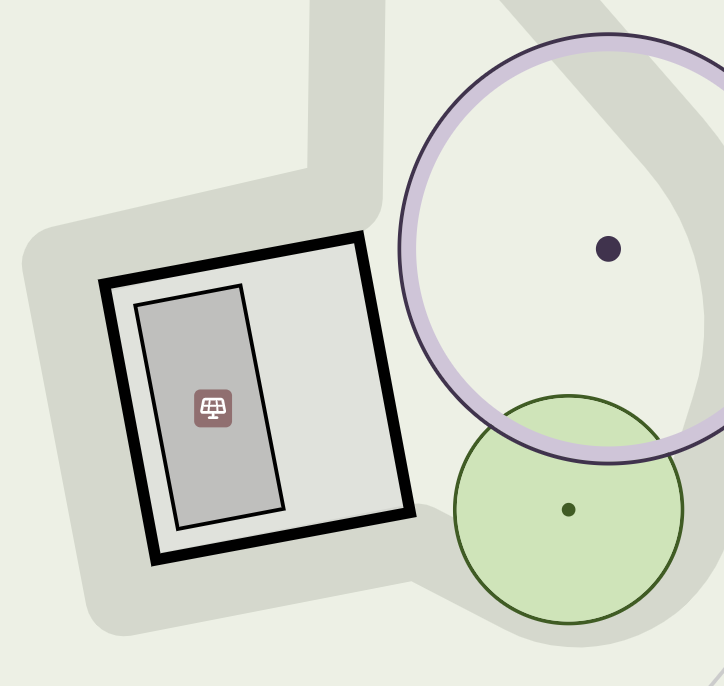
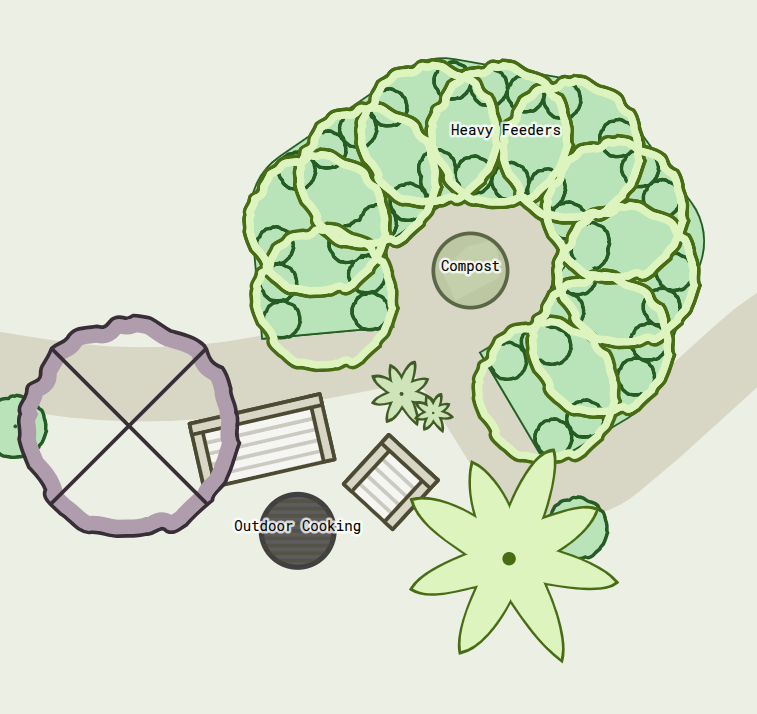
Learn how to draw smooth, curved paths to map out walkways, roads, swales, and watercourses in Permiehub. Permiehub gives you the flexibility to design flowing, curved layouts that look more natural in shape, depending on the tool you choose. You can see a few examples of how these curves look in practice below.

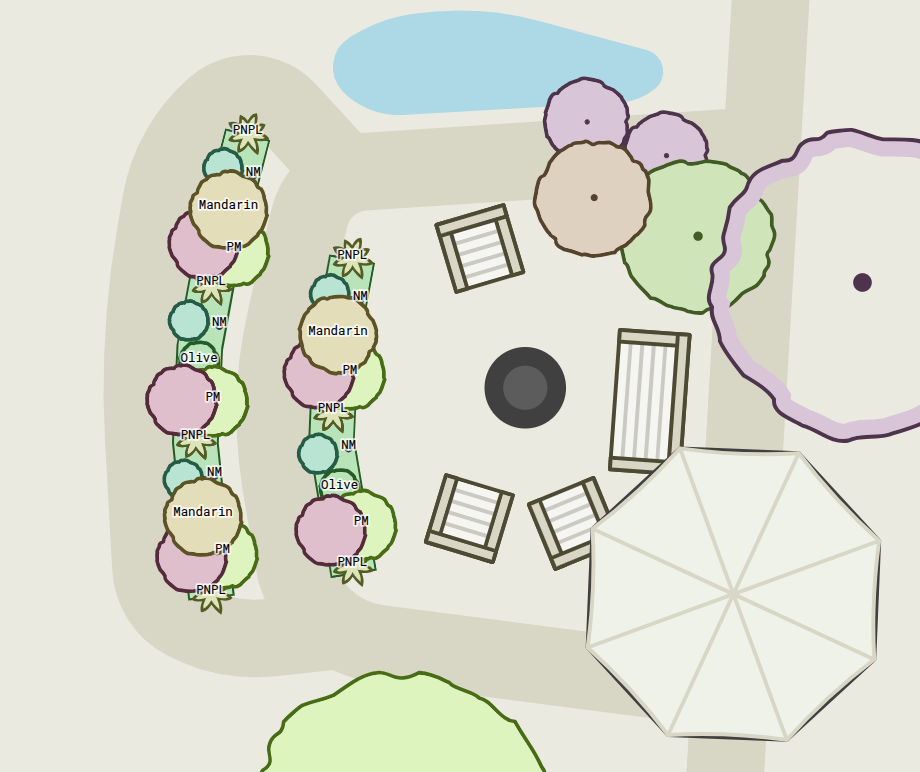
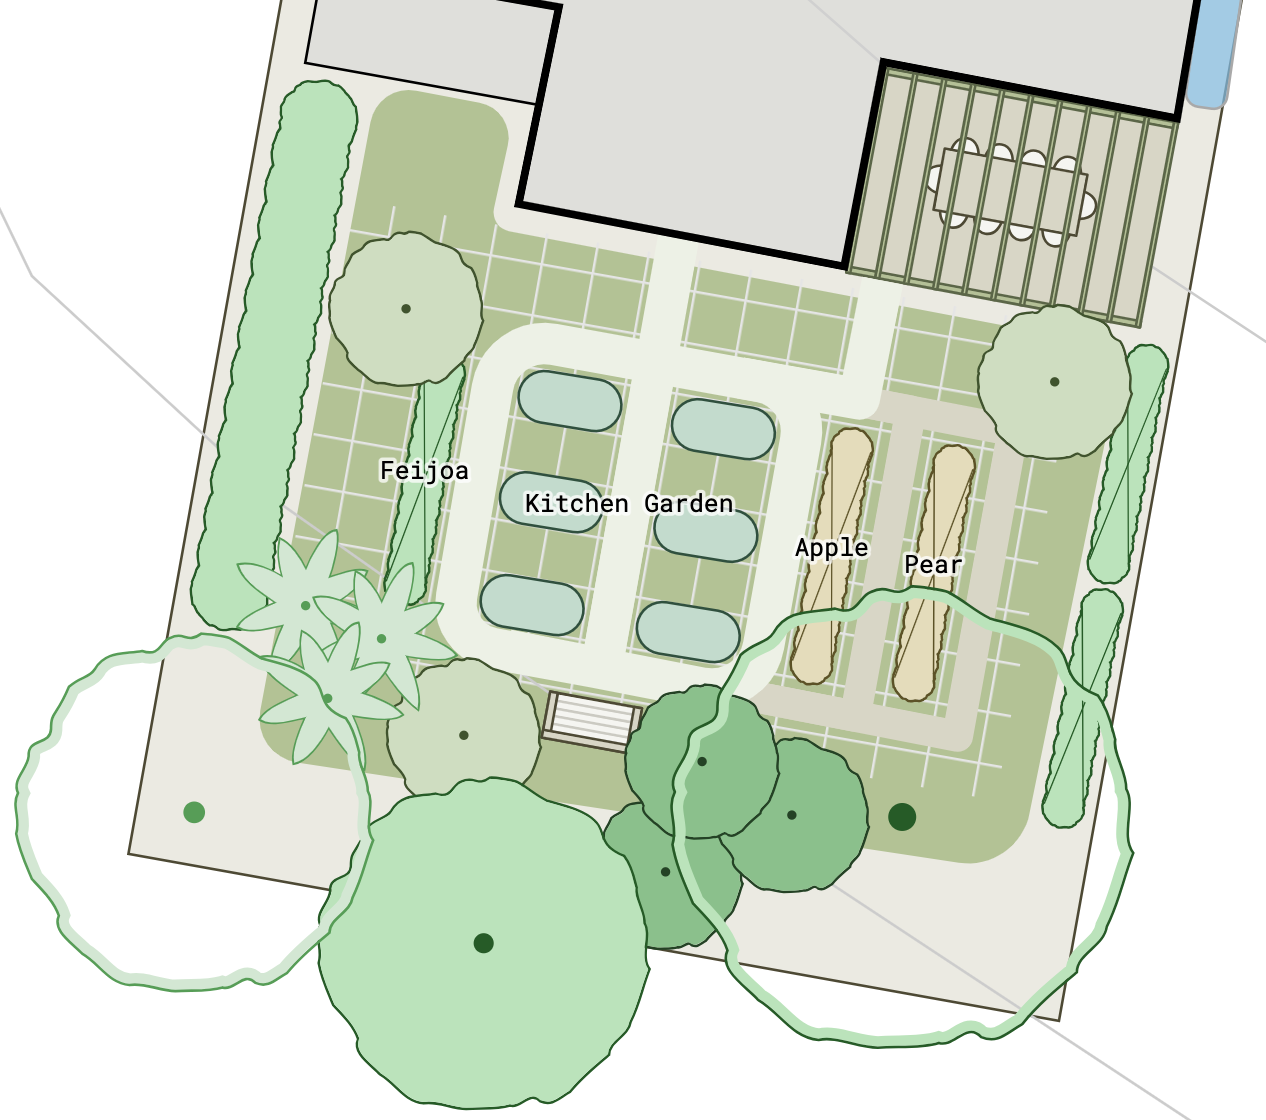
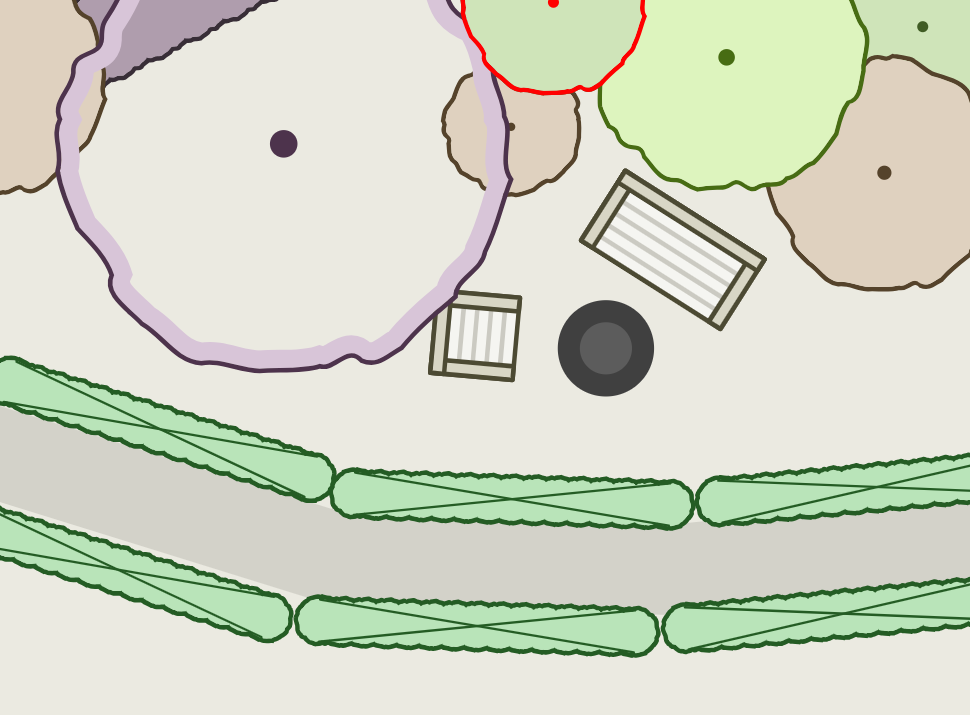
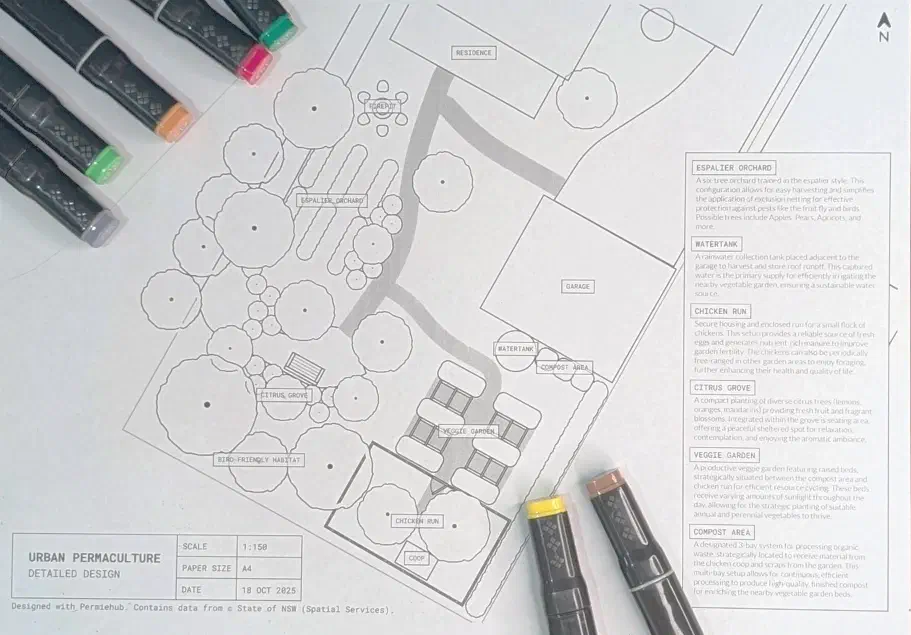
Step-by-Step Guide
Our Goal
The steps below walk through the process of adding a curved walking path to an existing design. Learning to recognise the points that let you change the curve on the path will be helpful for other tools.
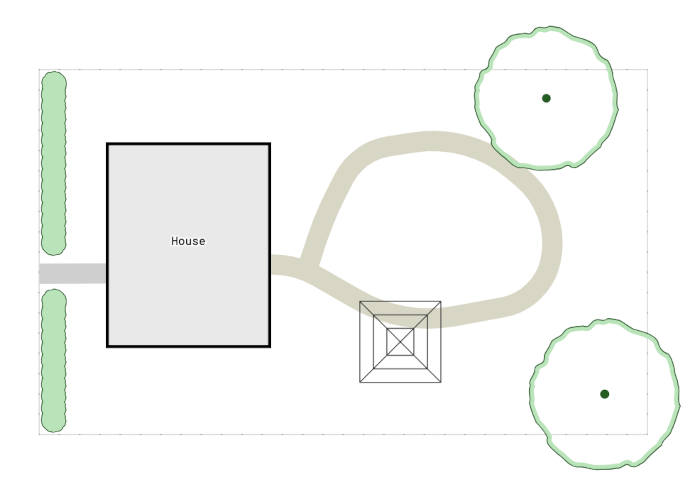
Above: The completed curved path
Starting Point
Adding paths is an excellent way to define physical connections between zones, structures, and other elements in your drawing. Paths add depth to your detailed design drawing and will inform everyone looking at it how they would move through the space. Our starting point is the initial design on the picture below. You can create a drawing like this in your Permiehub project by using the Hedge, Evergreen Tree, Rotary Clothesline, and Dwelling tools.
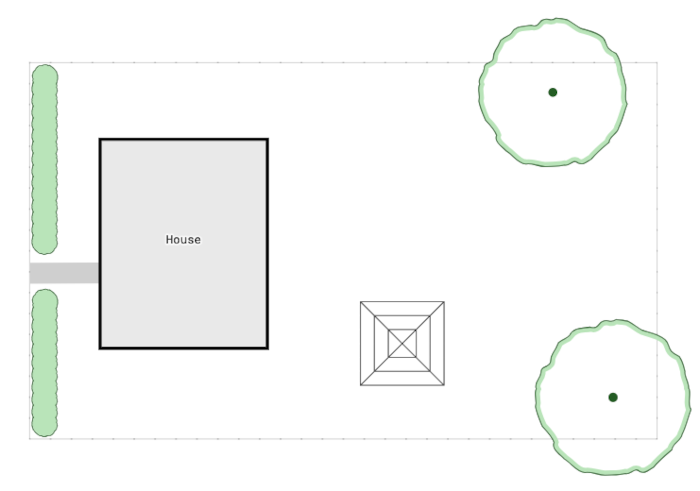
Above: The initial design layout
Step 1: Draw the Path
First, open the Tools menu and select the Path tool. Next, click on your canvas where you want the path to begin, and keep clicking to map out a series of straight segments. Do not worry about making it look rounded just yet, as we will transform those sharp corners into smooth curves in the next step.
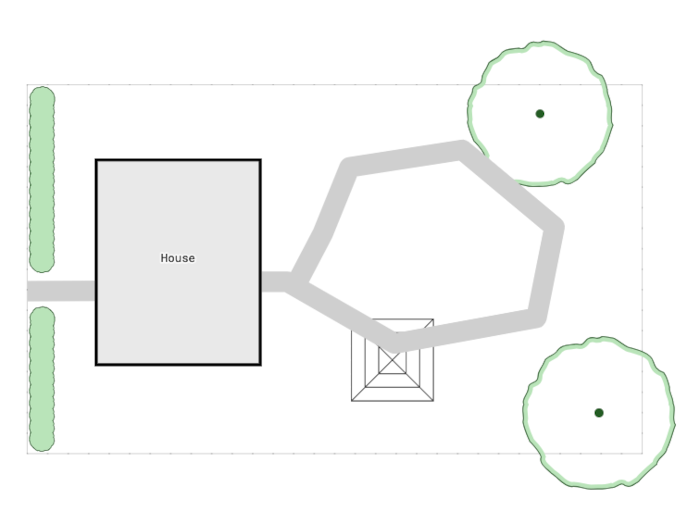
Above: A path drawn with straight segments
Because a new path naturally sits on top of your existing design elements, you might need to adjust its layer. Use the Lower and Raise buttons in the top menu to change its position. You can either lower the path itself or raise your other design elements, like trees and structures, so they sit neatly on top.
Step 2: Curve the Path
Click on your path to select it, then switch to the Edit Path tool. You can activate this tool from the Tools menu, by pressing the E key, or by clicking on the path a second time.
Once the Edit Path tool is active, you will see circular control points appear. Click and drag these points to smooth out the sharp corners into beautiful curves. Dragging a control point further away from its original corner creates a wider, more gradual curve.

Above: Adjusting the control points to smooth out corners
Once you adjust the radius of all your points, your smooth path will take shape.
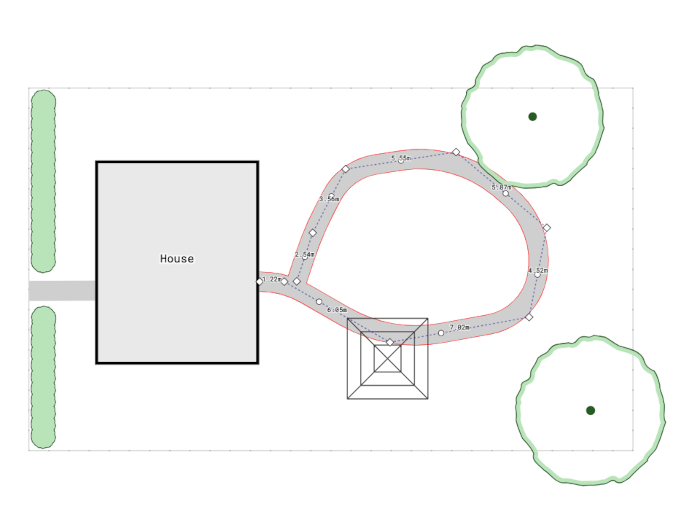
Above: The path with successfully smoothed curves
Step 3: Add Final Touches
With the structure in place, you can customise the appearance of your path. Use the menu options to adjust the Path Width or change the Colour to suit your design palette.
Above: The final polished path with updated styling