Drawing Garden Beds
Learn how to use the Garden Bed and Reference Grid tools to map your growing space to scale in simple steps.
Garden Bed Layout Step by Step: Using Reference Grid and Garden Bed Features
Explore the examples below to see how you can digitally visualise garden beds, vegetable plots, raised beds, and communication paths using the Reference Grid and Garden Bed tools in Permiehub, built specifically for permaculture.
Already know what you want to create and need the step-by-step guide right now? Jump straight to placing and aligning grid.

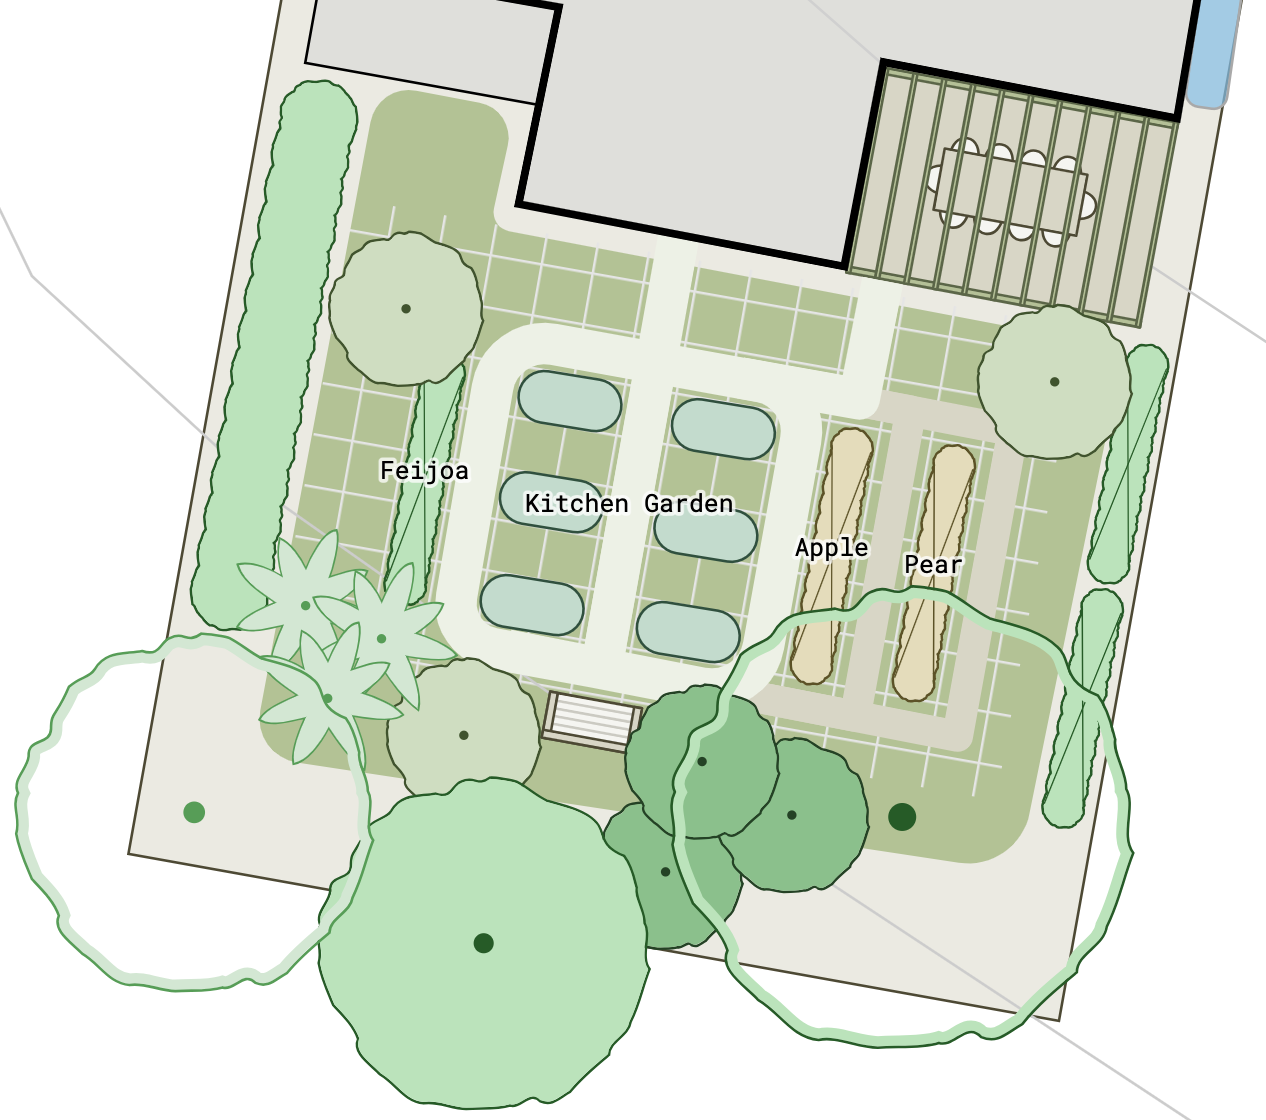
Visualise Your Garden Bed Layout in 3 Easy Steps
1. Place & Align Grid
Position the reference grid over your dedicated cultivation zone and align it with your house wall or property boundary.2. Stamp & Modify Beds
Stamp new garden beds into your space and adjust specific width and height settings.3. Duplicate & Export
Duplicate beds along gridlines and check communication paths for smooth daily access and harvesting.Why Use Reference Grids and Garden Beds?
The Reference Grid and Garden Bed tools help you to visualise your cultivation area, which might be an intensive vegetable patch, kitchen garden, or series of raised beds. You can use them to create structured growing spaces aligned perfectly with existing physical structures. Setting up precise gridlines allows you to plan communication paths effectively, ensuring frequent tasks like watering, weeding, feeding, and harvesting run smoothly.
Benefits of Designing Garden Beds with Permiehub
Permiehub’s tools simplify visualising layouts of structured plantings in the detailed design stage. They suit garden zones where you want to:
- quickly align reference grids with existing house lines, fences, or property boundaries,
- set grid line spacing to a specific distance, such as one foot or 20 centimetres, to keep printed maps easily readable,
- modify bed dimensions to match commercial product sizes or ergonomic reach limits,
- replicate beds across a dedicated intensive growing area while keeping spacing consistent,
- calculate total growing area for soil, mulch, or compost ordering,
- and map main pathways to check daily workflow from house to garden tools.
Similar & Related Tools
The Garden Bed tool is suitable for structured, geometric beds and rectangular rows. You can also use it to mark out in-ground vegetable gardens, flower beds, berry patches, and similar growing areas.
For other individual elements or larger shelter belts, there are dedicated drawing tools for trees, espaliers, hedges, and planting rows.
When planning water-intensive garden areas, designing watering systems helps keep plants healthy and productive during dry spells. You can read more about this in drawing water tanks and irrigation lines. If you want to grow perennial plants in a wilder, less structured way that improves soil biology, such as food forests or syntropic agroforestry rows, read about planting rows.
Starting Point
To successfully lay out garden beds on a grid in your design, you should have your editable project open. Knowing the boundary measurements, sun orientation, and main access points of your site is also helpful.
A common and preventable mistake when designing a kitchen garden is placing it too far from the cooking area. Check whether there are changes in level, steps, or obstacles between food preparation zones and your vegetable beds.
Existing irrigation points like taps, rainwater dams, or water tanks can also affect your placement choice. To learn more about marking out this kind of infrastructure, read about drawing water tanks and irrigation lines.
Step 1: Place and Align Grid
To start placing your grid in Permiehub, select the Reference Grid tool from the tools menu in your project. Click on your canvas to place the first point of the grid over your dedicated garden area, then place the second point to align parallel with your house wall, fence, or boundary line. Finally, extend the second direction to define the overall size of the area.
Setting grid spacing to a readable unit allows you to verify pathway clearances accurately and ensures your printed map remains clear to read on site without on-the-spot scaling. Leaving enough space allows for comfortable movement between beds and provides sufficient clearance to push a wheelbarrow through.
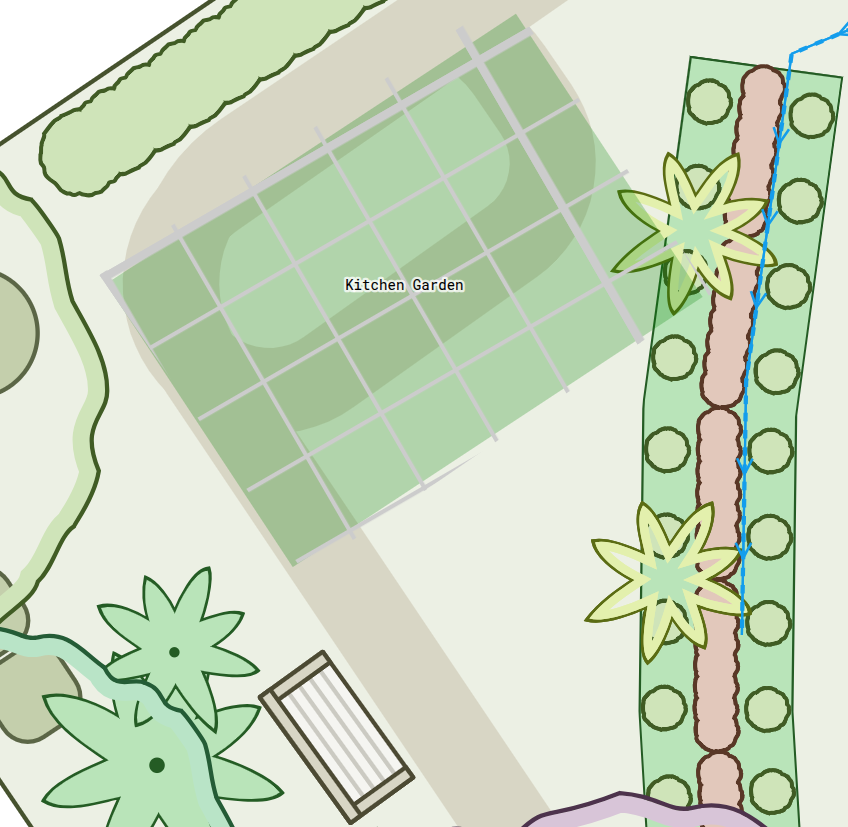
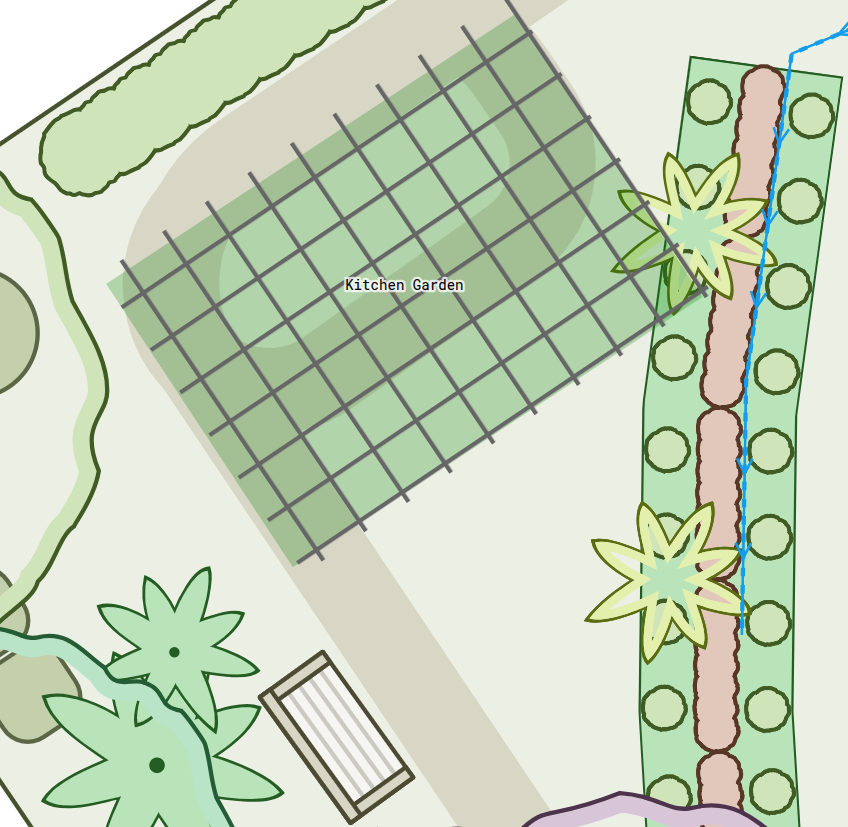
Example of Aligning Grids to Existing Boundary Structures in Permiehub
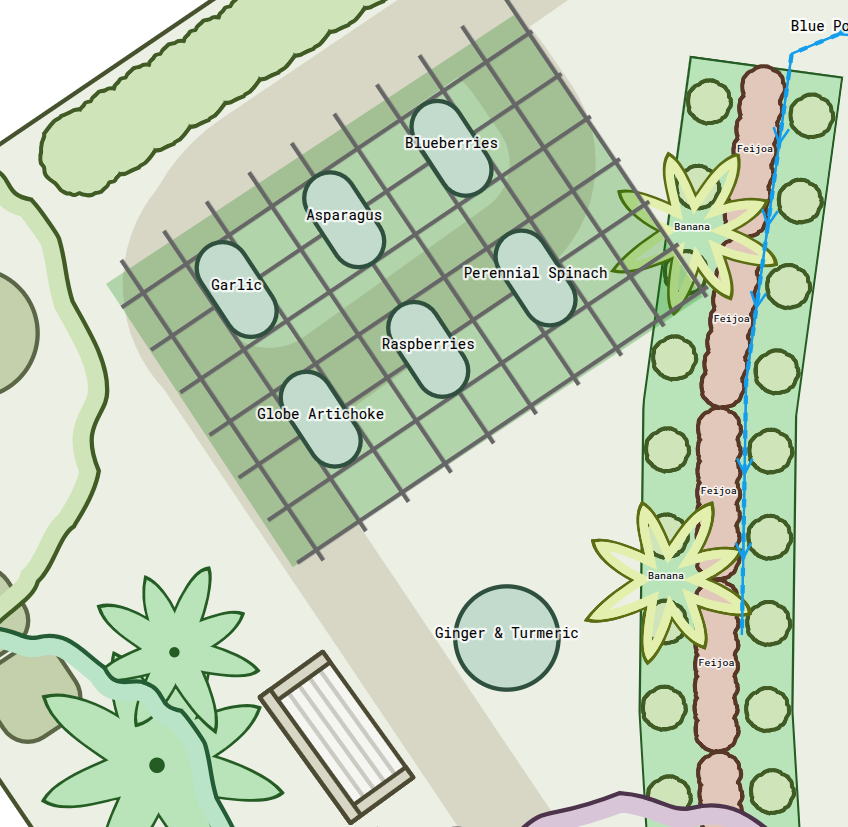
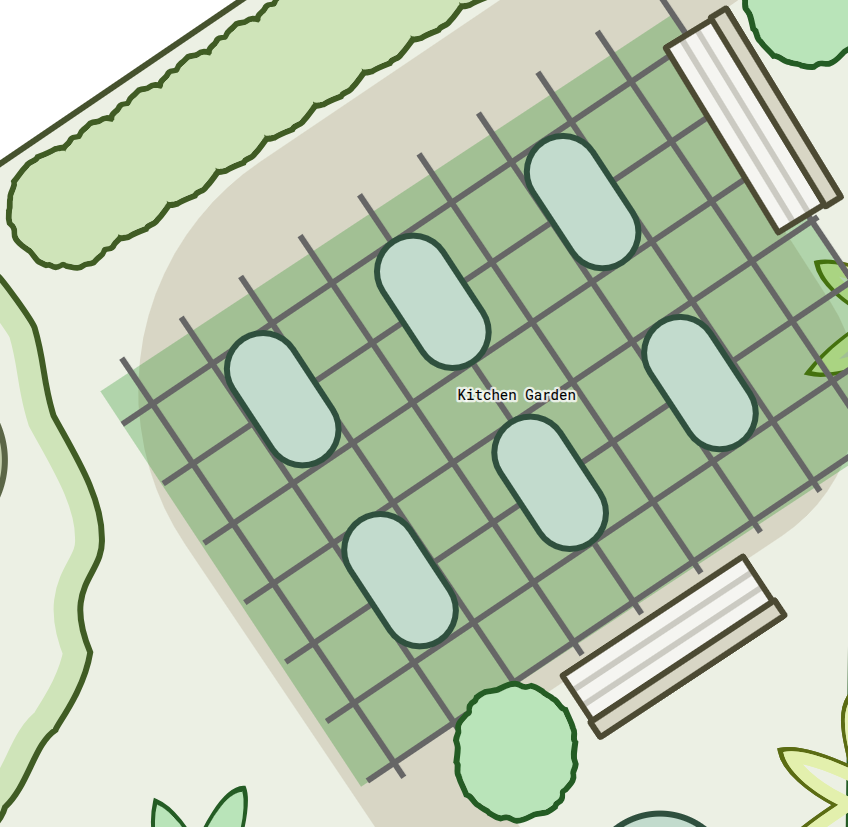
When placing your reference grid near existing buildings, matching grid lines to house walls, boundary fences, or paths keeps visual lines clean. In this example, we used the dark blue line to adjust grid direction. We rotated the grid slightly using the rotation button until it rested parallel to the boundary fence line. To make gridlines stand out on the green area labeled Kitchen Garden, we updated the grid colour in the parameters panel. Setting the spacing to 0.6 m or 2 ft makes placing beds that match these dimensions much easier.
Step 2: Stamp and Modify Beds
Once your reference grid is aligned, you can stamp individual garden beds into your dedicated cultivation zone using the Garden Bed tool. Select the garden bed tool from the toolbar and click inside your grid area to place the initial bed layout on the canvas.
Resize Bed
To change the dimensions of your selected garden bed, find its length and width attributes and adjust them so you can comfortably reach the centre from either side without stepping on the cultivated soil.
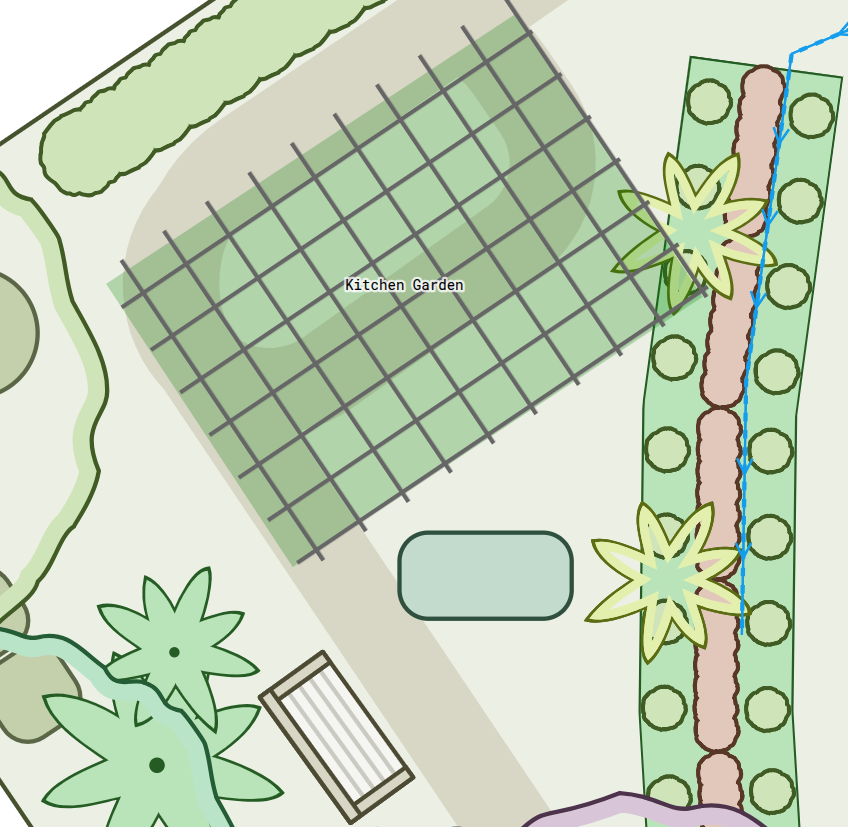
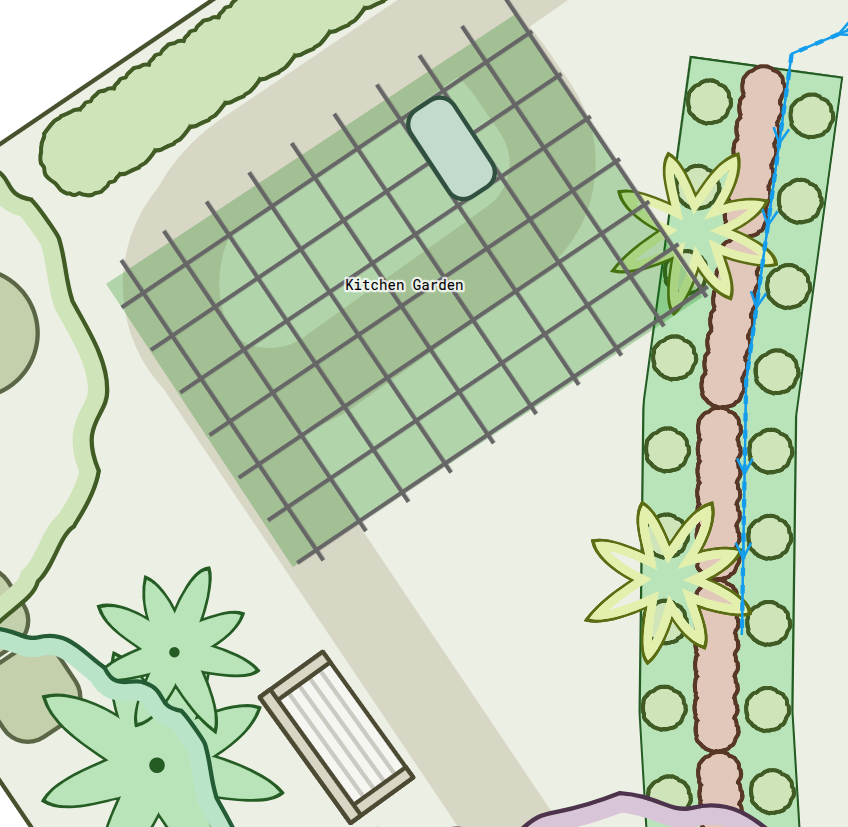
Example of Adjusting Bed Dimensions for Ergonomics in Permiehub
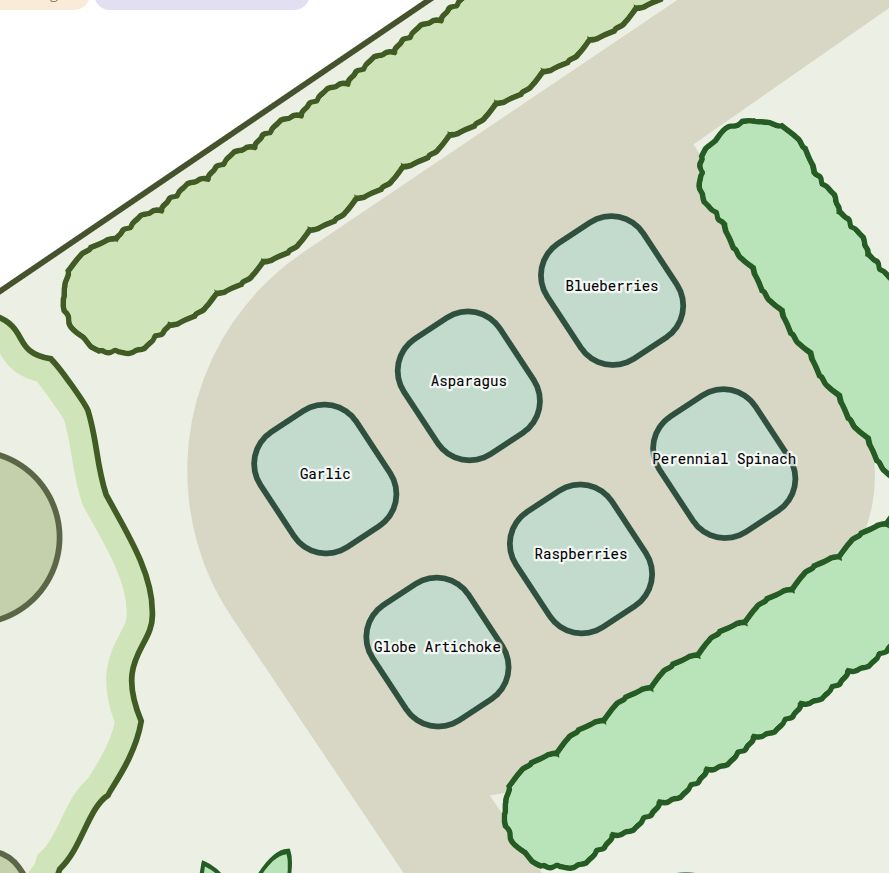
In this example, we adjusted the size of the garden bed to fit our kitchen garden reference grid. We stamped the bed using the Rectangular Garden Bed tool from the toolbox and updated its length and width attributes to match our 60 cm or 2 ft module. We also used the rotation button on the selected bed to align it with the gridlines.
Change Bed Shape
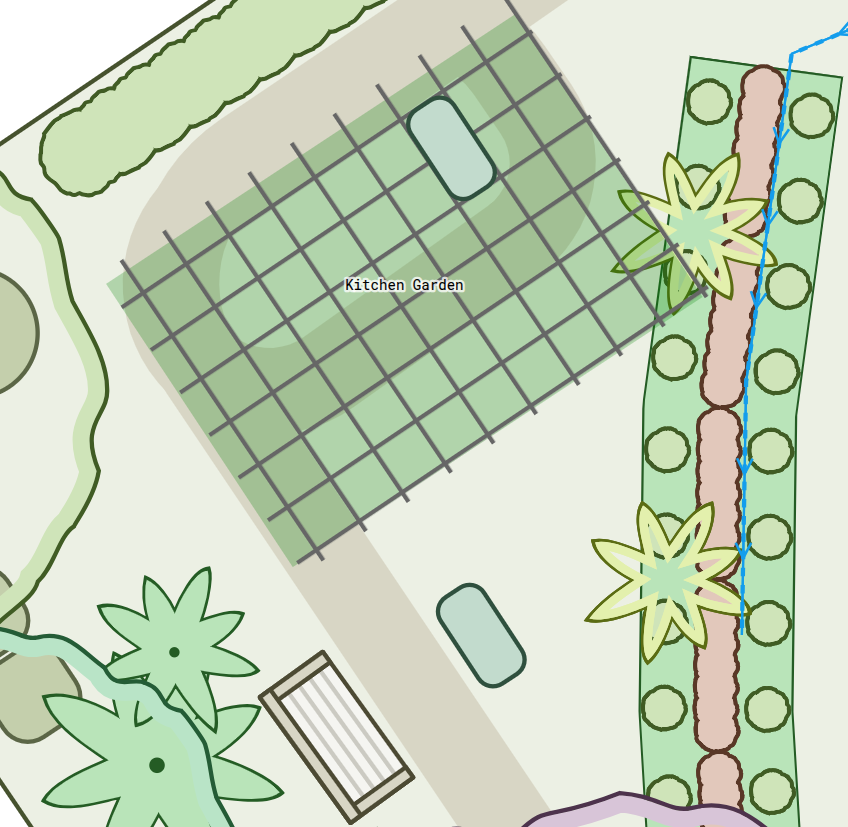
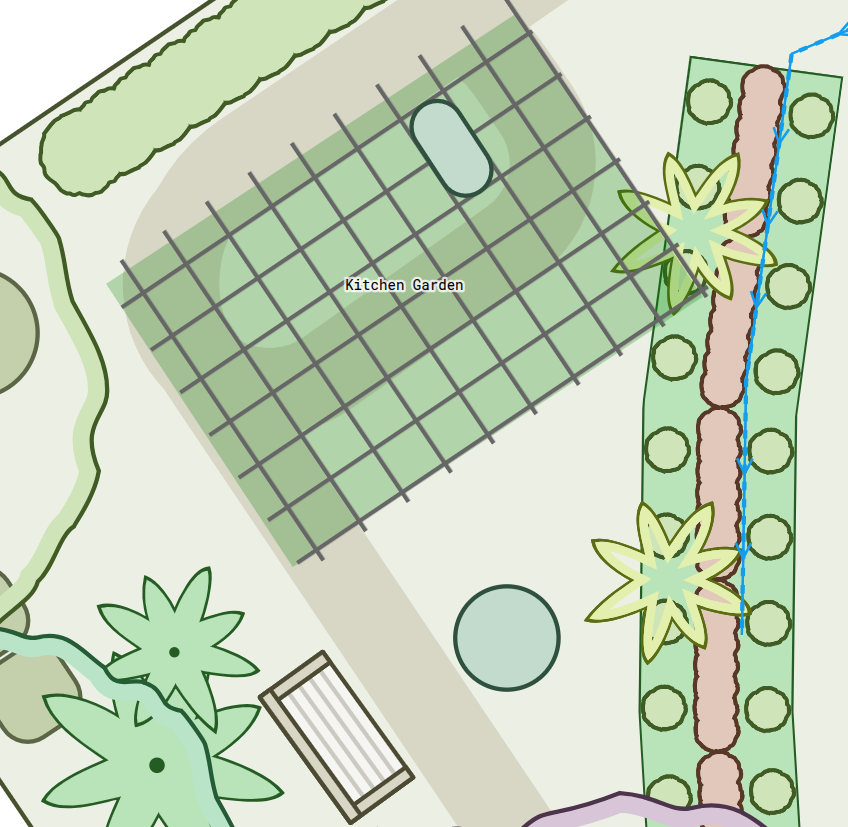
Preference for bed shape can be purely aesthetic to match the rest of the garden or house style, or practical so it is easy to build or purchase from preferred materials. To change the shape of your selected garden bed, find its shape attribute and adjust it to match your design vision.
Example of Changing the Shape of Garden Beds in Permiehub
In this example, we changed the top-down appearance of the garden beds to match what can be built from available materials. We duplicated the existing bed and changed its shape to Round, adjusting its diameter to fit the available space. For the main kitchen garden bed, we selected the Oval shape to represent its planned design.
Label Bed
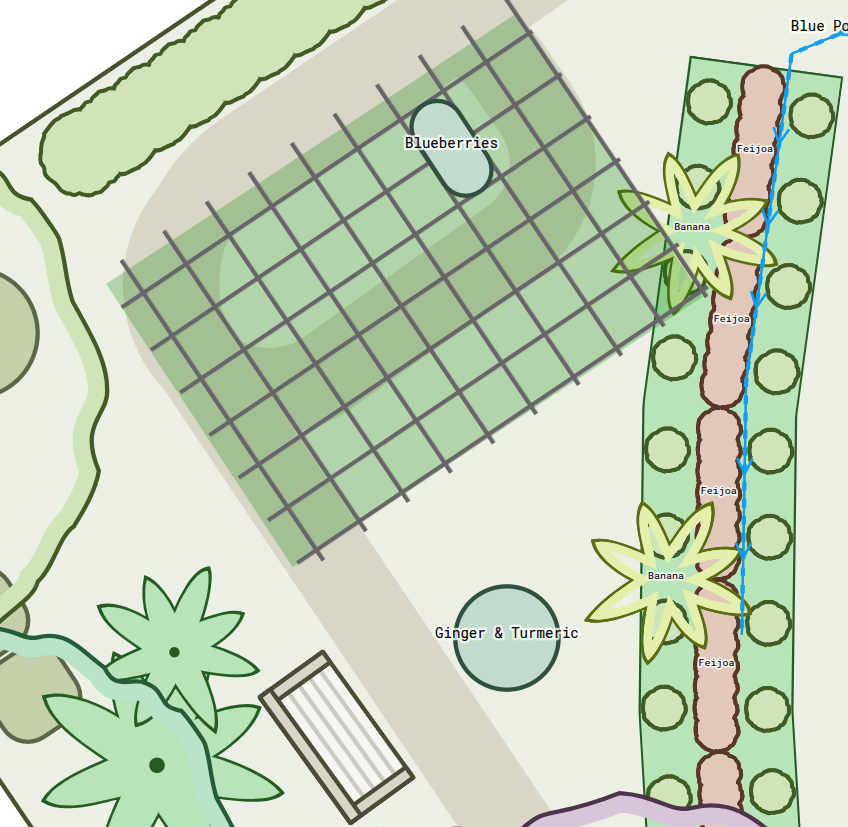
Adding labels allows you to record building notes or planned plant species directly on your garden beds. To add a label, select the bed and locate its Label attribute. Enter your text in the input field and save the changes.
Important
To view labels on your drawing, turn on the label toggle in the top-right corner of your canvas. If they are too small to read clearly, use the nearby Enlarge Labels button to increase their size.
Step 3: Duplicate Beds Aligned with Grid
With your first bed styled and sized correctly, you can rapidly expand your garden layout by duplicating it.
To add more identical beds, select your customised garden bed and click the duplicate button that appears next to it. Alternatively, depending on your computer’s operating system, press Ctrl+C to copy, then Ctrl+V to paste, or Cmd+C to copy, then Cmd+V to paste. Place the new beds in uniform positions along the reference grid lines, maintaining consistent path widths between beds. When creating repeating rows of beds, we recommend duplicating multiple beds at once by holding the Shift key while selecting them, then clicking the duplicate button.
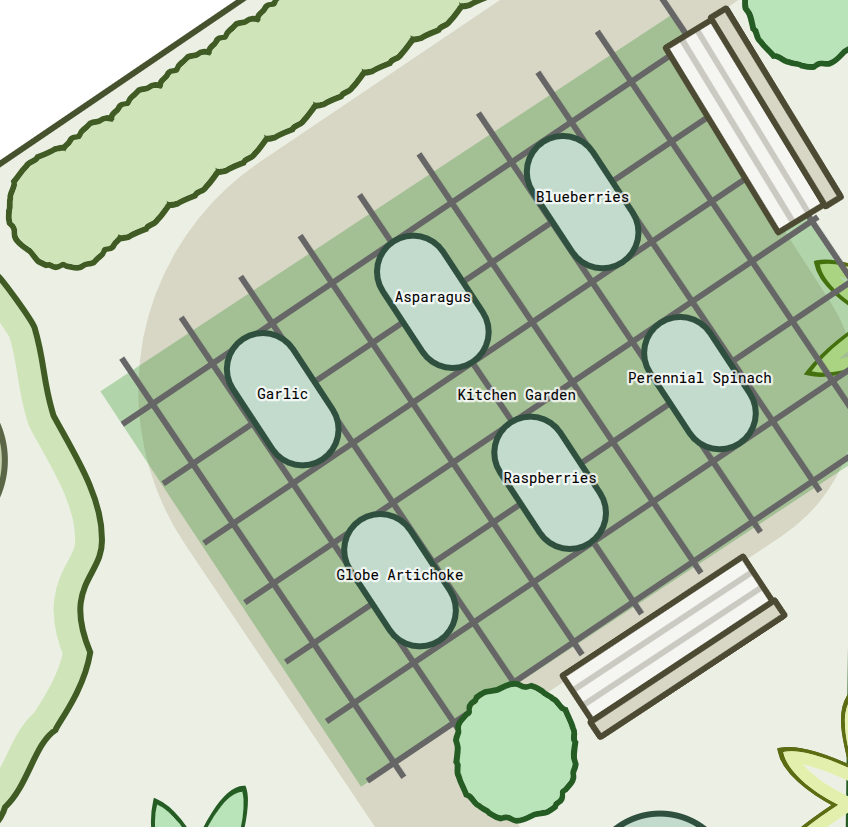
Example of Duplicating Beds in Permiehub
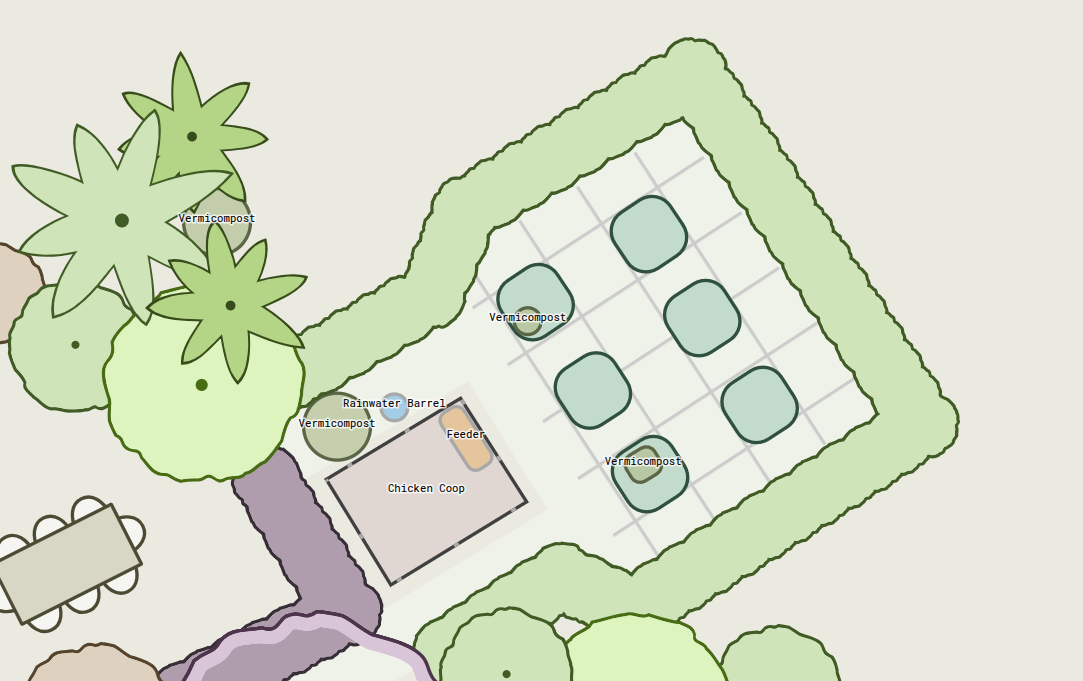
In this example, we wanted to build the complete kitchen garden layout quickly. We selected the single bed that was already aligned with the reference grid and used the duplicate tool to replicate it across the row while maintaining exact grid alignment.
Step 4: Export Garden Beds Drawing
Once you create your design, you can export it as a PDF to share or print using the Download to Print tool. Reviewing a few display options beforehand ensures your drawing exports clearly.
Enable or Hide Labels
To view labels, the label toggle in the top-right corner of your canvas must be enabled. You can click Enlarge Labels or Shrink Labels to adjust their size. To hide or show individual labels for overlays, consider using the custom filters.
Use Custom Filters
To selectively modify elements on your design drawing, Permiehub offers a custom filter toggle in the top-right corner. Once enabled, you can choose to drain colour or hide elements by their selected attributes.
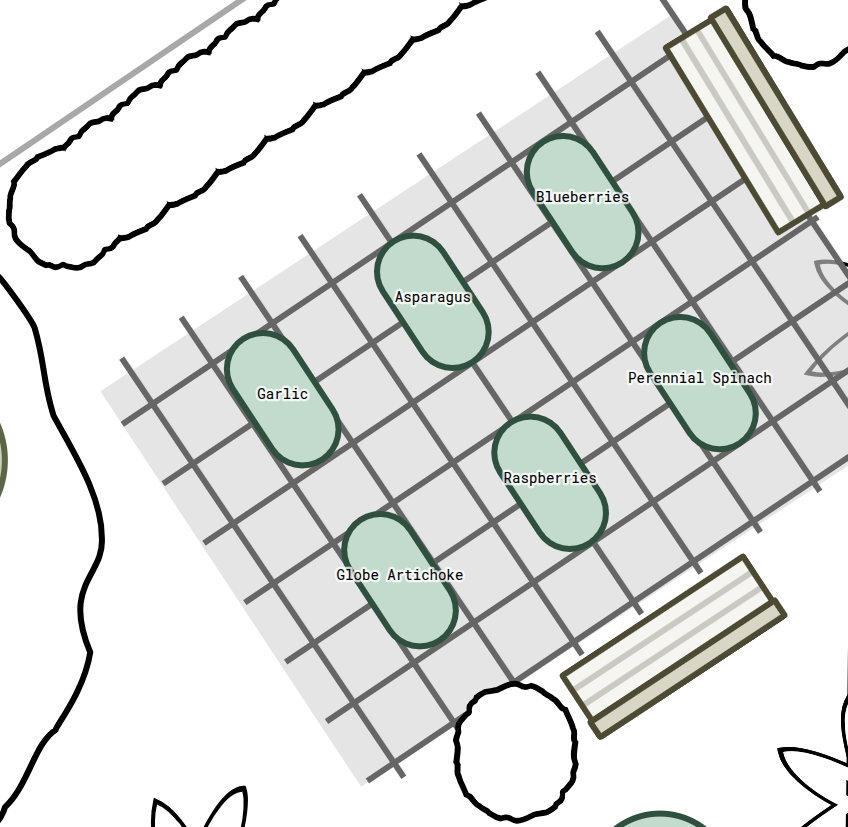
Example of Using Custom Filters in Permiehub
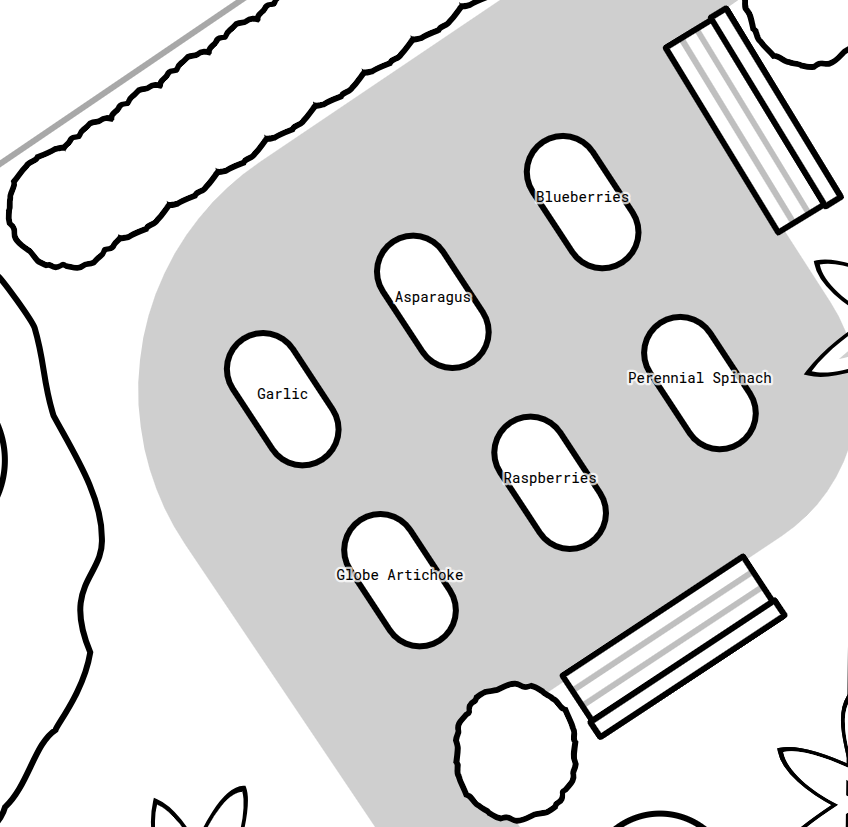
In this example, we hid the concept design overlay text that reads Kitchen Garden. We selected the concept design overlay and toggled its labels off. Using custom filters, we also drained colour from selected items like paths, property boundaries, and plants so the garden beds remain the primary focus.
Hide Whole Overlays
If some of your overlays clutter your design, you can toggle the eye icon next to the overlay name in the top menu.
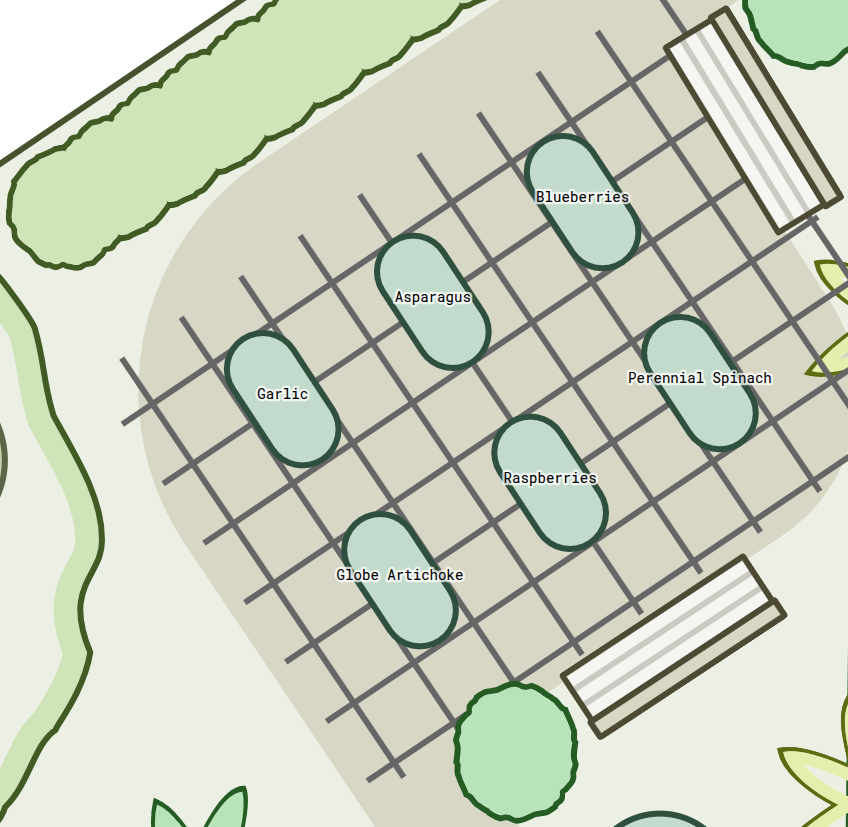
Example of Hiding Overlays in Permiehub
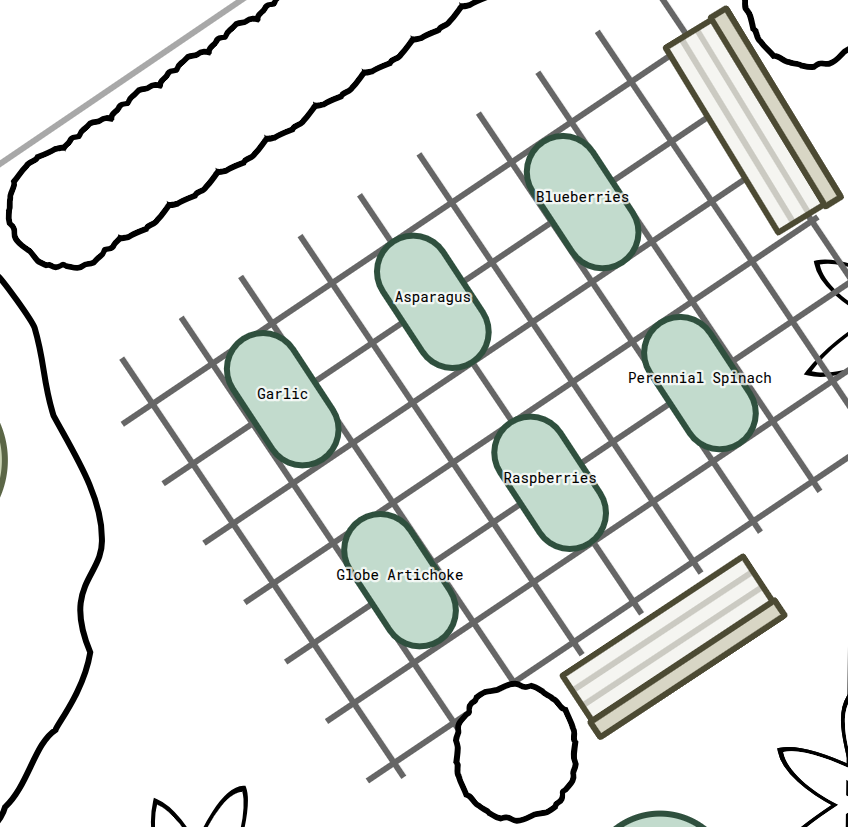
In this example, we hid the zone marked for Kitchen Garden, including its area fill colour. We selected the overlay in the menu and toggled it off to clean up the drawing.
Combine Custom Filters with Hiding Whole Overlays
In some cases, you may want to combine custom filters with hidden overlays to prepare your drawing for printing. Entire overlays can be set to drain to greyscale, display without labels, or remain hidden.
Example of Combining Custom Filters and Hidden Overlays in Permiehub
In this example, we hid distracting elements irrelevant to our current planning phase, such as the path. We used custom filters to hide path objects and drained colour from surrounding elements like plants and the property boundary.
Hide Grid
You can toggle reference grids on your canvas by using the grid button in the top-right corner.
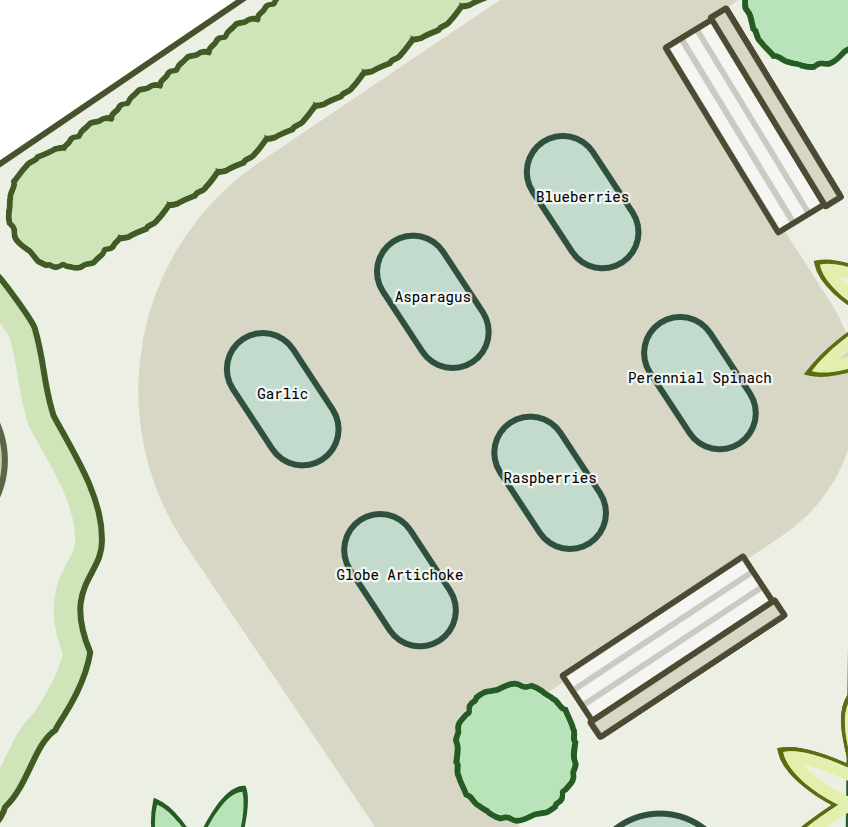
Example of Hiding the Grid in Permiehub
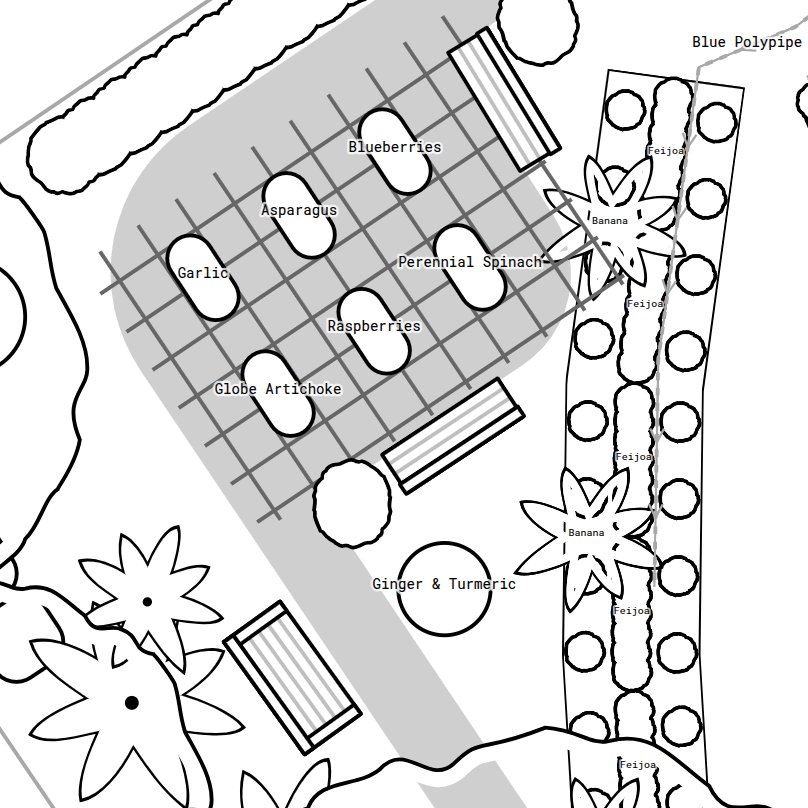
In this example, we wanted to make the final drawing clearer for presentation, so we toggled the reference grid off before exporting.
Toggle Drawing to Greyscale
Converting your drawing to greyscale is ideal for printing without colour. You can use the colour palette toggle button in the top-right corner of your canvas to remove colour from the whole drawing.
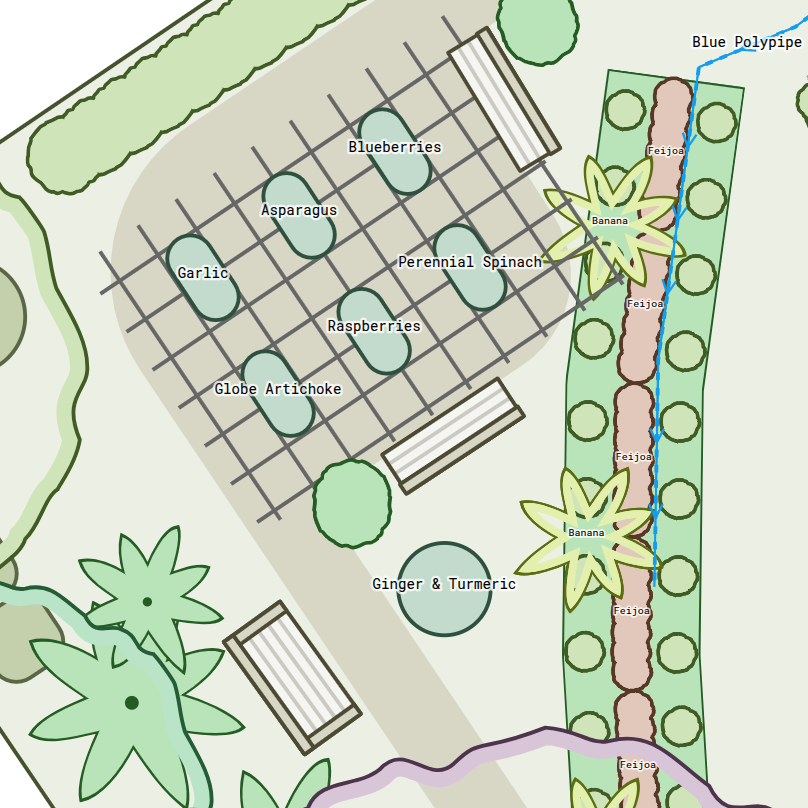
Example of Converting Layouts to Greyscale in Permiehub
In this example, we removed colour from the drawing before printing. Toggling off colour ensures sharp visual contrast on paper while reducing printer ink usage.
Make Your Garden Layout Easy for Anyone to Explore
- Showing visitors through an established garden is much simpler with a clear visual layout. Capture your beds and fruit trees online so you can share your passion or hand over garden tasks without confusion.
- Start Trial Today