Create Design Vision
Prevent layout confusion by capturing your core goals, project context, and dream inventory before starting your concept design.
Record Your Project Vision in 3 Easy Steps
1. Set Context & Goals
Align everyone around clear targets and realistic priorities by defining project users, site conditions, and core goals upfront.2. Map Inventory to Goals
Save time and money by cataloguing existing assets alongside future wishlist items, keeping only what directly serves your vision.3. Set Your Vision for Success
Excite and unite key contributors, site users, and community helpers by writing a clear, inspiring shared vision statement.Why Record Your Project’s Design Vision
Designing a property without a clear plan often leads to scope creep, wasted resources, and layout frustration. Recording your design vision upfront eliminates guesswork, giving you a clear framework to evaluate every idea before you start drawing on the canvas.
Documenting your site context, goals, and resources clarifies who the design serves, who will help bring it to life, and what assets you already have. Tying your design choices directly to how you actually live ensures every garden bed, tree, or pathway serves a practical purpose, making your space far more enjoyable to maintain.
Starting Point
To begin capturing your site context, goals, and wishlist items, open an editable project in Permiehub.
Step 1: Record Context and Goals for Your Project
Setting up your project context ensures your design directly reflects the people and environment it serves. Capturing these details early clarifies who will use the space, who can help build it, and what conditions shape your site.
Click your avatar icon in the top menu of your project, then select Project Settings to open the configuration panel.
Select the Context tab to specify the following factors.
Context Guidance Focus Indicate whether the project is for yourself or someone else. Type Select your site category, such as residential, rural, commercial, or communal. Site type affects access to resources, volunteer help, or local markets if you plan to share harvests. Community Select everyone who interacts with the site regularly, including adults, children, elders, pets, neighbours, and the broader community. Select the Goals tab to define core focus areas for your design. You can classify items using your own framework, or follow the categories outlined below.
Goal Category Guidance Essential Mark items that are vital for your project. Missing an essential item will prevent you from achieving your core vision. Important Mark high-priority items. These can include secondary goals or features phased for later implementation. Nice Mark desirable items to add if budget and time permit, including positive outcomes that are harder to measure or affect directly. Not Nice Mark outcomes you prefer to avoid. Identifying unsuitable goals for your site helps guide clear, focused discussions. Dismiss Remove items from consideration that do not apply to your project.
With your context and goals saved, you are ready to build an inventory of existing assets and wishlist items for your design.
Example of Setting Goals in Permiehub
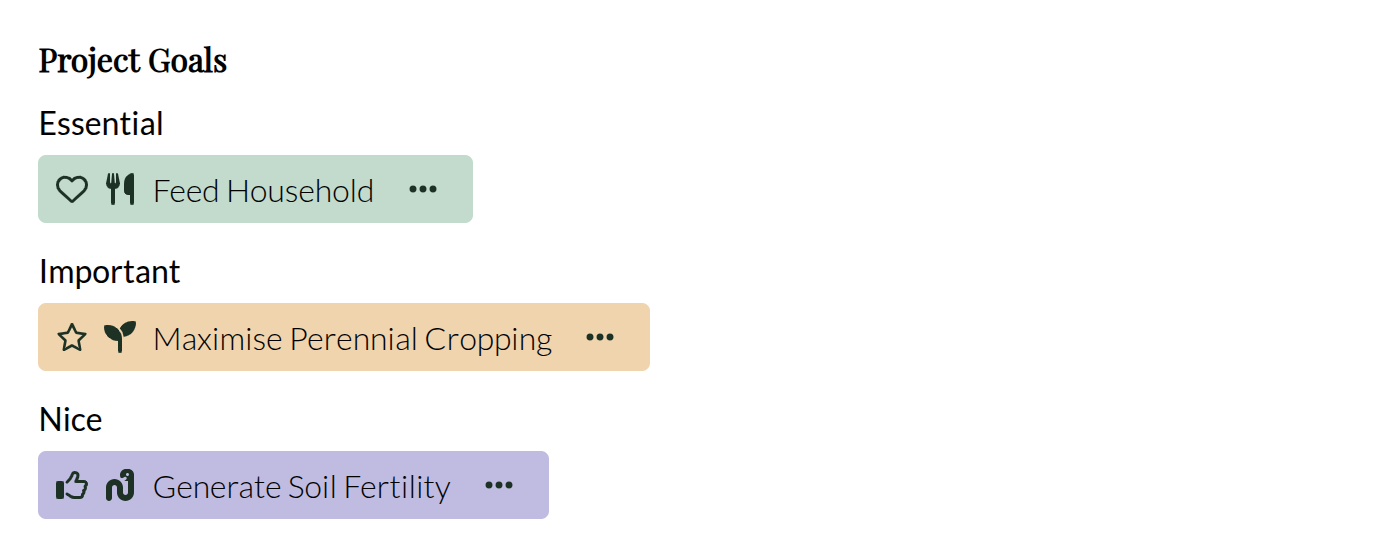
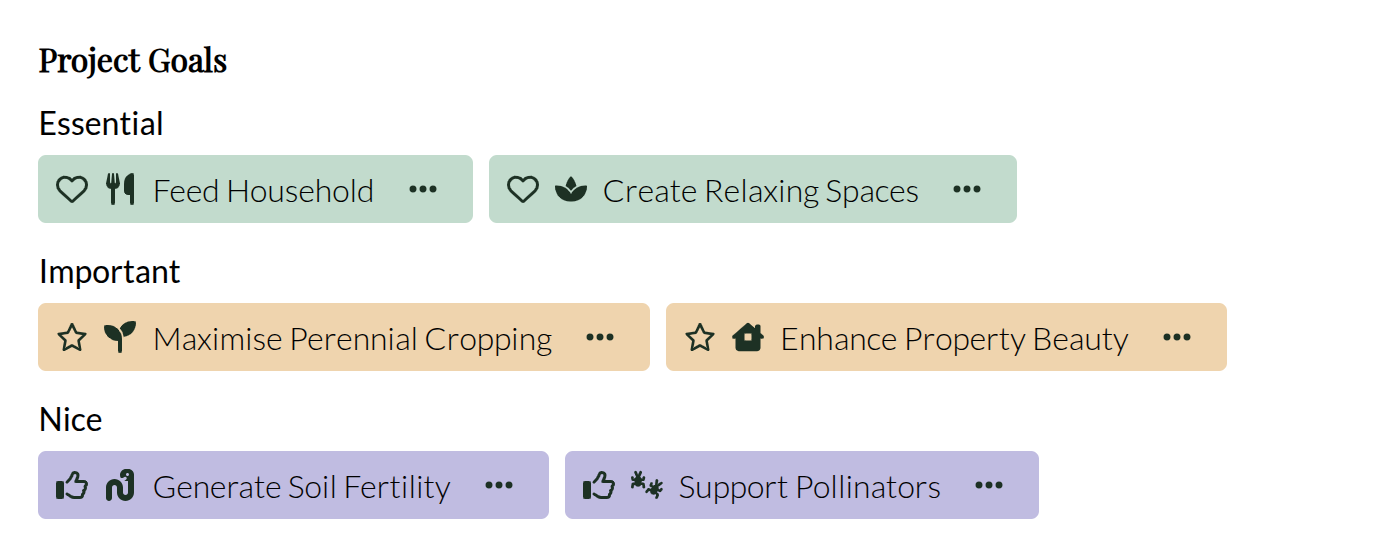
Goal setting is flexible, and there is no single rigid rule to follow. In this example, we show how we categorised goals for a functional homestead site to help guide initial layout choices. We decided to limit the number of goals to two per type to stop our vision from becoming muddy and our future decision-making overwhelming.
We focused first on the Essential goal of feeding the household, ensuring food production directly shaped the project’s concept design features. To support this, we set an Important goal to maximise perennial fruit and vegetable systems, making ongoing harvests easier. Finally, we marked soil fertility as a Nice goal, encouraging long-term soil health that we might translate into concept areas featuring diverse plantings.
As the project’s second Essential goal, we set out to create relaxing outdoor spaces. Site beauty is subjective, but we chose to mark it as an Important goal because visual harmony directly helps a space feel peaceful. This allowed us to evaluate concept design areas using design patterns and colour theory, including checking for flowering plants on the drawing canvas. Lastly, we added supporting pollinators as a Nice goal to improve harvests and bring extra visual interest to the garden.
Step 2: Map Existing and Future Inventory to Goals
Selecting goals helps define what you already have and what you still need. When you choose goals in Permiehub, the Inventory tab automatically prioritises related items to guide your planning decisions.
Click on the Inventory tab within the Project Settings window to take stock of your site elements.
Assign inventory items that directly support your goals to keep your wishlist realistic and purposeful.
Inventory Category Guidance Have List resources, tools, plants, or infrastructure already present on site. Appreciating existing resources helps identify which goals are achievable first without overspending on extra equipment. Need Identify essential inputs or equipment required to fulfil your chosen goals. These are missing items without which goals cannot be achieved, even with workarounds or community assets. Want Record items you hope to add in future phases. Do Not Want Note elements or conditions you wish to avoid or remove. These might be items identified either as unhelpful for your concept design or better exchanged for other inventory. Dismiss Hide items from your inventory view that are not relevant to your site.
Example of Mapping Inventory in Permiehub
Building on the project’s goal-setting example from the previous step, we selected inventory to help us turn abstract choices into tangible site decisions. Below, we show how we mapped our existing assets and wishlist items to support those same goals.
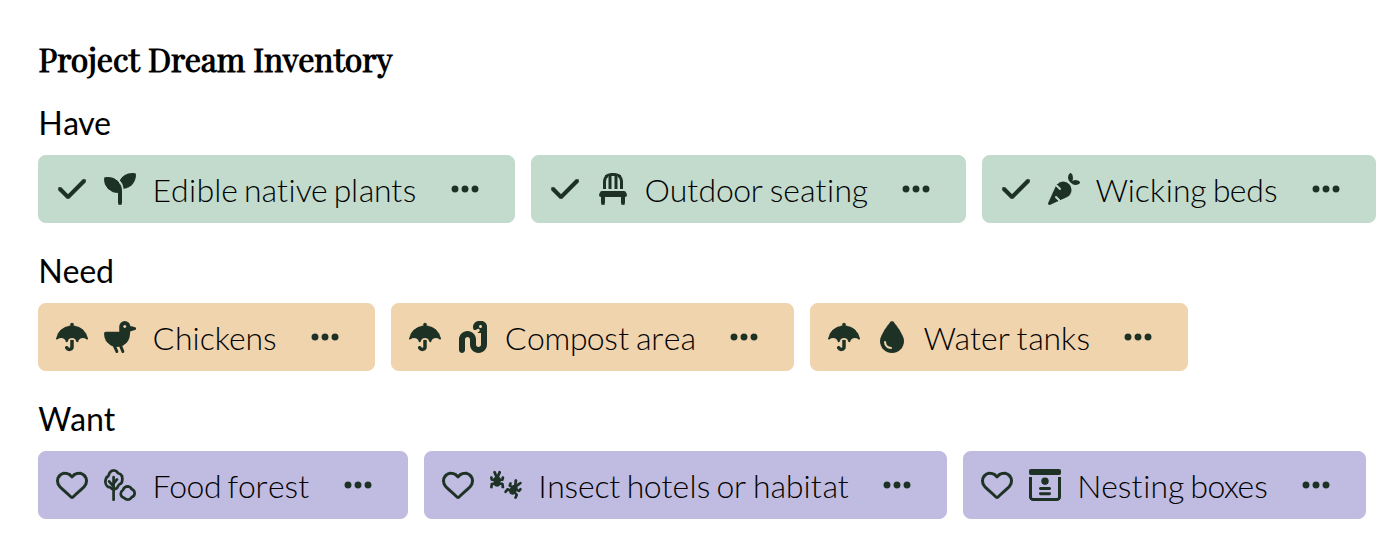
For the project’s food production goals, we assigned our existing wicking beds to Have for immediate harvests. We assigned chickens and a composting area to Need to process household waste and generate soil fertility, and placed a food forest under Want for long-term perennial cropping.
For the project’s lifestyle and ecology goals, we assigned outdoor seating and a native garden to Have for immediate relaxation and beauty. We assigned water tanks to Need to secure the site water supply, and added insect habitats and nesting boxes to Want to support pollinators and local wildlife.
Step 3: Set Your Vision for Success
With context, goals, and inventory defined, you can combine all factors affecting the design into a clear guiding vision statement that anchors your entire project. We recommend focusing on abstract, long-term goals, exploring what working towards them or continuously integrating these desired outcomes into life on site would look and feel like.
Click the Vision tab within the Project Settings window.
Write a concise statement describing the purpose, atmosphere, and long-term goals of your space.
Saving your vision statement completes your project’s design vision setup. You can review it at any time to ensure future design decisions align with the project vision.
Example of Writing a Vision Statement in Permiehub
Building on the project’s goal-setting and inventory mapping from previous steps, we extracted these choices into a guiding statement to inspire and energise people working on it. We made sure to include the goals and inventory that we found crucial to accomplishing them.
For this homestead project, we wrote: “To create a resilient, productive homestead that feeds the household through diverse perennial systems, restores soil health, and provides peaceful outdoor spaces for relaxation and local wildlife.”
Having this statement logged in Permiehub serves us as a clear reference whenever we evaluate new layout ideas on our drawing canvas. It also serves as a reminder and explanation to any visitors, giving them a clear story of the land.
Next Steps: Turn Vision into Spatial Design of Concept Areas
Now that your project parameters, goals, and wishlist are saved, you are ready to transition from Project Settings to creating concept designs representing your inventory items physically on site. We cover this process in detail on the learning page about creating concept areas and functional relationships.
Your Next Read: Map Your Vision onto the Canvas
- Learn how to convert your goals and inventory items into functional concept areas, access paths, and efficient resource flows using Permiehub drawing tools.
- Read about mapping areas to your goals