Base Map
Learn how to quickly build a base map using the automated Base Map Wizard combined with manual tracing of exising structures, boundaries, and trees.
What is Base Map
A Base Map is the foundation of your design. It typically includes, but is not limited to, your property boundaries, existing structures, major trees, watercourses, dams, and contour lines.
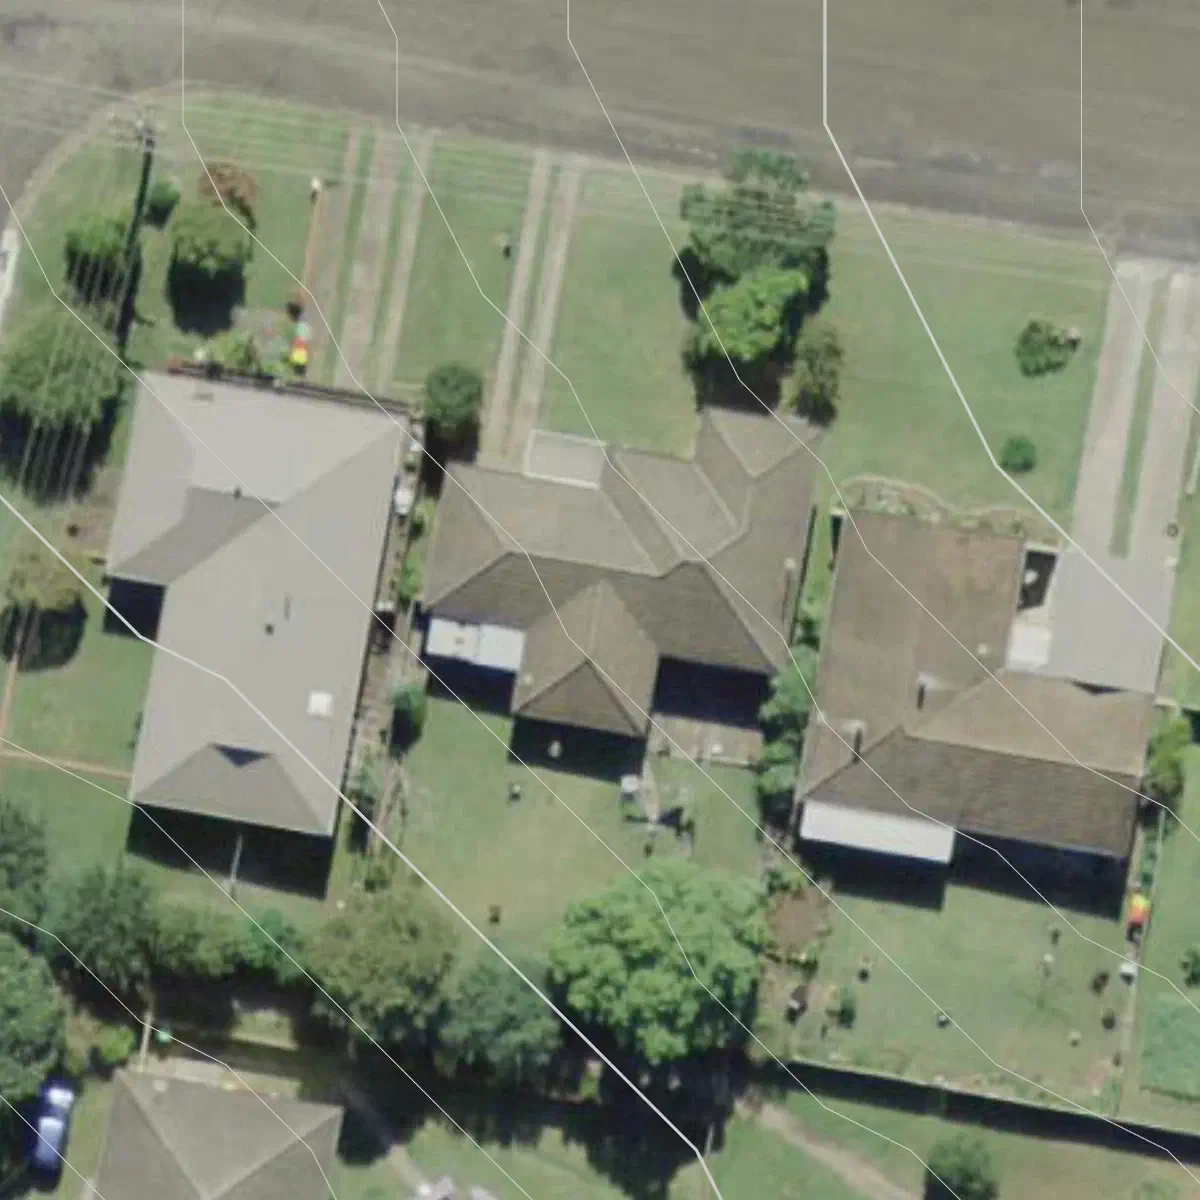
Illustration 1: Data retrieved by the Base Map Wizard
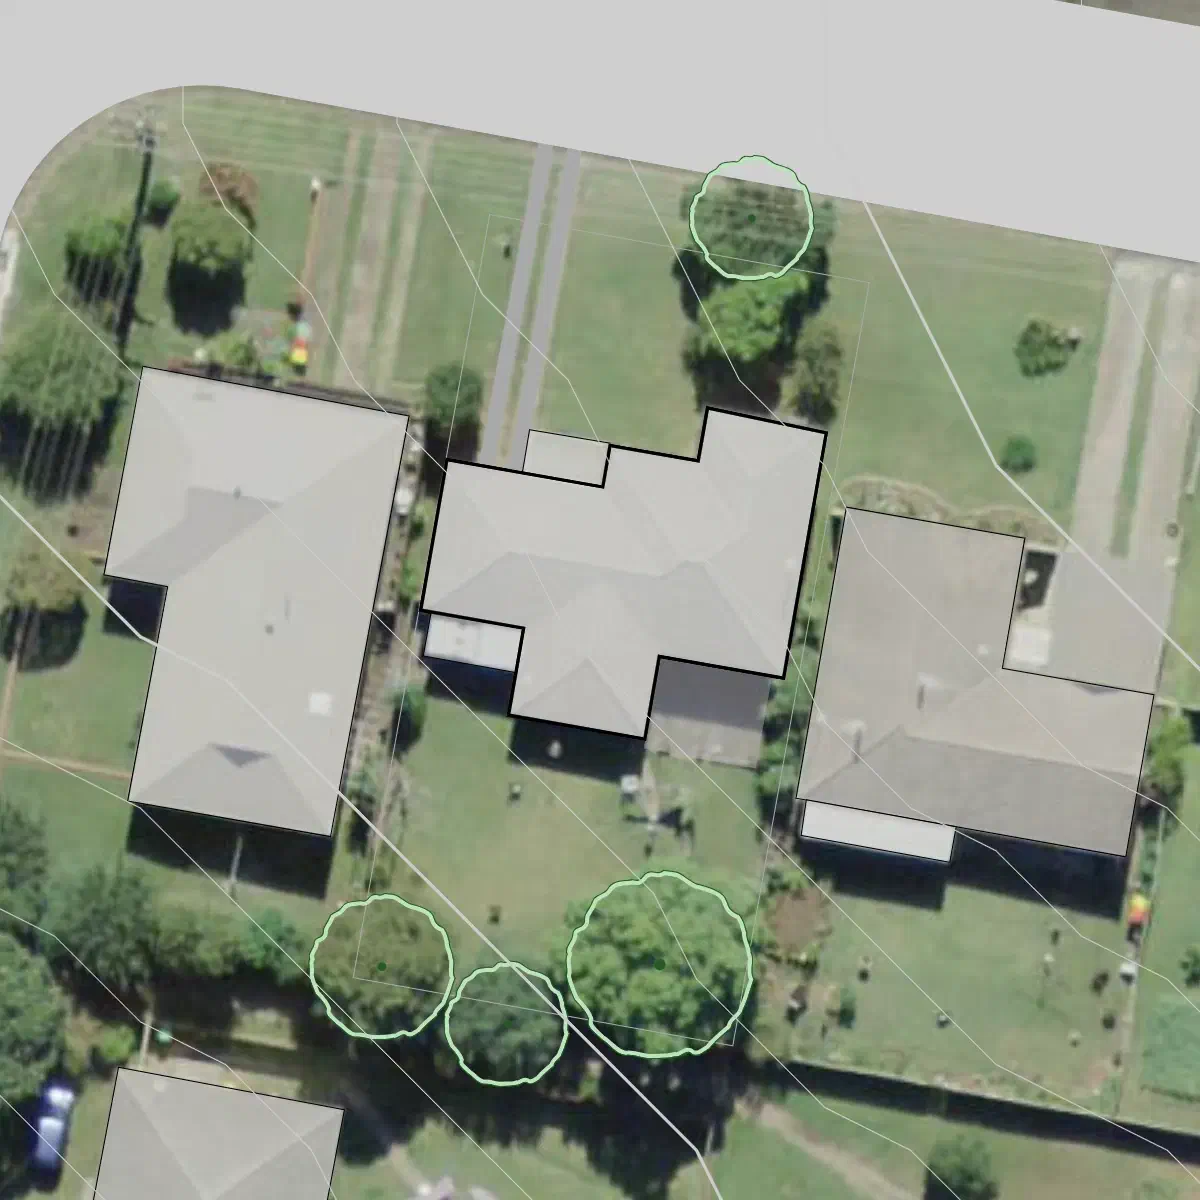
Illustration 2: Structures traced and trees marked
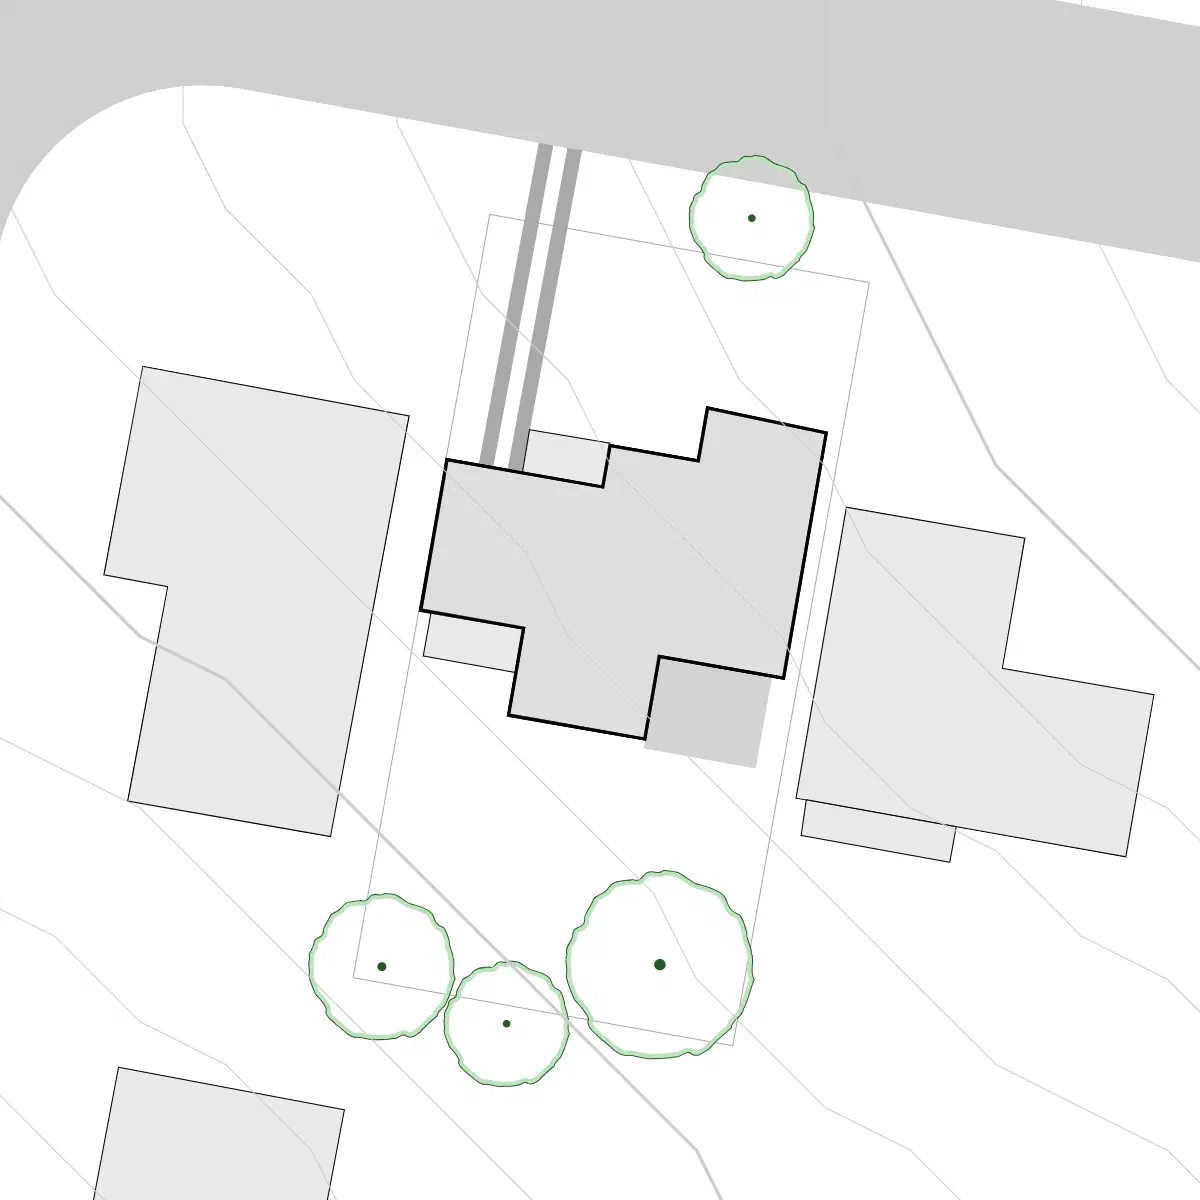
Illustration 3: The reference imagery can now be hidden to show a clean Base Map
Video Tutorial
We recommend starting with this video, which provides a quick overview of creating your Base Map in Permiehub using either the Base Map Wizard or your own reference imagery:
Step 1: Use Base Map Wizard
What is Base Map Wizard
Drawing a scaled base map manually can be a lot of work. To save you significant effort, Permiehub features the Base Map Wizard - a tool that imports spatial datasets directly into your project.
Here are several examples of what the Base Map Wizard can import for you: Australia, NSW USA New Zealand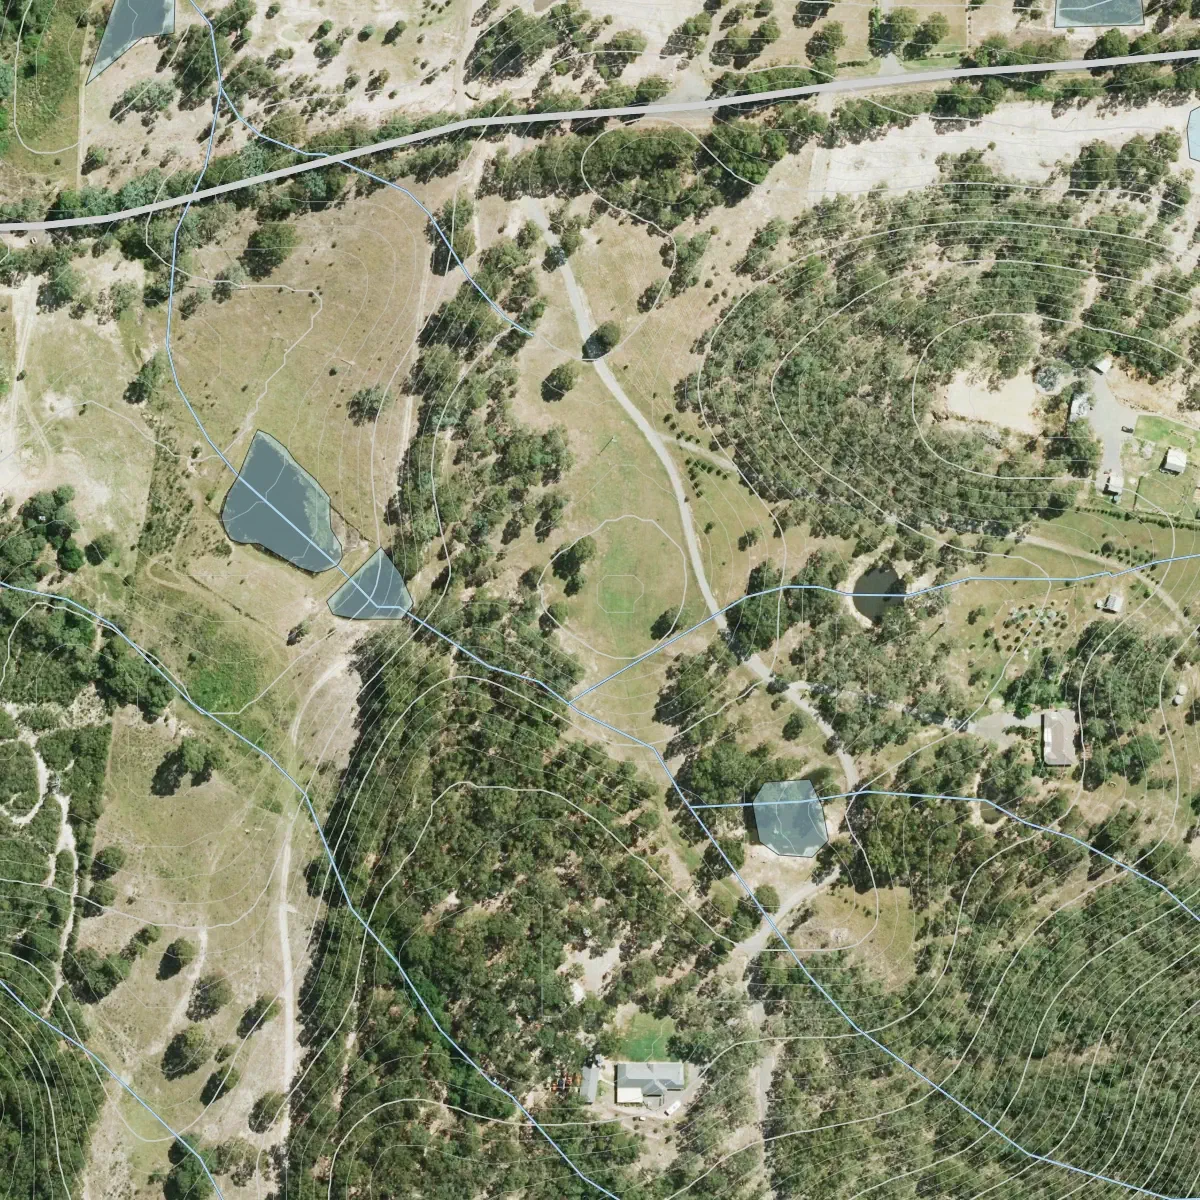
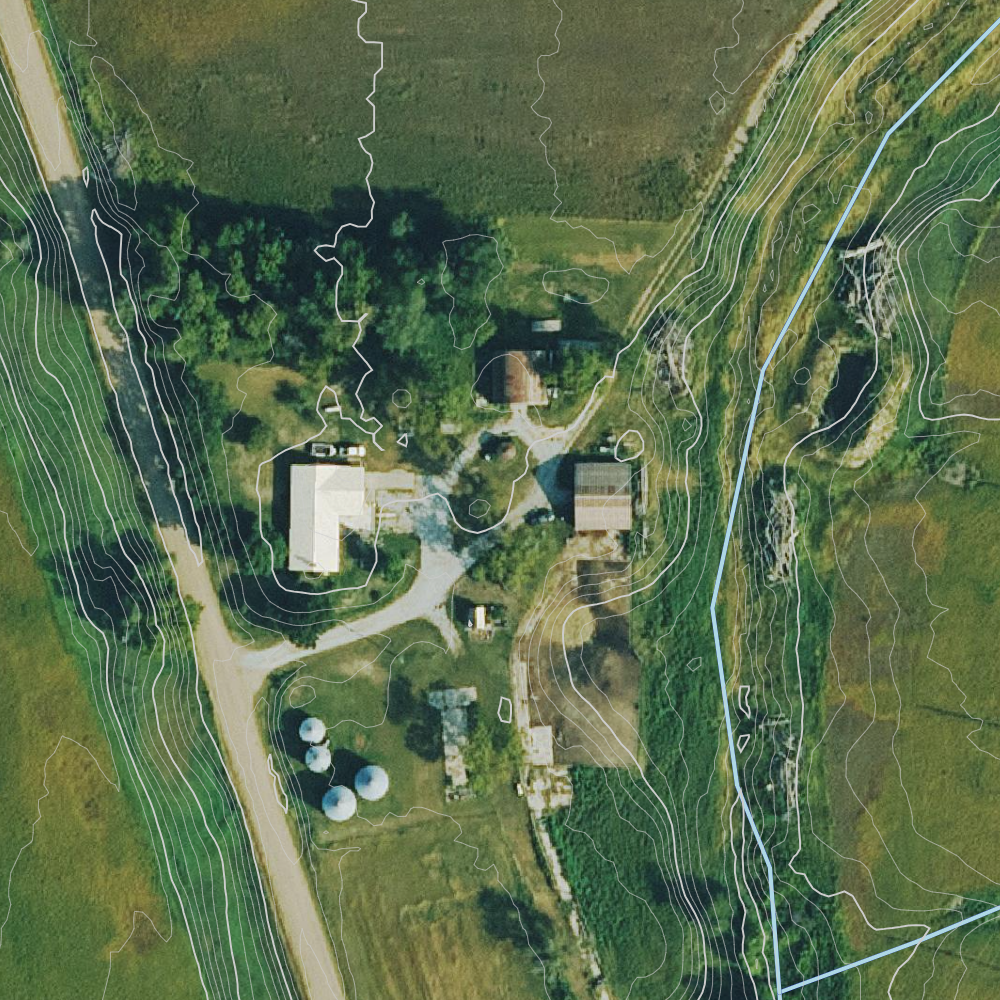
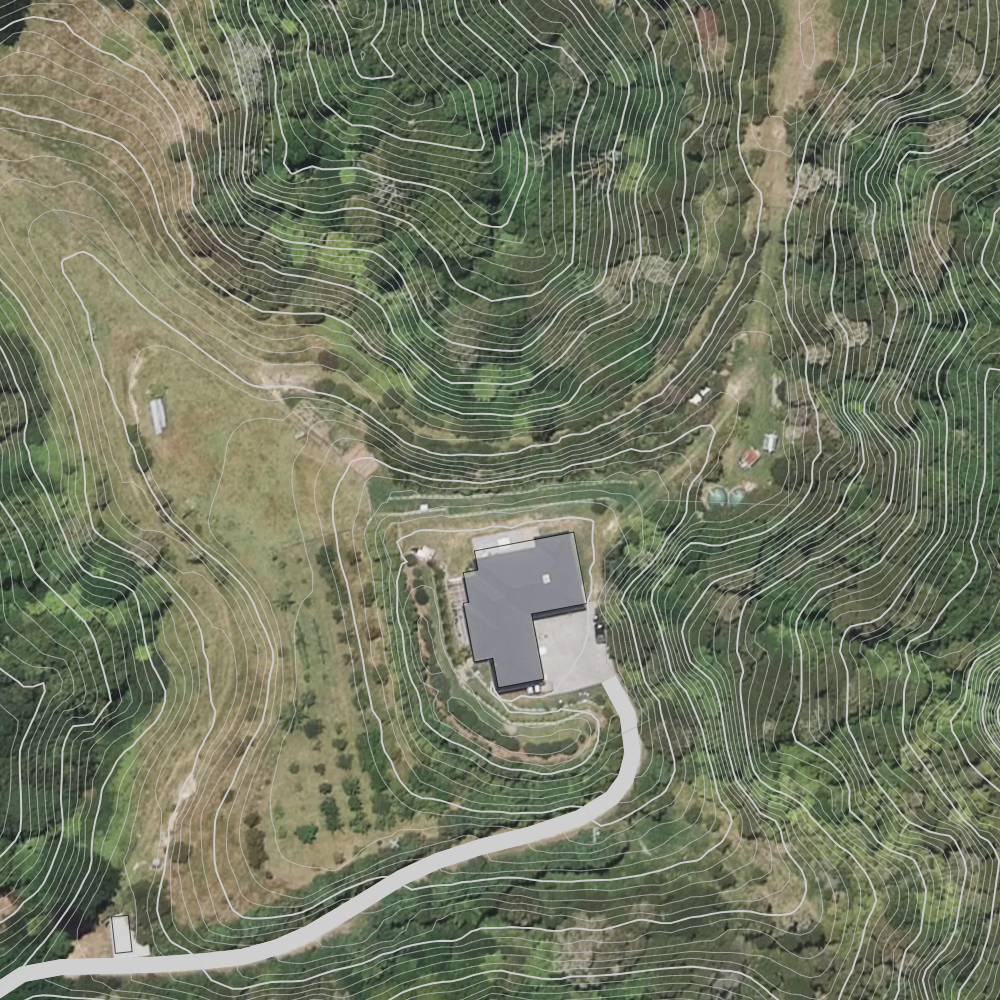
For more details about coverage and examples, see Base Map Wizard Data.
TIP
Regardless of your location, you can always upload your own reference images such as alternative aerial imagery, drone imagery, site plans, surveys, or drawings.
Using Base Map Wizard
Depending on your active plan, the maximum size of the imported area will vary.
- Open your project: Create a new project or open an existing one.
- Switch overlay: Select the Base Map overlay.
- Open the wizard: Select Base Map Wizard from the Tools menu (it may already be selected by default).
- Locate your property: In the right sidebar, search for your address or the nearest town.
- Select location: Click on the desired location from the search results.
- Frame your area: Pan and zoom to select the area to be imported. The list of expected data layers will display below the map.
- Request download: Click Request Data to start downloading the layers.
- Preview the data (Optional): Click Show Preview to view the loaded data. It will appear in the middle of the canvas; you can fine-tune the exact placement by panning the view.
- Configure contours (Optional): Select your preferred contour density using the dropdown menu.
- Filter layers (Optional): Deselect any data layers you do not need.
- Finalise import: Click Add to Project.
Note: Adding a very high number of contours or objects may slow down your project’s rendering speed.
Here are examples of what Base Map Wizard may import for you;
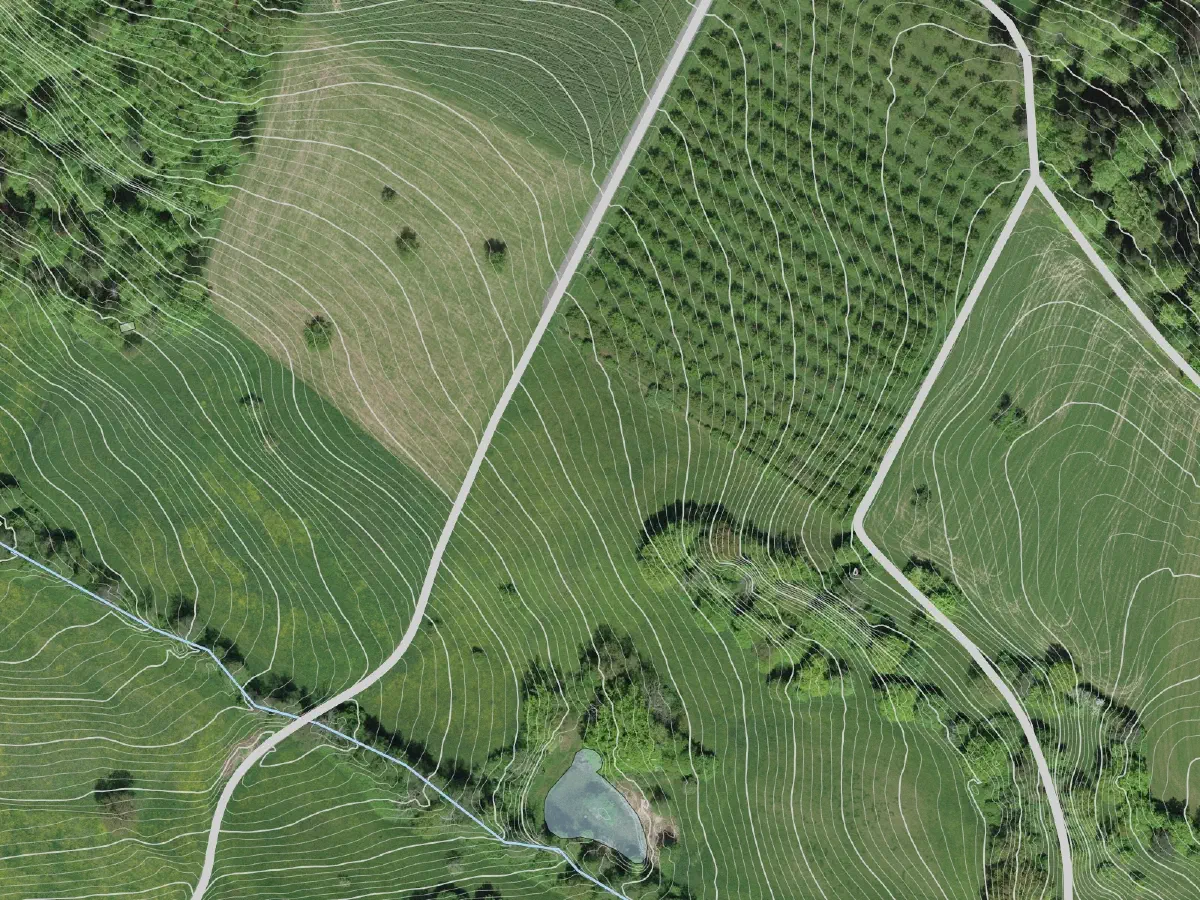
Aerial imagery, contours, roads, waterways (Switzerland).
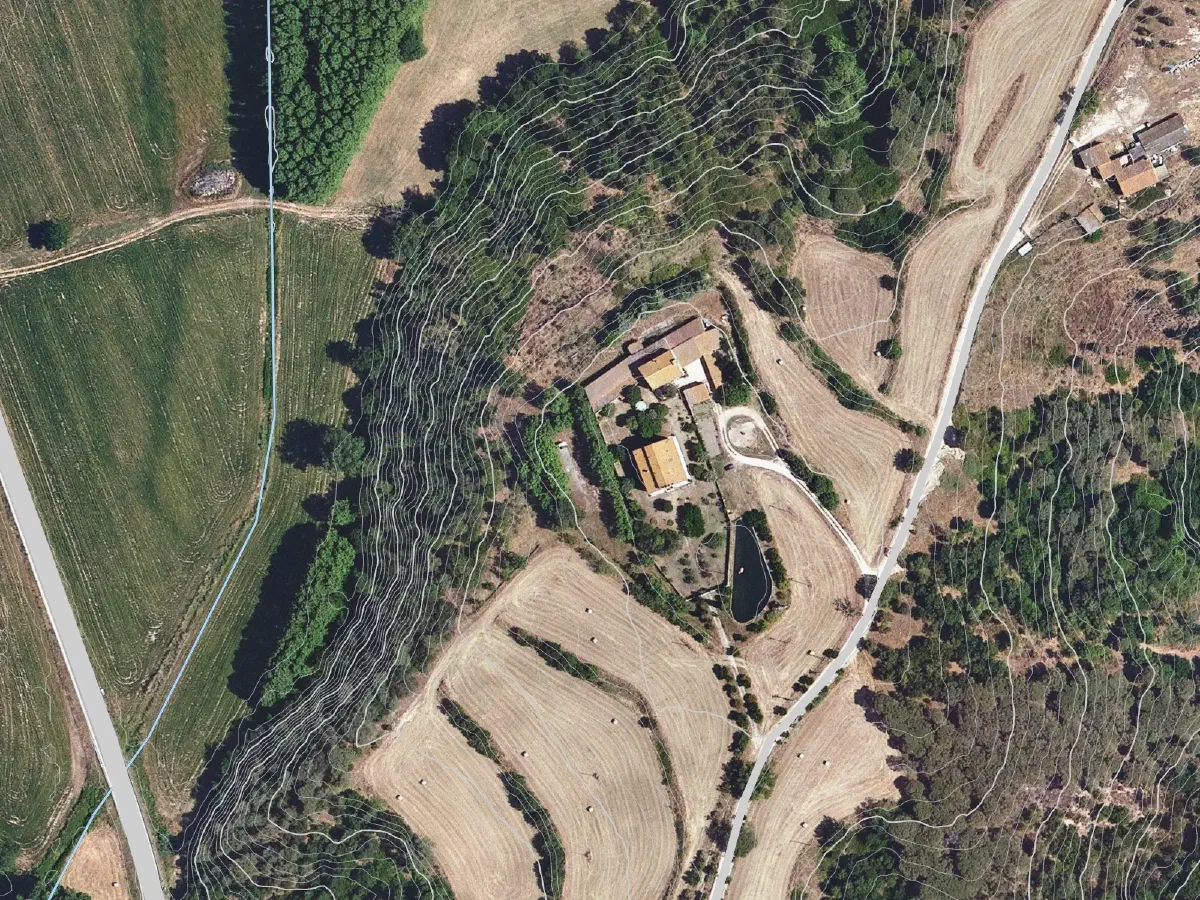
Aerial imagery, contours, waterways, roads (Spain).
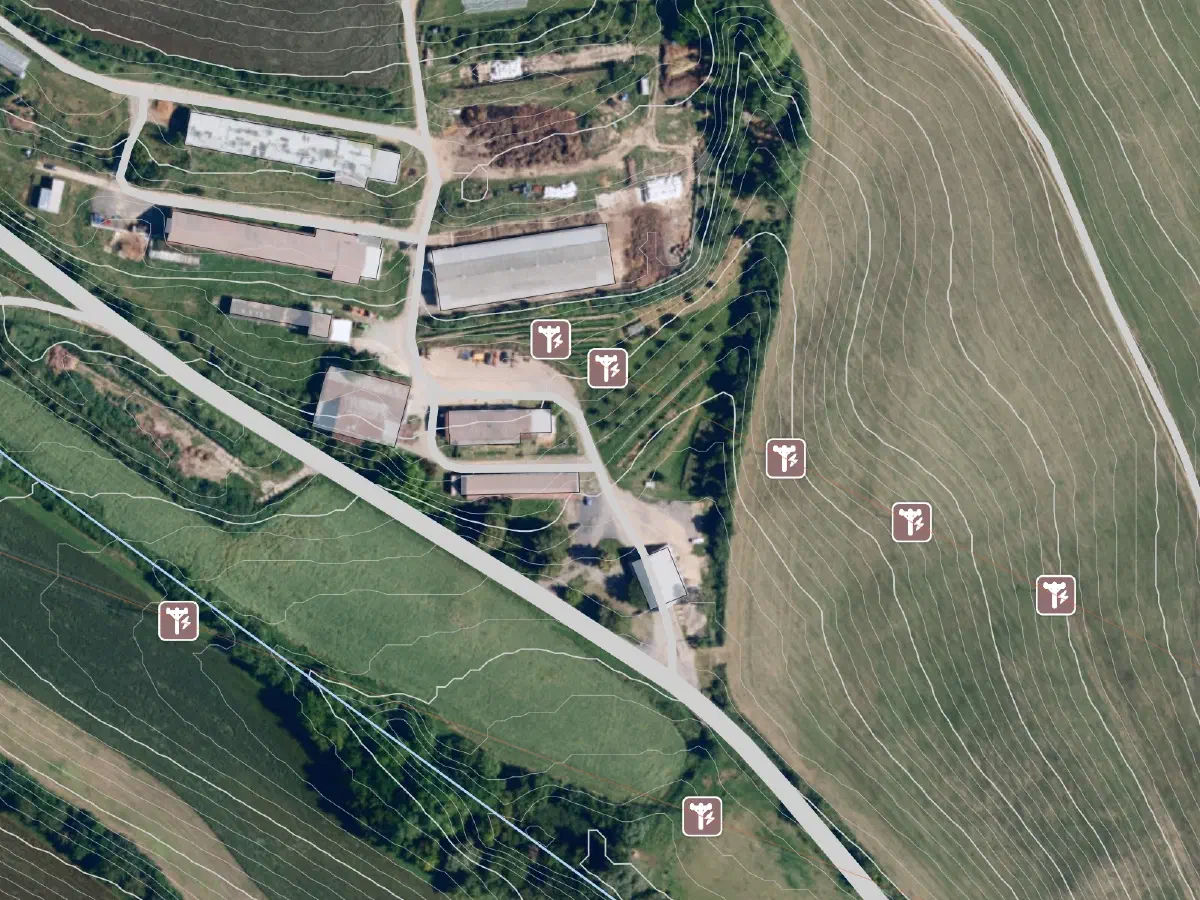
Aerial imagery, contours, power lines, roads (Czech Republic).
Next, you can upload a more recent reference image or start tracing objects in your Base Map.
Step 2: Upload Reference Image
You can also upload your own reference image to help map your property. See References for more details.
Step 3: Trace Objects in Your Base Map
This section explains how to manually create or trace objects like property boundaries, structures, and trees onto your Base Map.
Before starting, ensure you have uploaded and scaled a reference image or imported property data via the Base Map Wizard.
Tracing Structures
Here is an example of your starting point and a result after tracing structures.
Your starting point: a reference image.
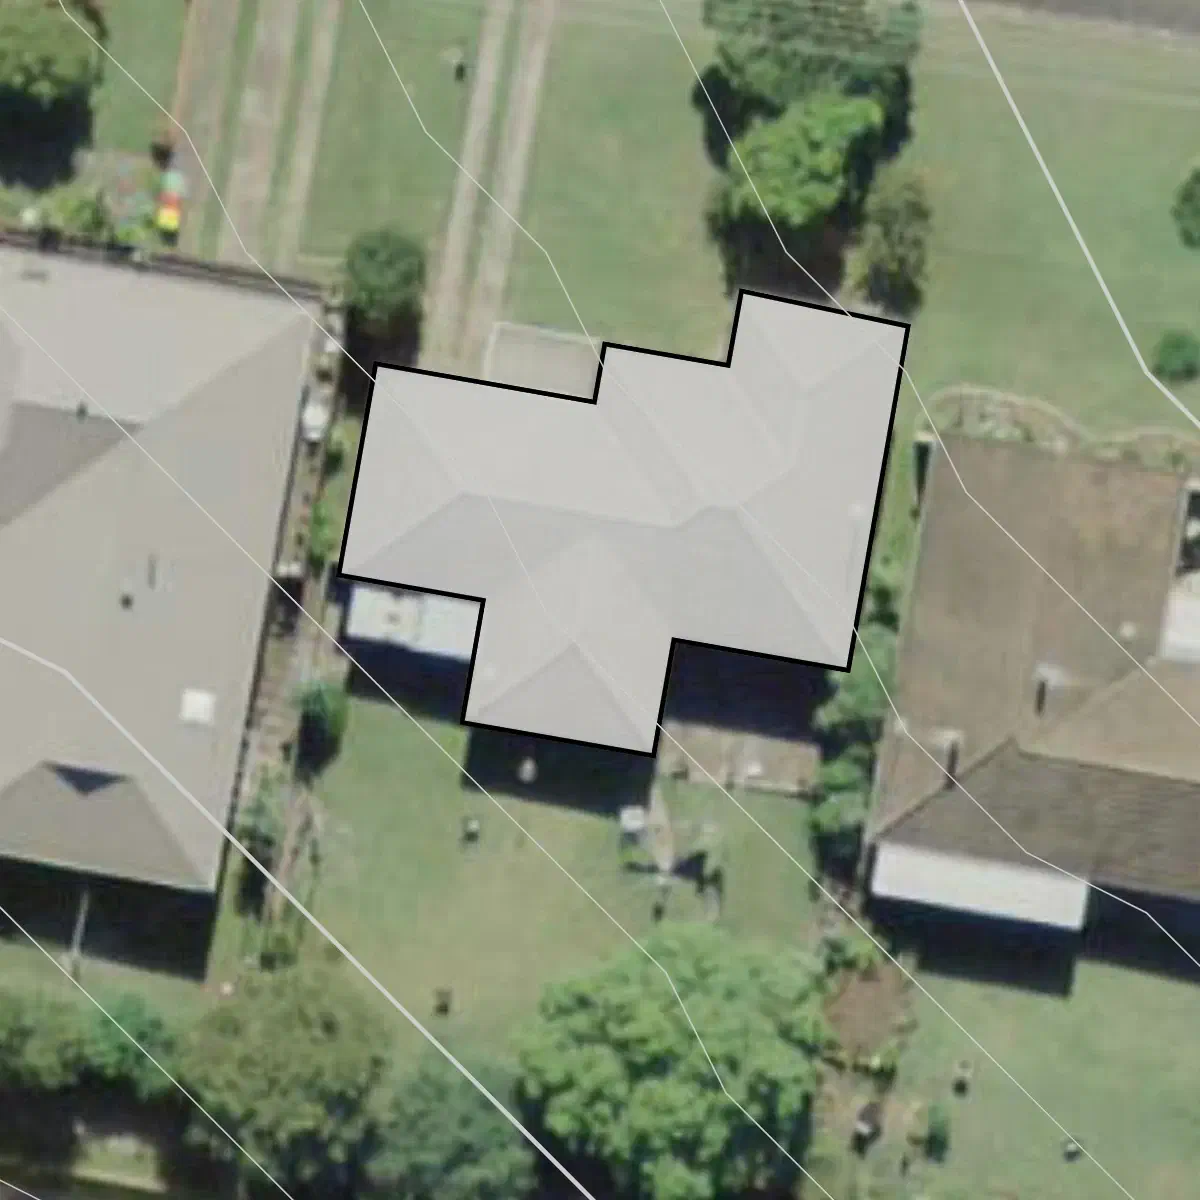
The main residence traced.
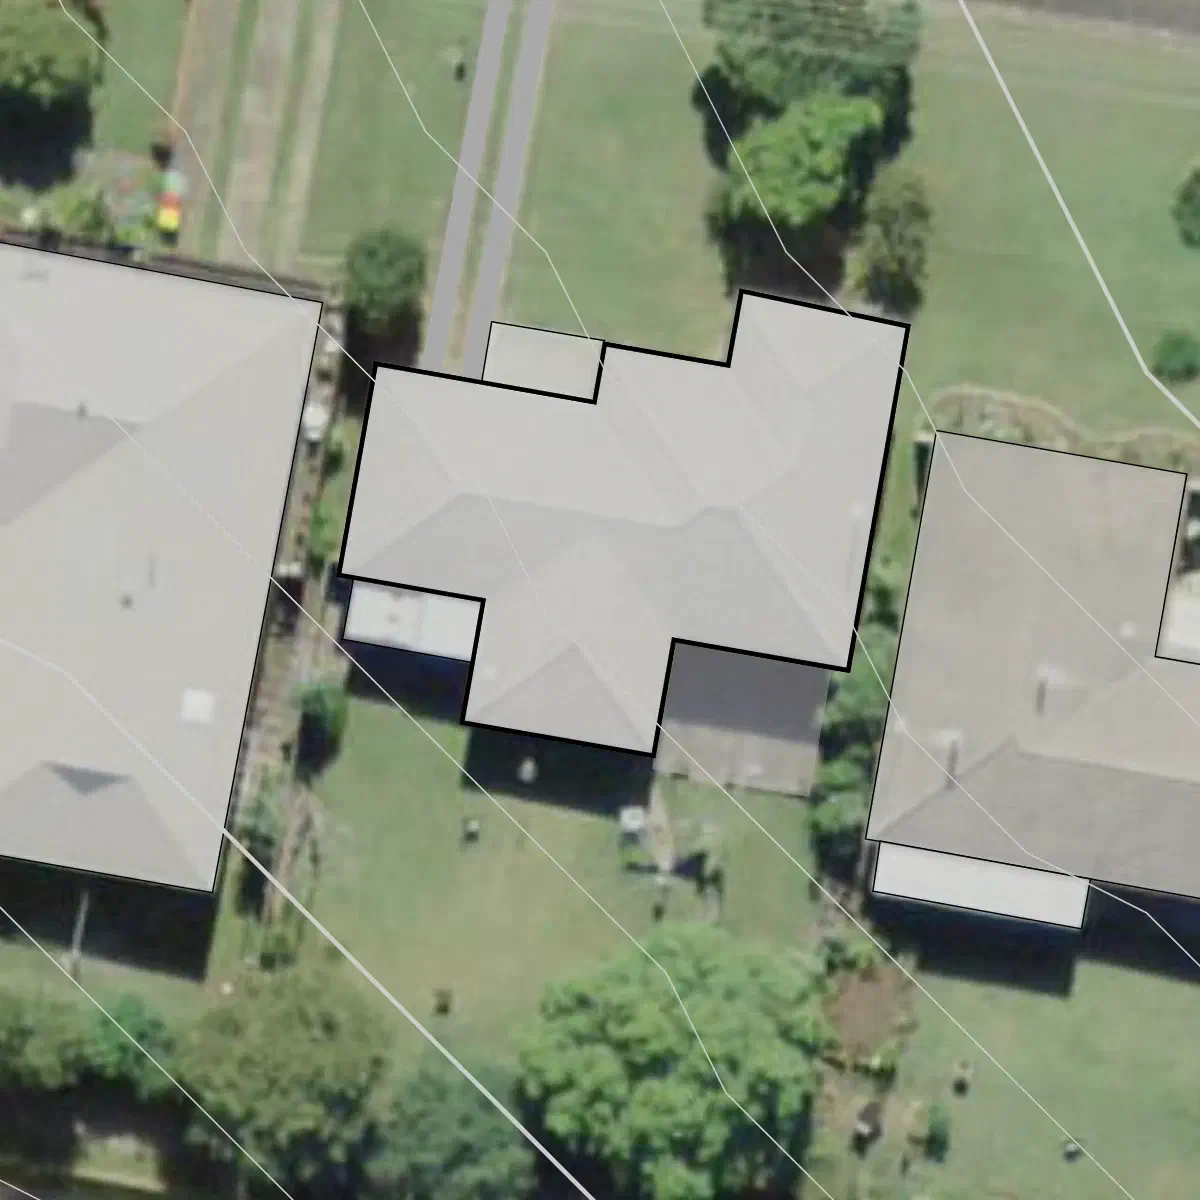
Additional structures and paved areas traced.
- Open your project and go to the Base Map overlay.
- Select the tool: Choose the Dwelling tool (for the main residence) or the Structure tool (for outbuildings and supporting structures) from the Tools menu.
You can use this same drawing approach with other tools, such as Paved Area or Decked Area.
- Place the first point: Zoom into the canvas until the structure is clearly visible, then click on one of the corners to place your first point.
- Draw the first wall: Click on the next corner of the structure to draw the first line segment.
- Lock right angles: If your structure has 90° corners, hold the Ctrl key while moving your cursor to snap to right angles.
- Continue tracing: Keep clicking on the subsequent corners of the building.
- Close the shape: When you have marked all corners, click back on your starting point to finish drawing the structure.
TIP
If you know the exact dimensions of the wall you are drawing, move your cursor in the desired direction, type the exact measurement in your project units (e.g., type 4.5 on your keyboard), and press Enter. This automatically draws a line segment of that precise length.
Tracing Property Boundary
Your starting point: a reference.
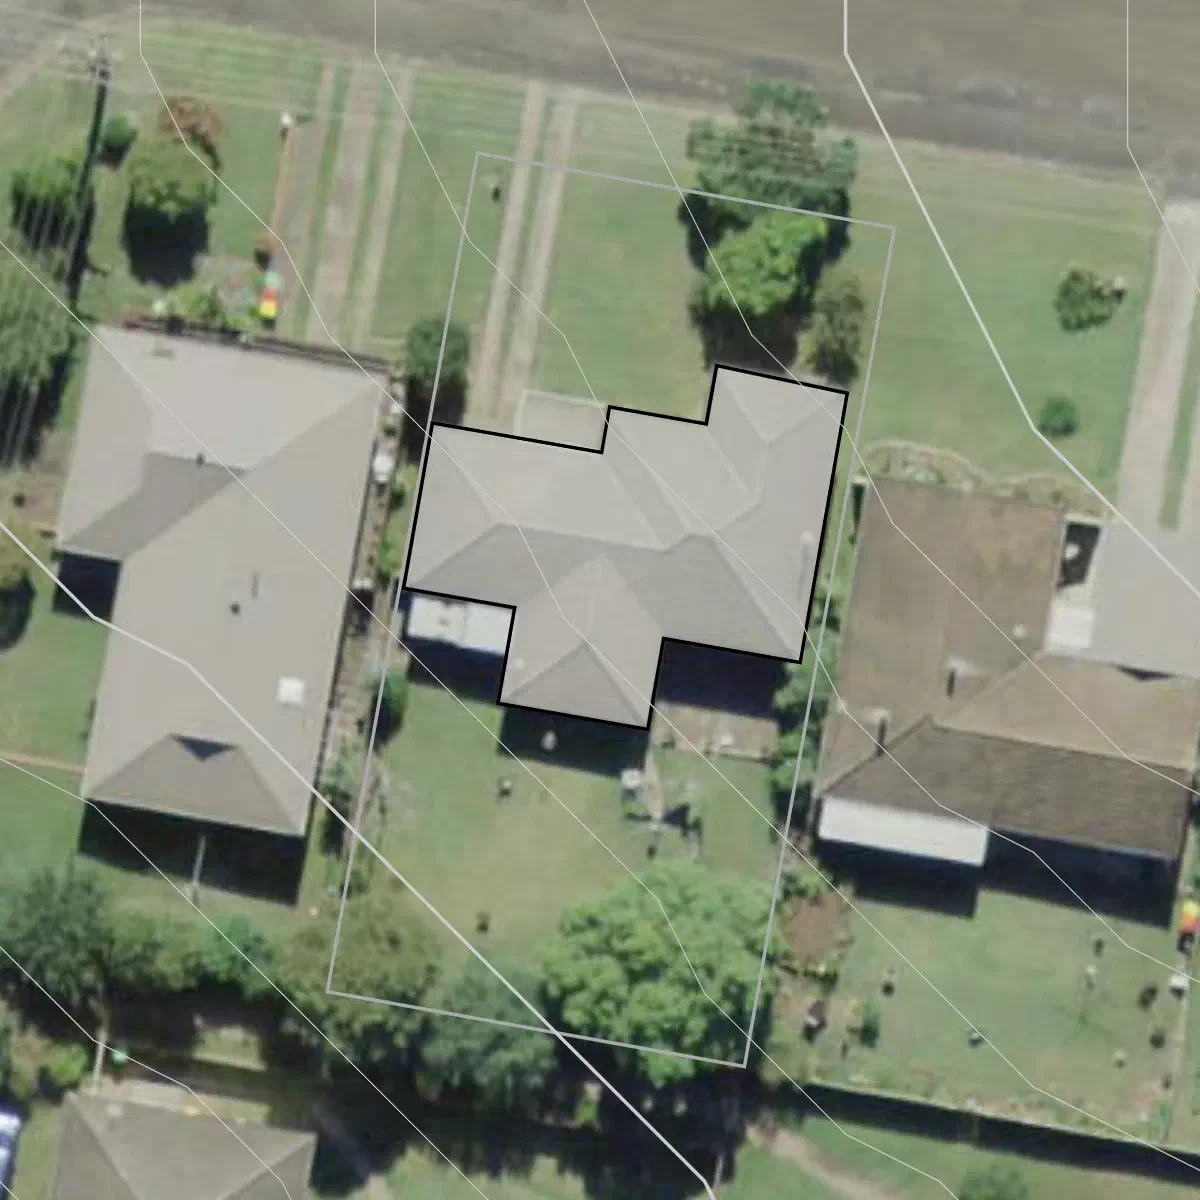
After tracing the property boundary.
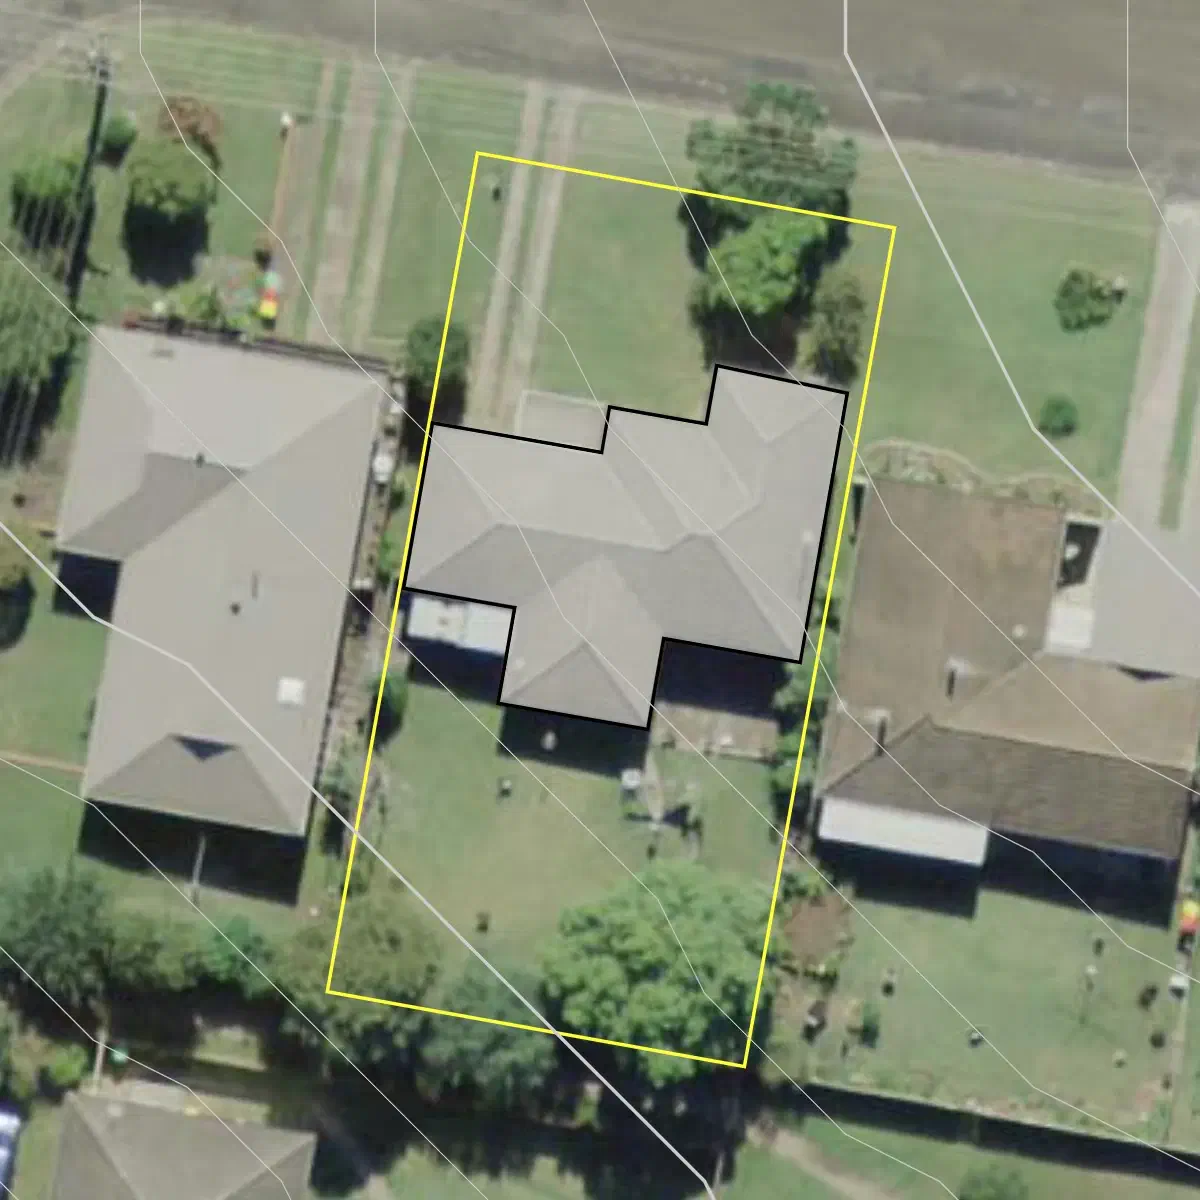
After changing line colour.
- Open your project and go to the Base Map overlay.
- Select the tool: Choose the Property Boundary tool from the Tools menu.
- Place the first point: Click on the canvas to set the starting point of your boundary.
- Trace the perimeter: Click on the next boundary corner to create a segment. Repeat this process for the entire perimeter of the land.
- Close the boundary: Click back on your starting point to close and finish the boundary line.
- Update Style (Optional): If you need to make the property boundary more visible, change its Line Thickness and Line Colour in the sidebar.
Placing Trees
Your starting point: a reference.
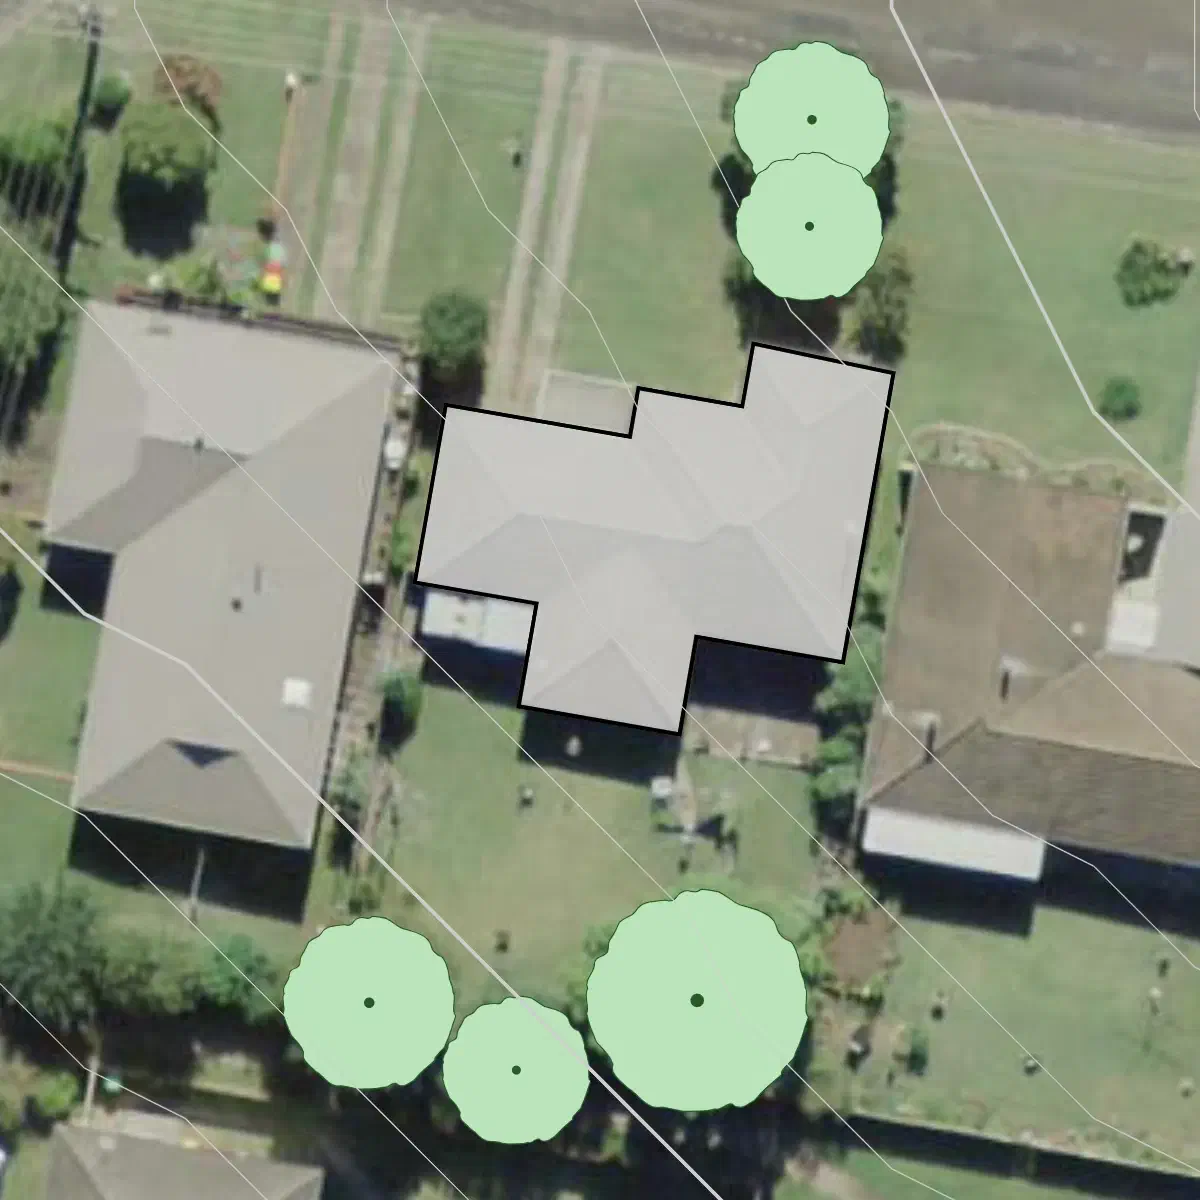
After placing trees.
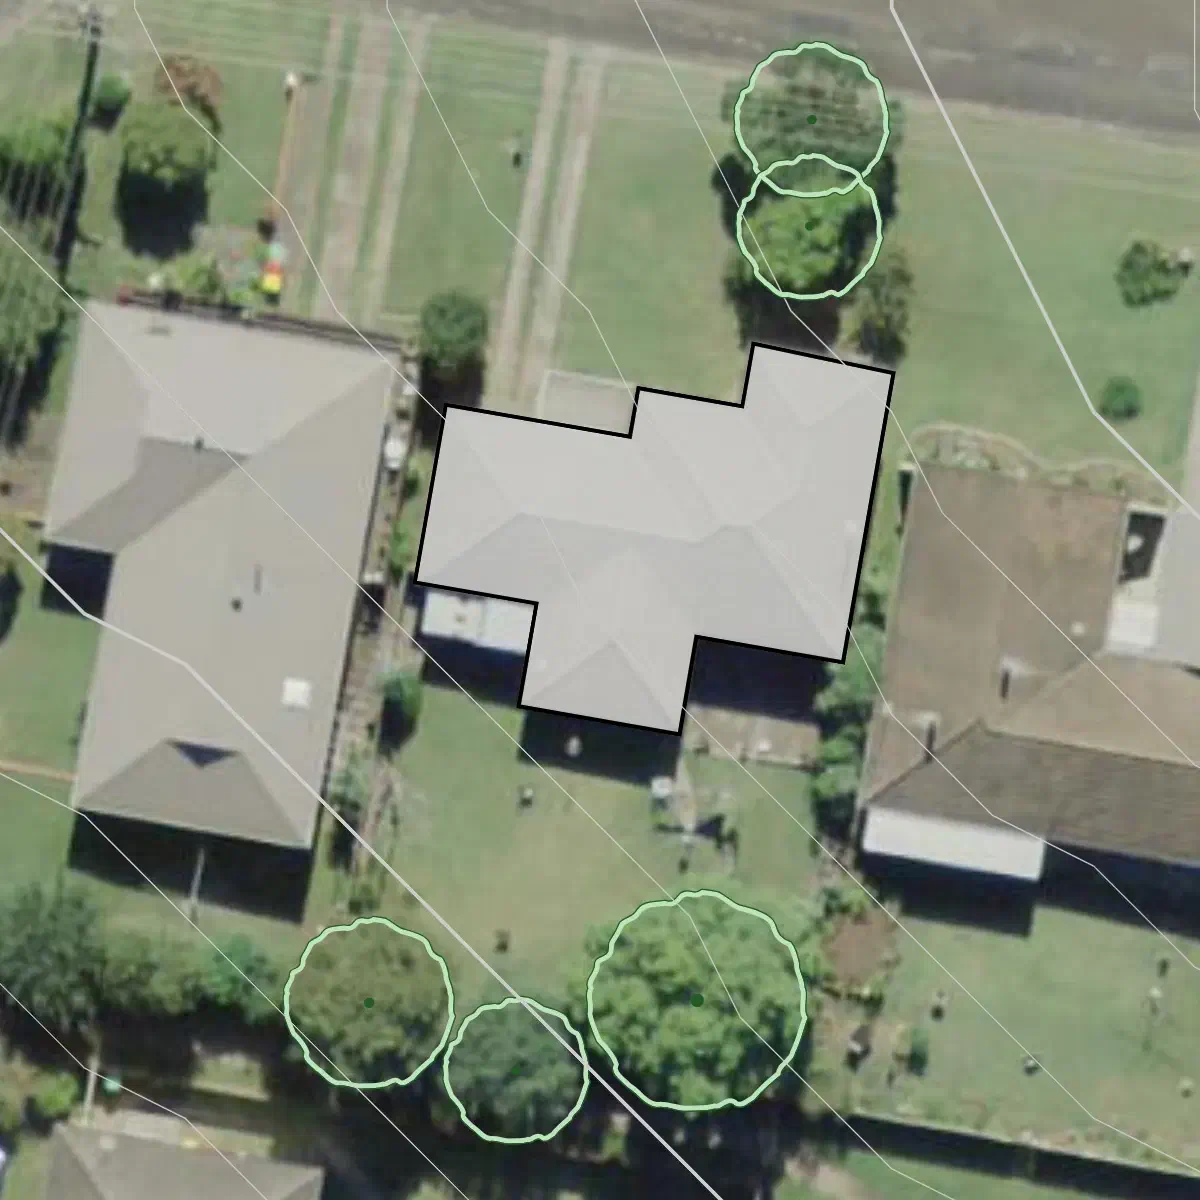
After making trees canopy transparent.
- Open your project and go to the Base Map overlay.
- Select the tool: Choose either the Evergreen Plant or Deciduous Plant tool from the Tools menu.
- Locate the tree: Zoom into the canvas until the existing tree canopy is clearly visible.
- Position the tool: Hover your cursor over the centre location of the tree.
- Set the canopy size: Adjust the tree’s diameter by typing the dimension directly on your keyboard (e.g., type
3.5for a 3.5m wide canopy). - Place the tree: Click on the canvas to set it in place.
- Repeat: Continue hovering, sizing, and clicking to map all desired trees.
- Transparent Centre (Optional): If a tree is large and may obstruct objects under its canopy, set Transparent Centre attribute to Yes.
Placing and Adjusting Contour Lines
If you use the Base Map Wizard, your imported terrain data provides an excellent baseline. However, you can still adjust these existing lines, or manually draw new contour lines if you are planning future earthworks or swales.
Adjusting Existing Contour Lines
- Open your project and go to the Base Map overlay.
- Locate the contour: Zoom into the canvas until the specific contour line you wish to alter is visible.
Selecting Contour Line to Change its Shape
- Select the tool: Choose the Edit Shape tool from the Tools menu.
- Select the contour: Click on the contour line you wish to modify. This displays its editing control points.
TIP
Alternatively, you can click twice directly on any contour line to instantly enter shape-editing mode.
Changing Shape of Contour Lines
- Reposition points: Click and drag existing points to their new locations on the canvas.
- Add new points: To add a new point to the contour, click anywhere on an existing line segment where a point does not yet exist.
- Continue adjustments: Continue moving and adding points until the contour line accurately reflects your desired land shape.
Attribution
The aerial imagery, topography, and other base map data are sourced as detailed in our Data Attribution page
Where to Next
- Start designing in Permiehub and try Base Map Wizard in action for your property.