How We: Work in Scale
Follow this guide to learn how to understand the transformation of our garden design onto paper, how we use scale for printing, and how we can represent measurements without it too.
Estimated reading time: 5 minutes
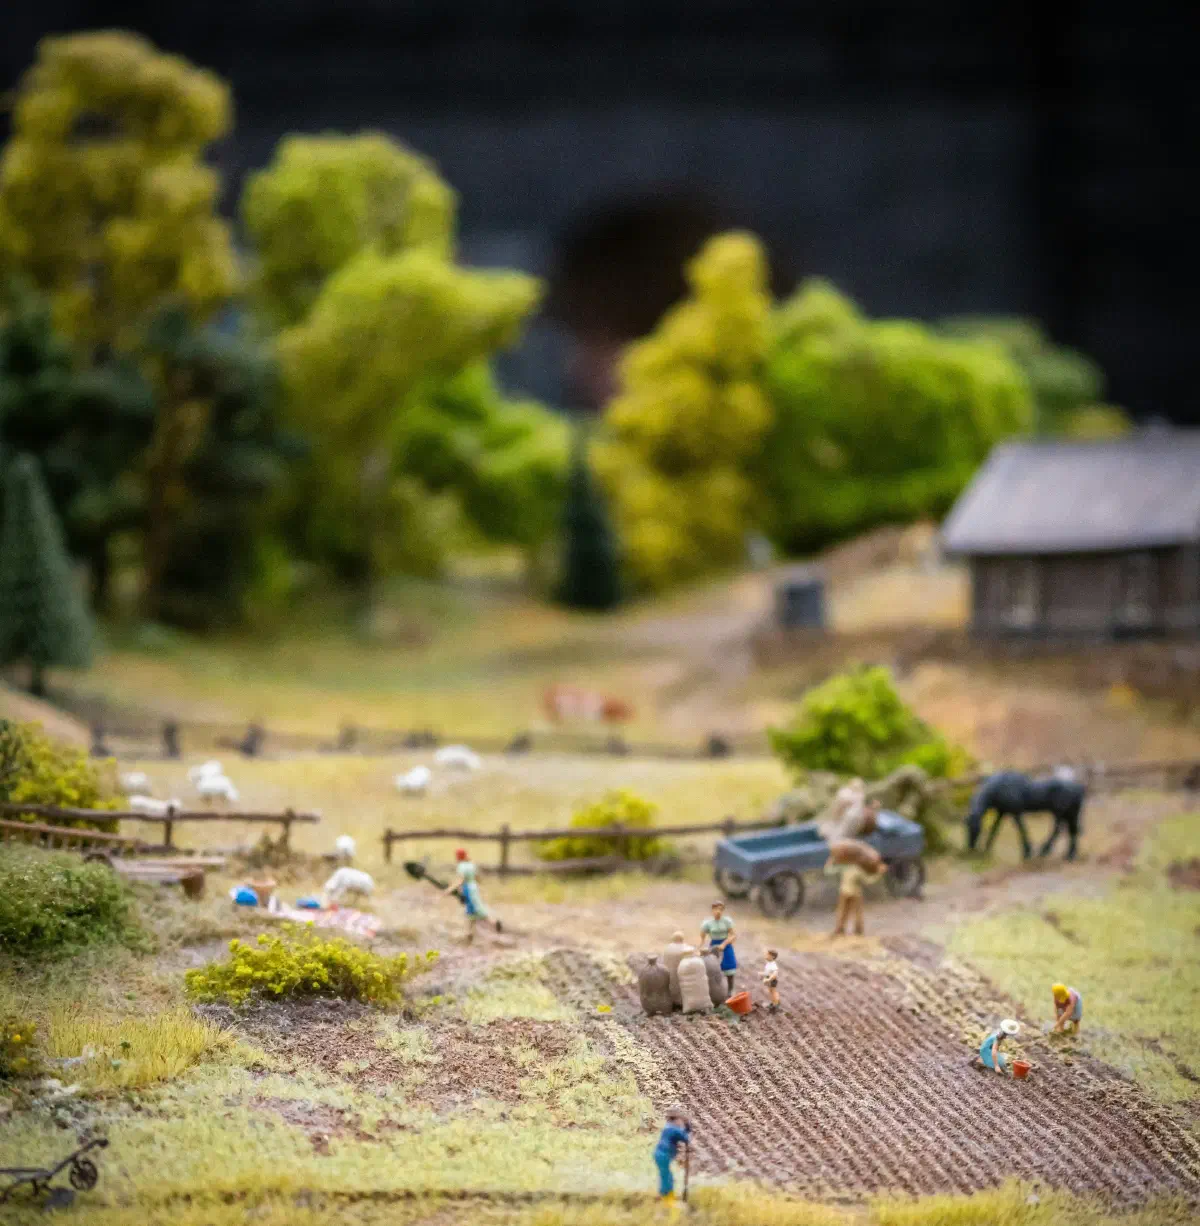
Above: Railway models are a great example of scale applied to model the real world.
How We Understand Scale
Whenever we wish to capture our vision and plans for our garden on paper, we run into the issue of scaling it appropriately. If we wanted to represent our garden design at a 1:1 scale, we would need the same amount of space as in real life. This is generally impractical unless we are planning a small area like a balcony or wish to simulate how we physically move through the space.
Until representing our whole garden in a virtual world becomes more common, we need to decide on a scale between the two realms, reality and its designed representation. As such, we decide how each metre, inch, foot, or centimetre of the garden will be represented in the design.
EXAMPLE
A scale of 1:100 would be read as 1 unit of our printed or sculpted design representing 100 units in the garden. As such, a backyard studio, a shed, or a tiny house in our design that is 25 feet, or 300 inches, long would scale at 1:100 to three inches on paper or in a model. In other words, every three inches measured by a simple ruler on the print represents 25 feet of the real world.
How Do We Use Scale in Printing?
When we want to print our design, we are limited by the physical paper sizes available. For this reason, we need to adjust the scale to the paper size. Generally, a good way to choose a suitable scale is to know the dimensions of the area we want to capture, choose a paper size, and then look at the scale as a ratio of the two.
EXAMPLE
To find a suitable scale to print a 100-metre-long design on A4 paper, which has a roughly 20-centimetre-wide shorter side, we look at the ratio of the two dimensions: 0.2:100=2:1000=1:500. We can comfortably print a 100-metre design on A4 paper at a scale of 1:500.
In Permiehub, we do not have to perform manual calculations for printing. Once we decide to print, Permiehub attempts to select the most appropriate paper size, scale, and orientation for our design. For larger properties, we might prefer to focus on a smaller area first by adjusting the scale and paper size manually.
Until we wish to bring our digital design into the realm of the real world through printing, we do not have to worry about scale in Permiehub, as all objects in our project will always show their real-life dimensions.
Step-by-Step: Changing Scale in Permiehub
- Open your project.
- Click to select the overlay from which you want to print, for example, Detailed Design, and optionally hide or show any underlaying layers, for example the Concept Design.
- Select the Download to Print tool from the tools menu or press the P key. A selection area for your printing will appear.
- Change the scale and paper size in the details of your selection area.
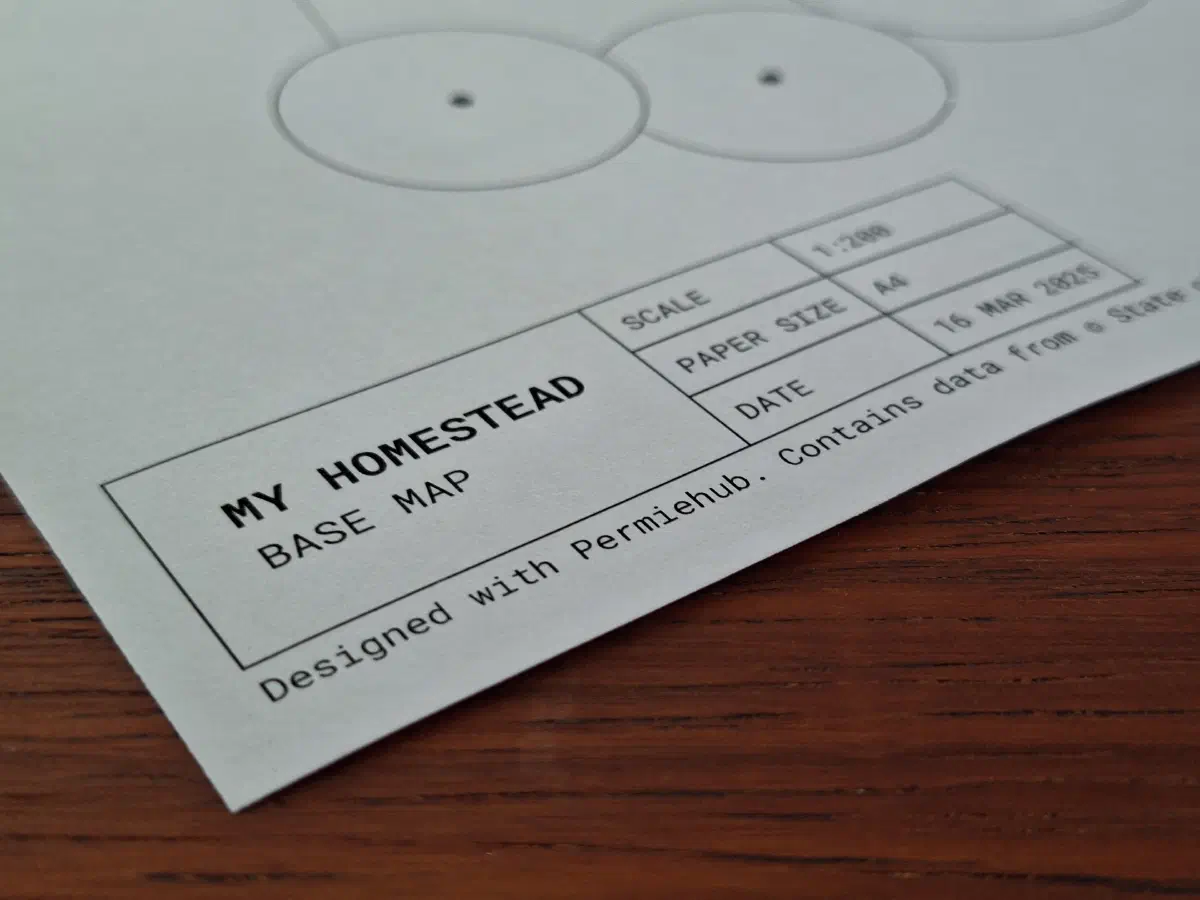
Above: To convey the real dimensions, a garden design in Permiehub can be printed with the paper size and scale in the info box.
How Do We Use Grids in Printing?
When printing a design, the scale and paper size should match to represent reality accurately. But what if your design is enlarged or shrunk to a different paper size? If you print the same PDF on multiple different paper sizes, the scale changes.
As an alternative to specifying a fixed scale, we can use grids. These represent a modular unit that underlies the design and makes sense to people interpreting it. It might be a conventional unit used in your region, or the size of available materials that dictates the spacing of the whole garden.
EXAMPLE
Common grid spacing might be 1 metre, 1 foot, or the size of standard materials, for example a 4-foot timber length, depending on your design.
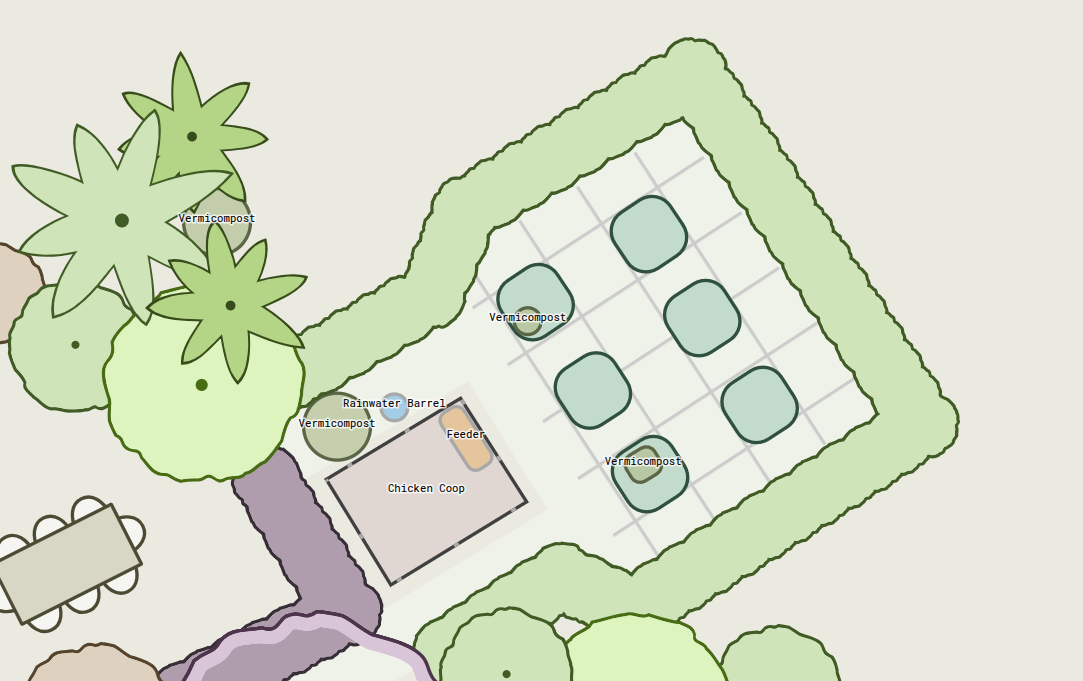
Above: An example of using grids in a kitchen garden beds design.
Benefits of Using Grids in Design Process
Grids might prove useful long before we get to print your design, already in the design process.
- We might place a grid to align parts of the design with major structures like boundaries or our house.
- Grids help us visually check elements of the design are of a certain standard size.
- We can use grids to ensure our design is visually pleasing when viewed from above.
Step-by-Step: Setting Up Grid in Permiehub
- Open your project.
- Click on the Reference Grid tool in the toolbox.
- Draw the direction of your grid. For example, align it with major structures that affect the underlying flow of your design. Optionally, adjust the direction using draggable points or resize using the shape editing tool. You can also move or rotate the grid area.
- Use the grid as a guide while drawing. Where possible, you can draw objects using the angled rectangle tool.
- When printing using the Download to Print tool, you can choose to disable the fixed scale and display grid spacing instead.
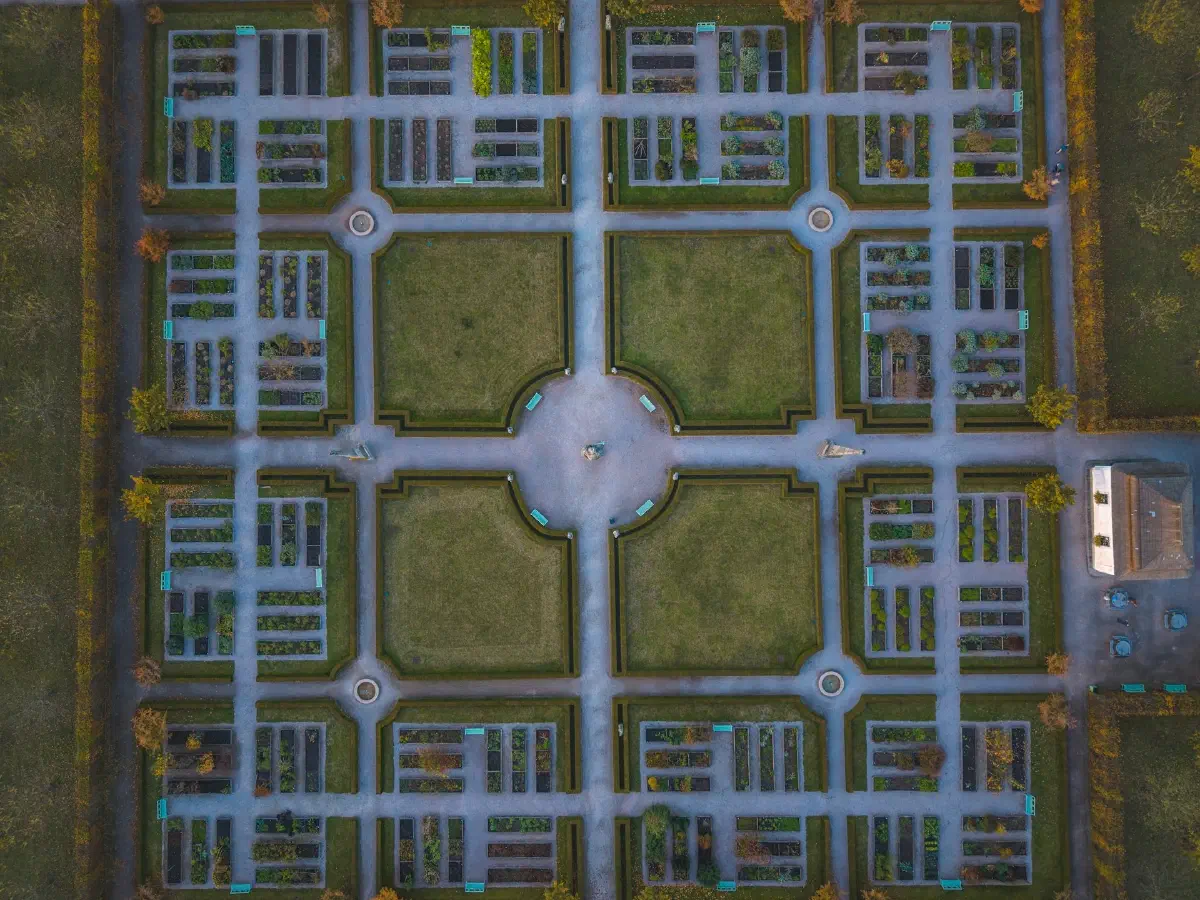
Above: The baroque garden in Kuks, Czech Republic, is an example of geometric design that would be alignable to a grid.
Scale vs Grid in Printing
Using grids makes a design quickly readable regardless of paper size, but scale provides significantly higher precision. Choosing a grid that is difficult to relate to the objects in your design might force readers to manually calculate dimensions, which defeats the purpose. We should choose our grid units carefully.
When using Permiehub, all objects always reflect real-life dimensions. We can take advantage of both scale and grids depending on the design and who will be reading it.
Thank You for Reading
We hope you will find this guide useful! Got feedback? Let us know at [email protected].